The previous post we have shared How to Create SQL Database In Microsoft Azure, this article will cover how you can configure and ODBC connectivity to the Azure SQL database.
Deploy an Azure SQL database is a very easy task and you don’t have to worry about the hardware, deployment issues around applications. You can deploy the SQL DB in a few minutes and start using it by using this you will save a lot of time and cost to hardware.
- Download the ODBC Driver to the Machine you want to access the SQL Database. Note: – if you installed the SSMS, drivers will automatically be installed with that.
You can Download ODBC driver below links.There are 64 and32-bit versions of the ODBC drivers, install the one that matches your Windows operating system.
ODBC Driver 17.0 for SQL Server released for Microsoft SQL Server 2017 (currently version 17.2) (download)
ODBC Driver 13.0 for SQL Server released for Microsoft SQL Server 2016 SP1 and SQL Azure (currently version 13.1) (download)
ODBC Driver 13.0 for SQL Server released for Microsoft SQL Server 2016 (download)
SQL Server Native Client 11.0 released for Microsoft SQL Server 2012 (download)
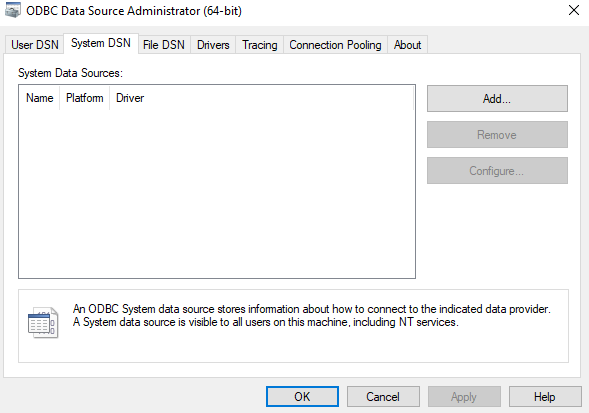
- Open the ODBC administration tool and Navigate to System DSN, Click on Add to create a new
- Select the new data source SQL Server Native Client and click finish

- Provide a Friendly Name, Description and server name to connect to the DB instance and Click Next

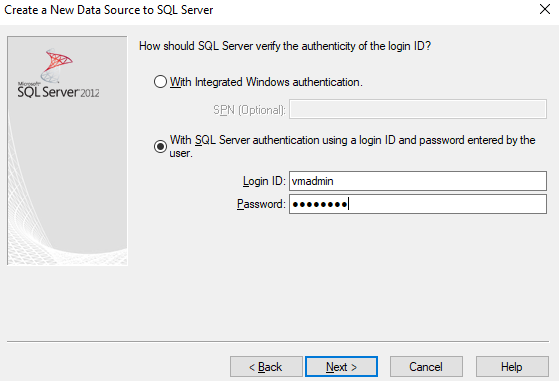
- Provide the login ID and password to your SQL Azure database and Click Next
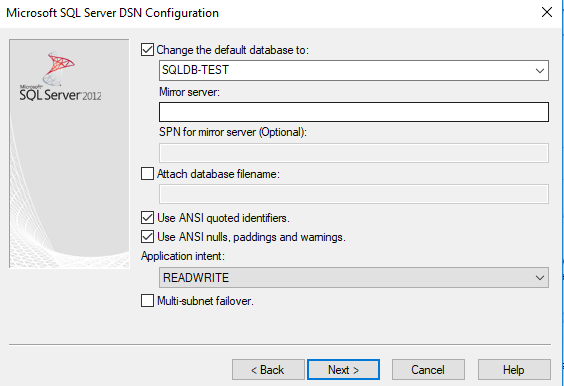
- Select the name of the database you created on SQL Azure from Dropdown.
- The default one is master, once you selected your DB click Next
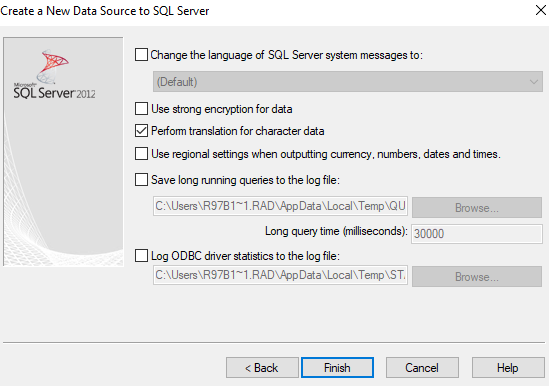
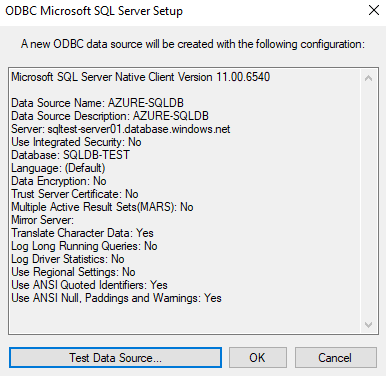
- Select the required options and click on Finish
Note:- It is recommended to check the “Use strong encryption for data” option, we have not checked because it is just a test and you can modify this anytime after successful configuration.
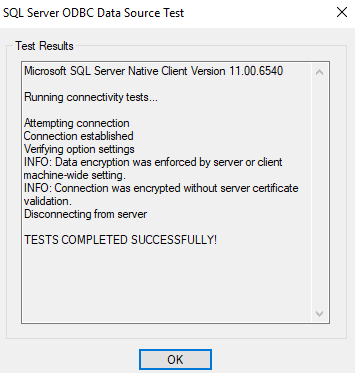
- On the next screen perform the testing by clicking on the data source button
If everything is okay, a screen like below with message test Completed Successfully.
Now use this to configuring your application from any machine which is allowed from the firewall.
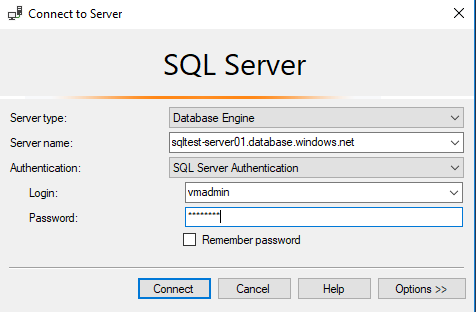
Download and Install the Microsoft Server Management Studio (SSMS) to access the DB and modify anything
Conclusion
We have created system DSN and created a connection to Azure SQL Database instance to your local machine. You can follow this and configure the connection to all your machines and application can access the DB from there.Note that you have to allow the IP to access the DB in the firewall configuration which Is explained in my previous post How to Create SQL Database In Microsoft Azure