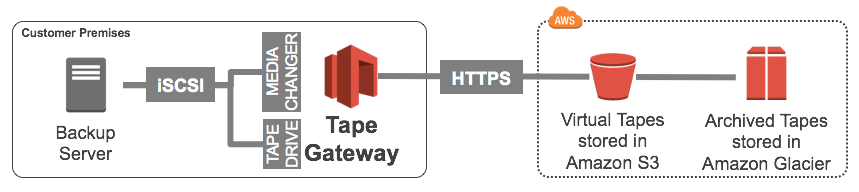
To configure the tape Infrastructure first you need to configure AWS VTL storage gateway in your environment and connect to AWS and configure VTL over there. Second Connect the tape devices are to your Veeam Backup Server using iSCSI service. You can follow our blog post Configure AWS Storage Tape Gateway To Access Amazon S3 Objects to check how to configure this.
In this post, we will share you the steps to follow to configure the Tape Infrastructure in Veeam Backup Replication.
Configure Tape Server
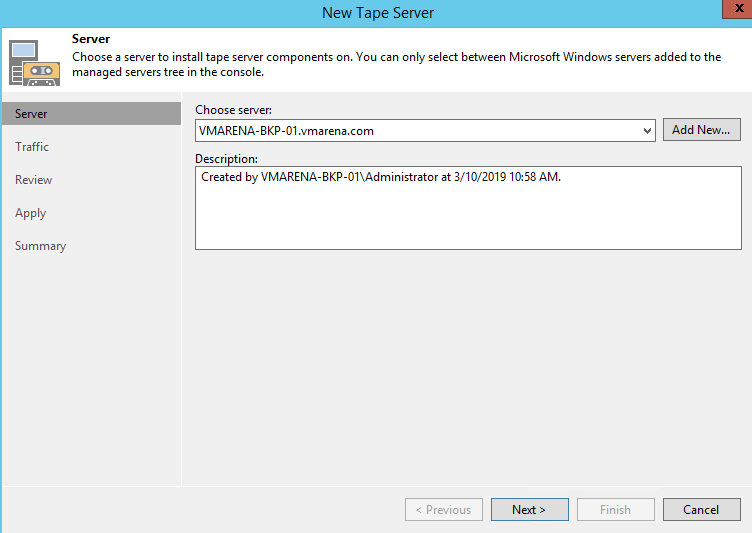
Open the Veeam Server console and select the Tape Infrastructure tab and click Add Tape Server.

In the Choose server field enter the Veeam Proxy Server name where server components will be installed configured and click Next.
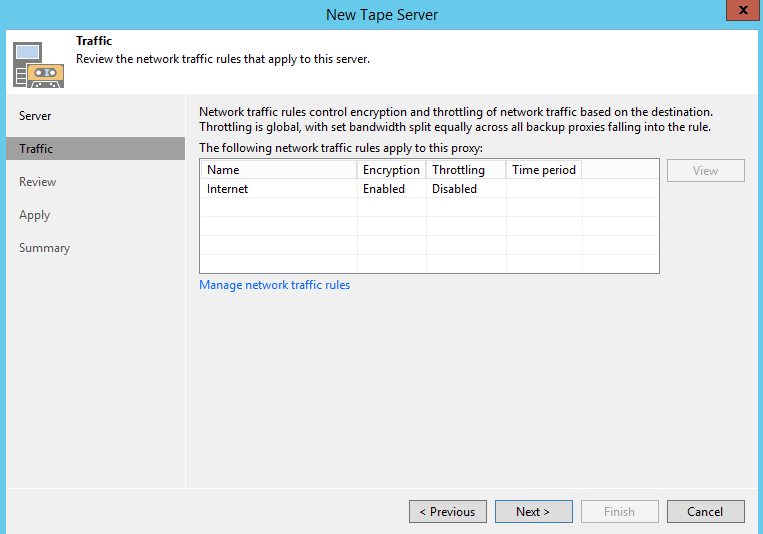
Click Next.
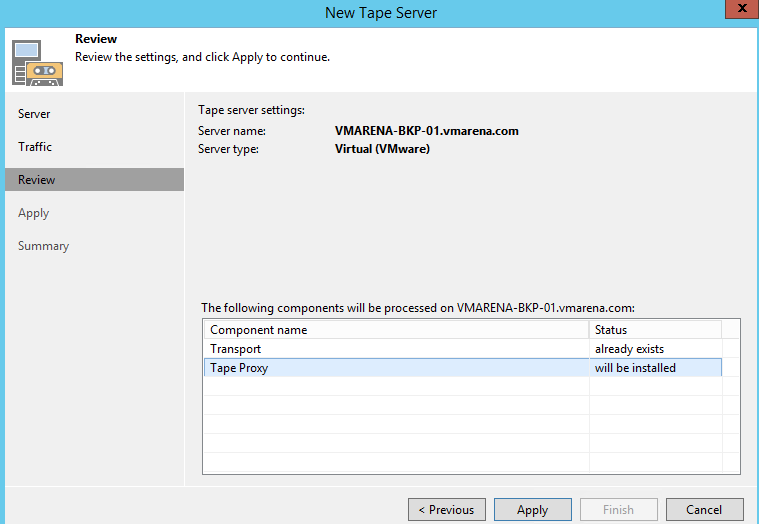
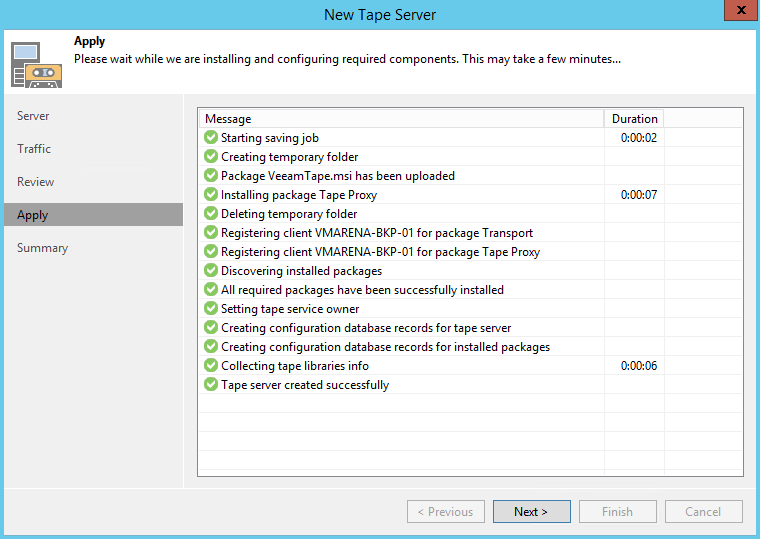
Veeam tape components will be installed in the selected server. Click Apply to proceed.
Once the components are installed in the server, Click Next
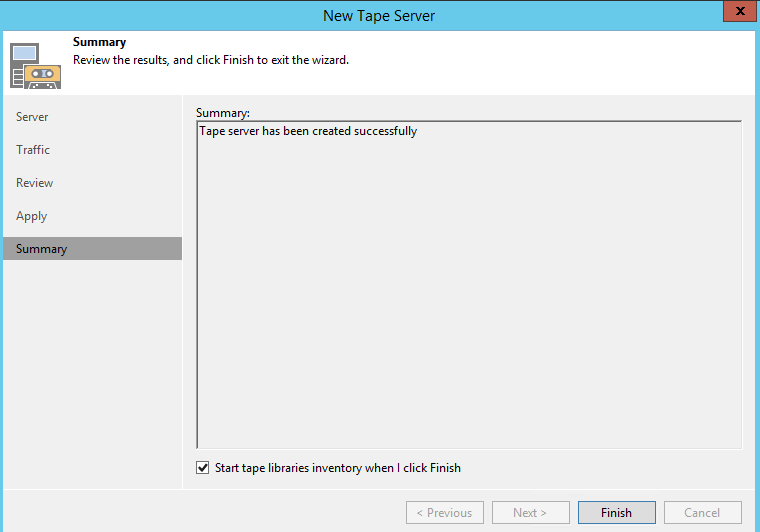
Once you saw the message “Tape Server has been created Successfully” you can click Finish to exit the wizard
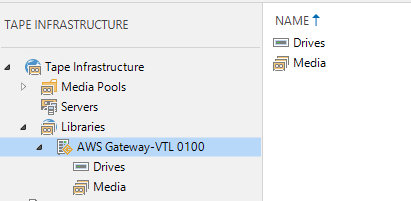
Now you can see on the console under LIbraries AWS Gateway-VTL 0100 library is listed Click on that and you can view associated
components
tape drives are displayed in the Drives area.
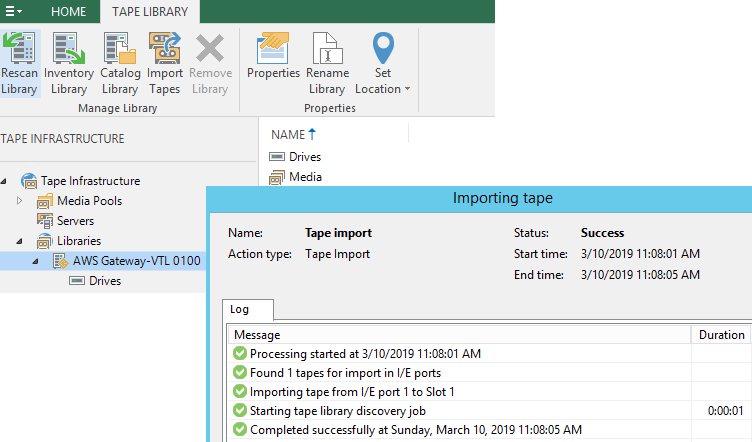
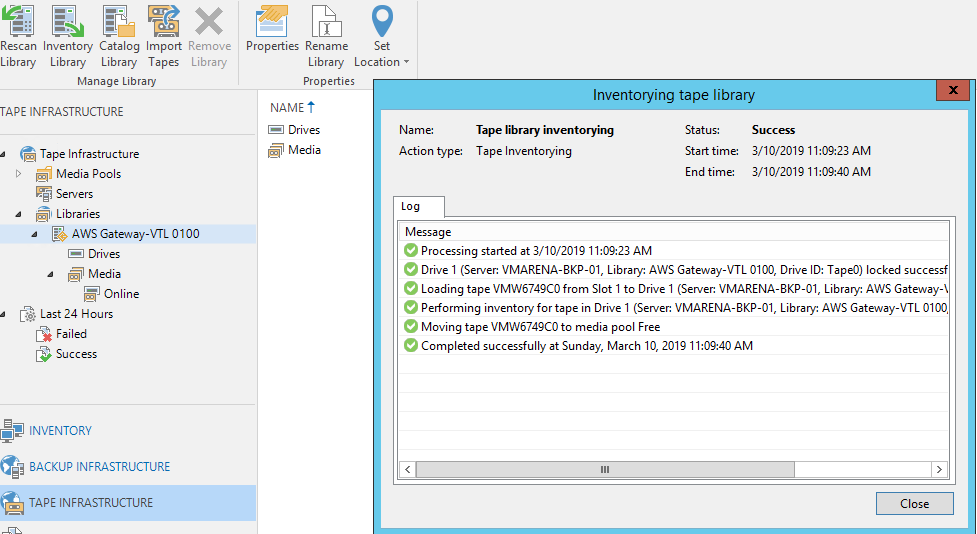
Now you have to Start tape libraries inventory and Tape Import to from Tape Infrastructure Menu
Tape Infrastructure ->Libraries -> AWSGateway -VTL 0100 -> Rescan Library and Inventory Library
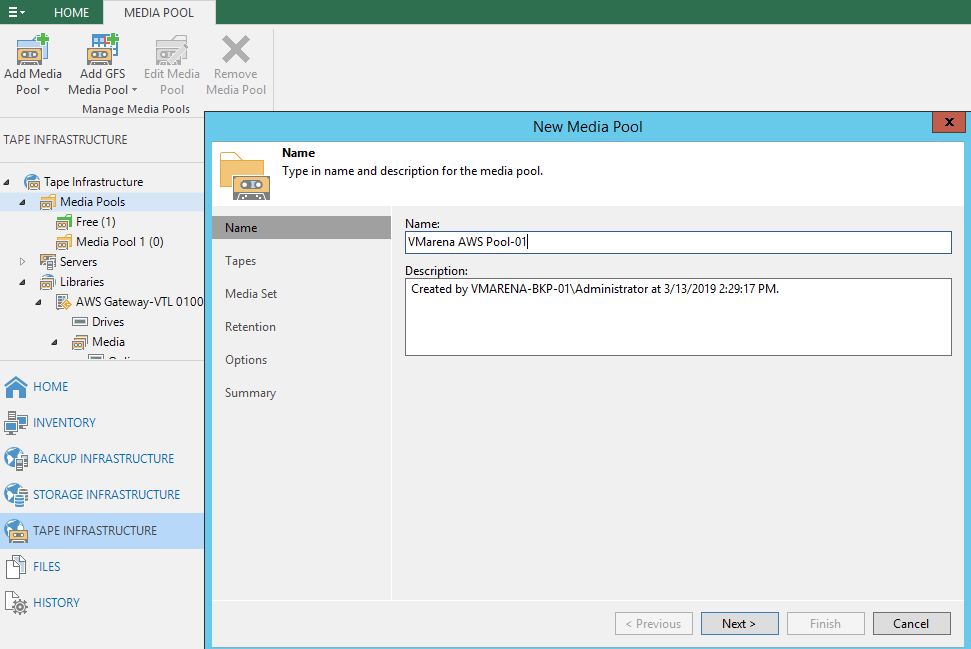
Create Media Pool
From Media Pool Menu click on Add Media Pool
Enter a Name then click Next.
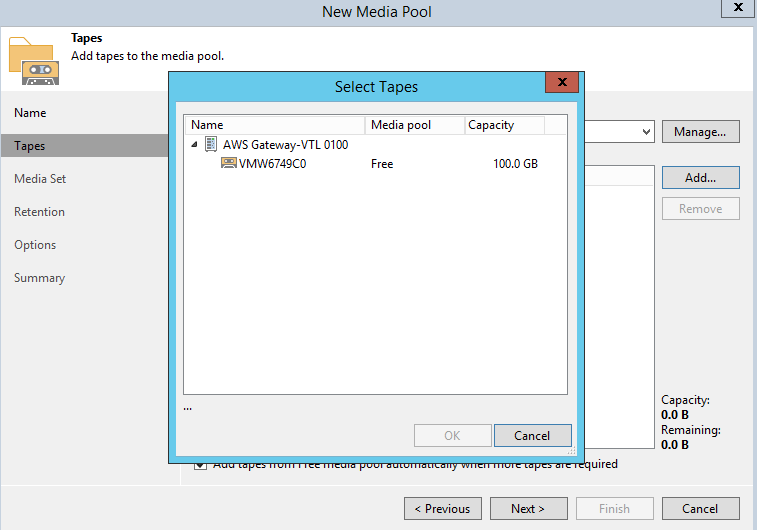
Click on Add button to select the tape to use for the pool and click OK.
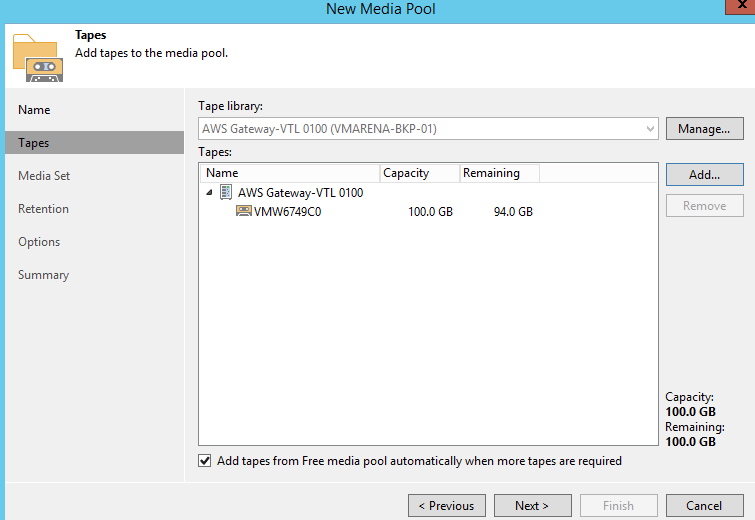
Now the tape has been added to the new Media Pool. Select the option Add tapes from media pool automatically when more tapes are required and click Next.
Enter a Media set name and select a suitable option for automating the creation of a new media set and Click Next.

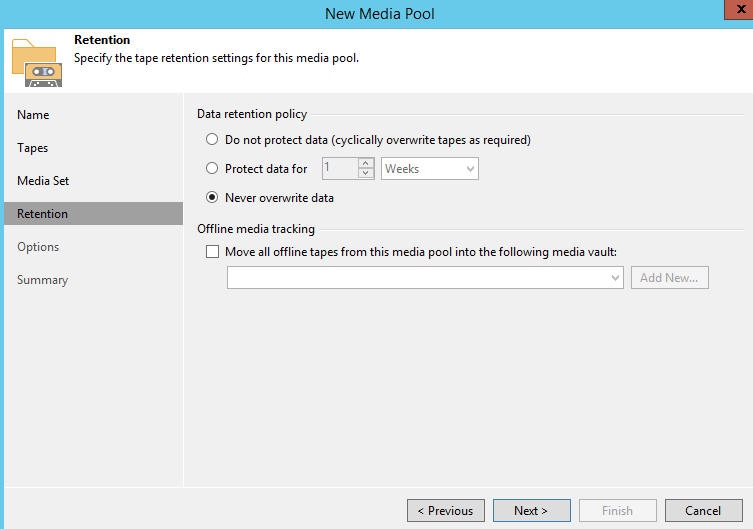
Select the Never overwrite data option for Data retention policy and click Next.
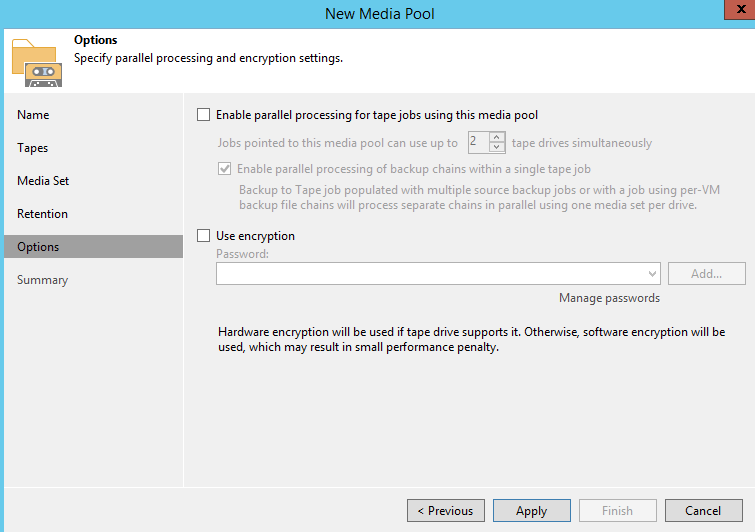
From this window, you can enable parallel processing and encryption. Select the required options and click Apply.
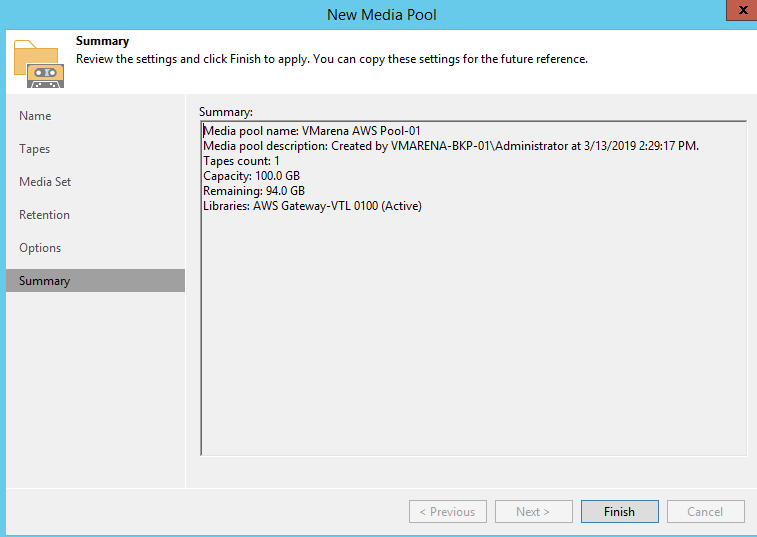
Click Finish to create the new media pool.
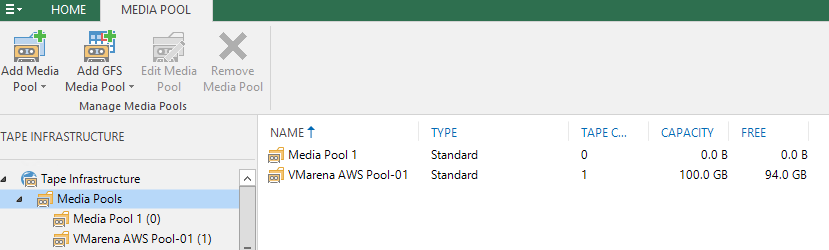
The new media pool has been created and displayed in the Media Pools option.
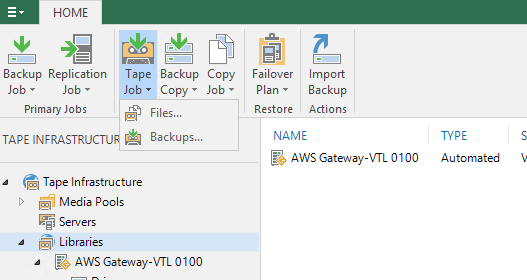
Next Configure Tape Backup Job
This is the final step and you can configure Tape Backup Job push the data to AWS VTL
Navigate to Backup & Replication ->Clik on Tape Job in the menu bar and select Backups option
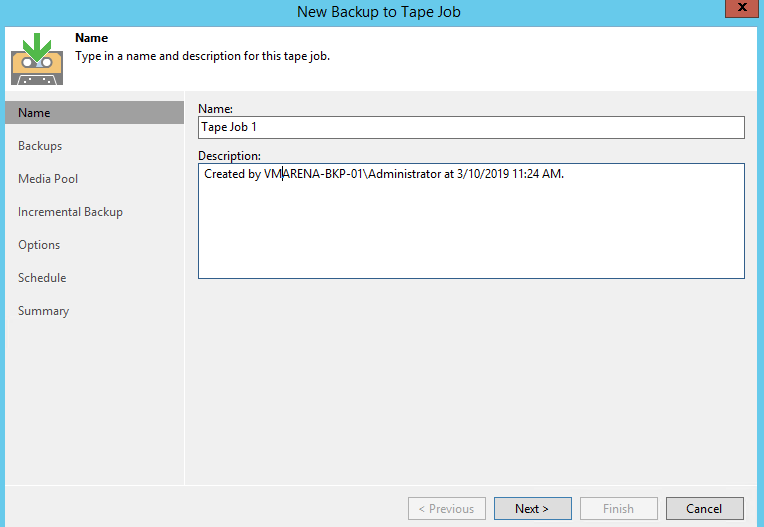
Provide a Job jobName click Next.
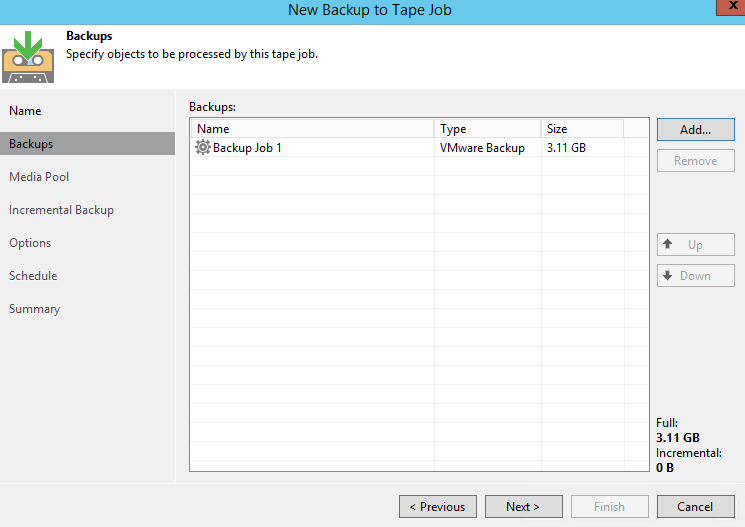
Add the Virtual Machine Backup Job using Add button
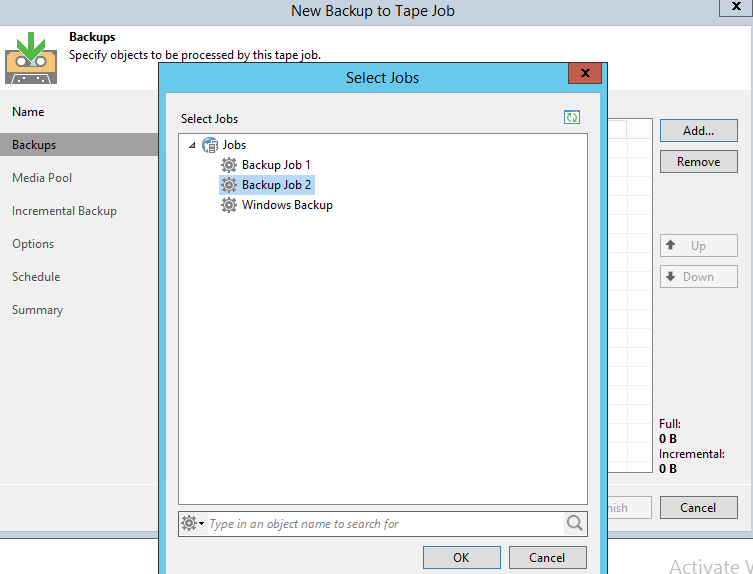
Here we choose backup Job 1, click Next
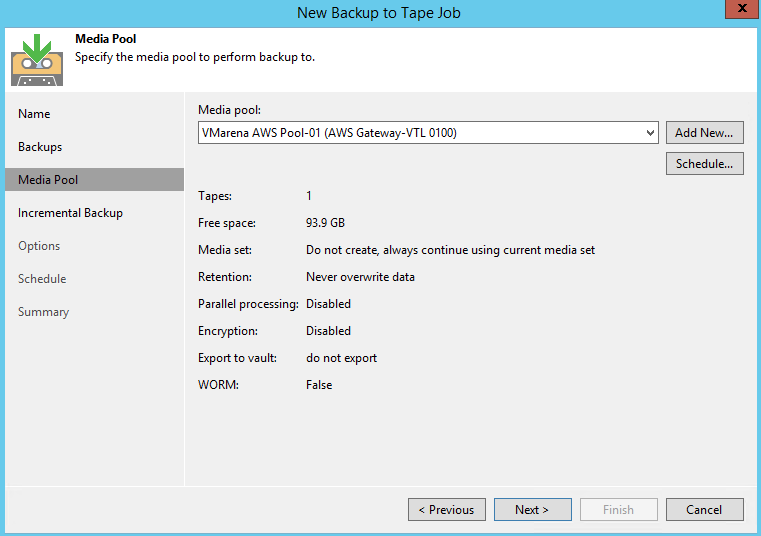
From the Media pool, dropdown menu selects the AWS media Pool and click Next.
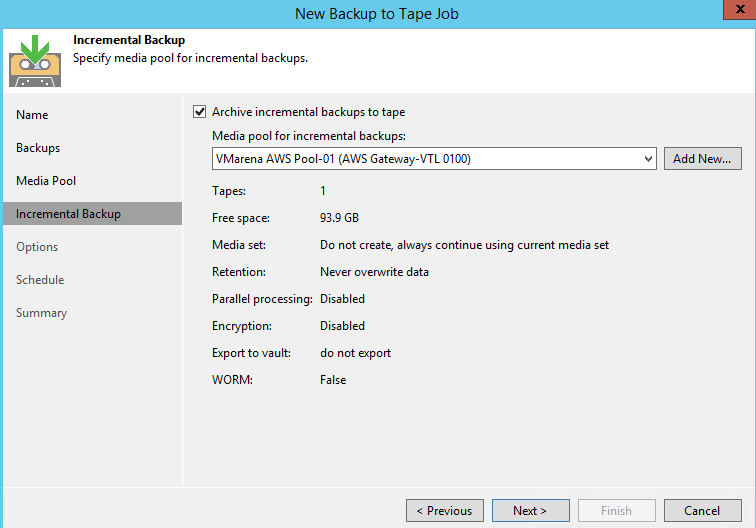
Enable Archive incremental backups to tape by selecting the option and select the media pool from the dropdown menu to store incremental backups.
Click Next to continue.
Enable both Media automation options.
- Eject media upon job Completion
- Export current media set upon job completion option allows the automatic tape offload to Amazon S3 after backup job is completed.
Click Next to continue.

Now configure the Schedule for your backup and click Apply.

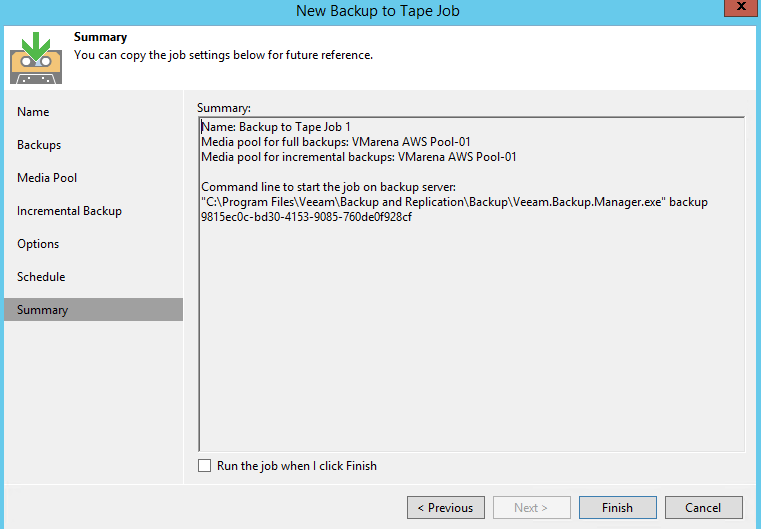
Click Finish to create the Tape Backup Job, if you want to run the job immediately use the option available to “Run the job when I click finish”
Navigate to Jobs -> Tape and you can view the newly created Job and Target information, you may run from there by Right Clik and Start.

Once the job finished you can log in to AWS console and check the Tape Usage.
Conclusion
We have successfully configured AWS VTL with Veeam BAckup and Replication Server and created a Tape Job to push the backup to AWS. Also, there is configuration required in AWS and your infrastructure for storage gateway which is already shared in one of our blog post mentioned the link at the beginning of this article. You can follow these two articles and configriue the backup to AWS VTL