PerfAnalyzer is a prepackaged virtual appliance and easy to deploy from vCenter . Follow below steps to do to get PerfAnalyzer up and running.
Installation and Configuration – step by step
The opvizor PerfAnalyzer is supplied as a VMware OVF template. To install:
- Download the opvizor PerfAnalyzer ZIP file from Download
- Extract the ZIP file
- Deploy OVF Template
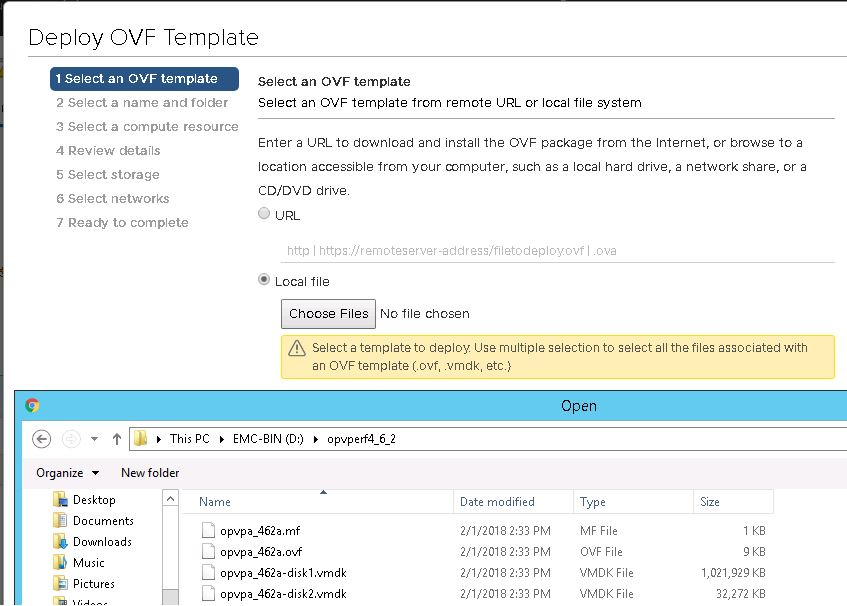
- Login to vCenter – > Select the ESXi Host -> Select Deploy OVF Template option
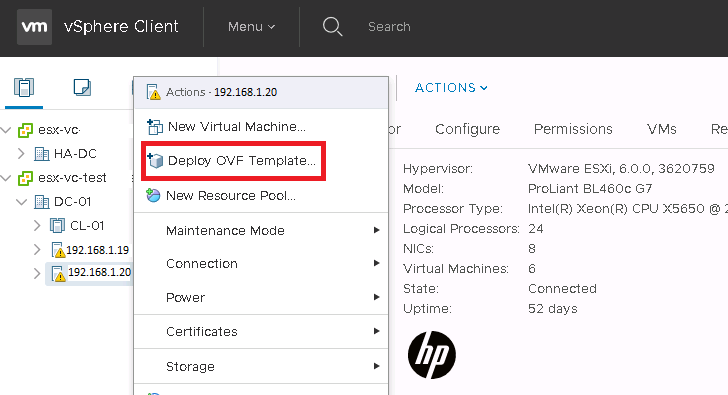
- Select the Local File option and select all the four files from the extracted folder
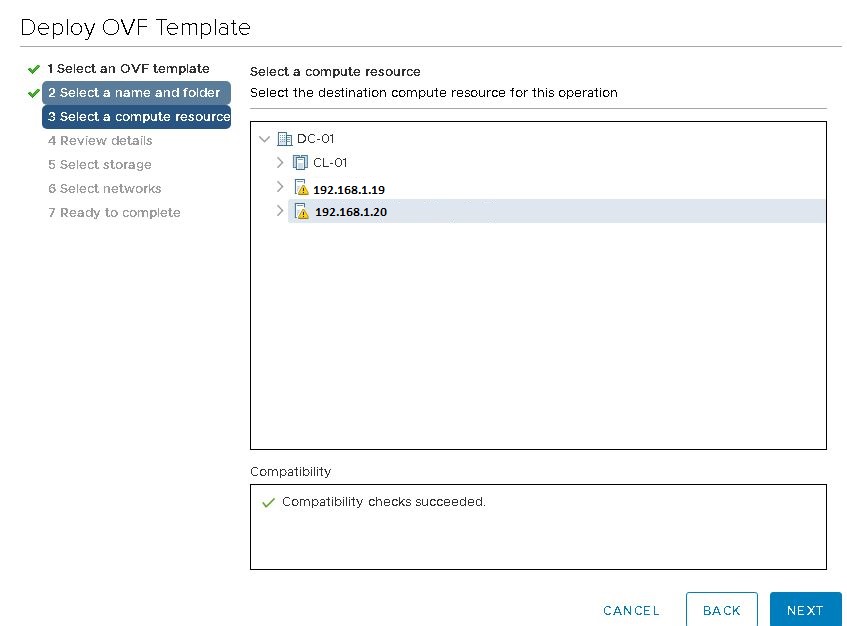
- Select the Location of the VM to be deployed and Click Next
- Select the ESXi Host and Click Next
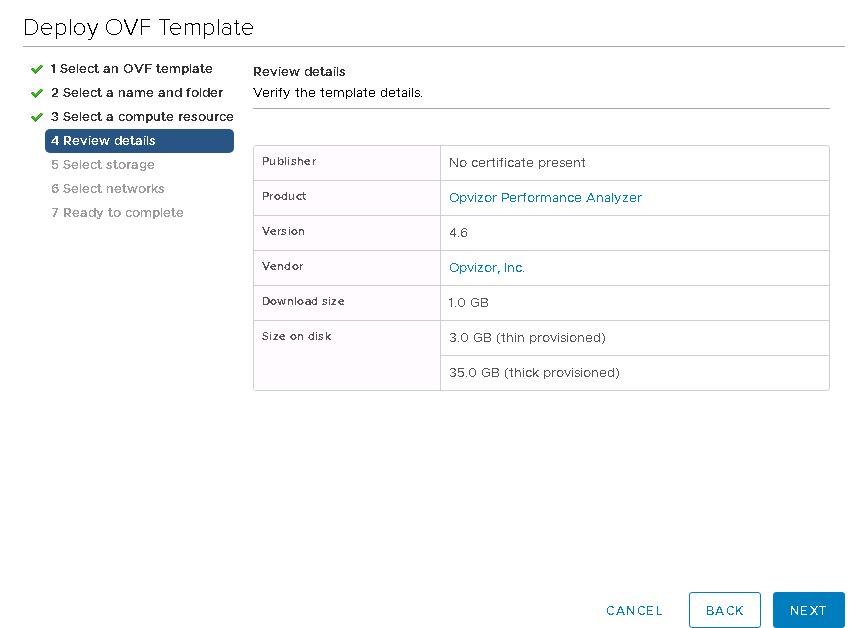
- Review the Details such as product , size and Click Next
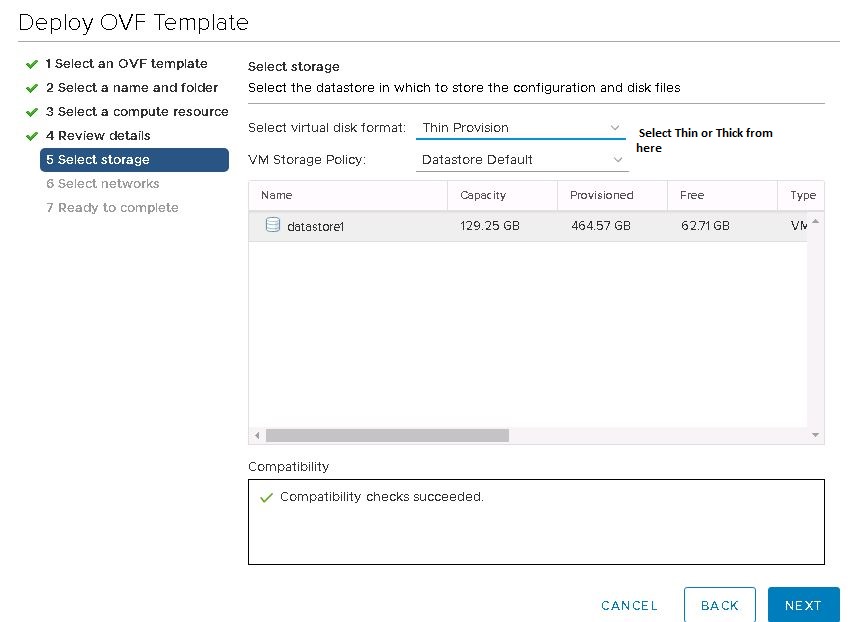
- Select the Provisioning type thin or Thick and click Next
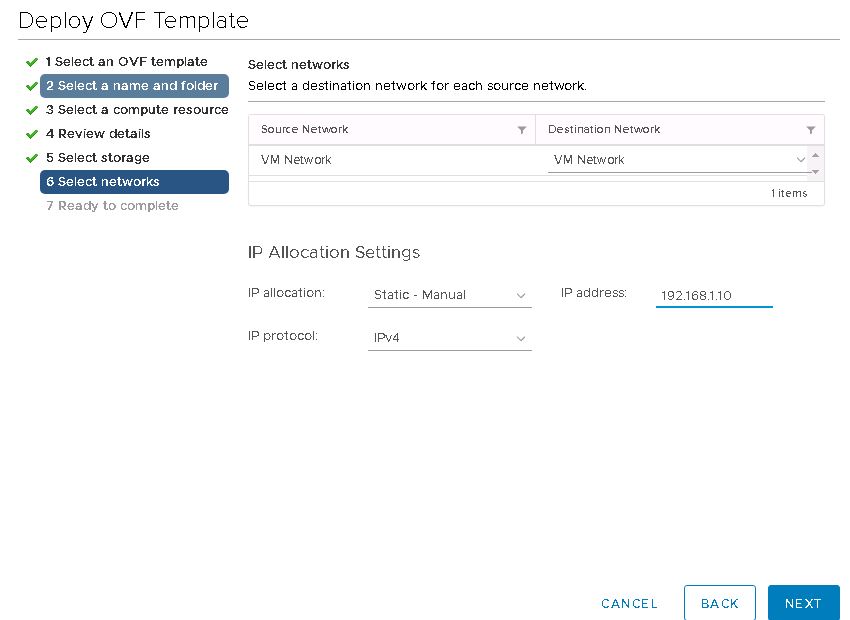
- Select the port group where you need to provide access to network and add the IP on the same network and click Next
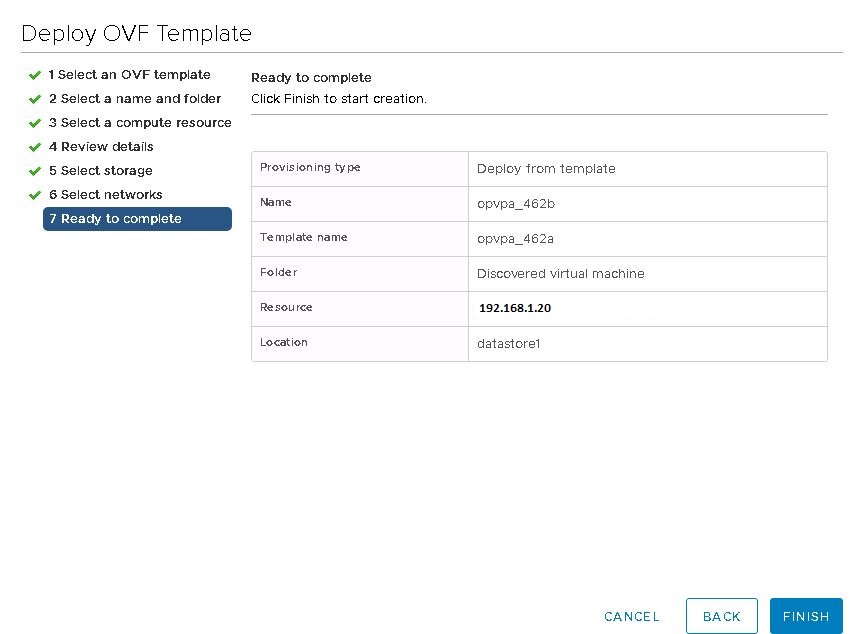
- We are almost done now review details and click finish , it might take few minutes to finish the instillation and appliance will be ready
Note:If you are running 1000 VMs or more, you should also consider doubling the amount of memory of the appliance.
Initial Configuration of Appliance
- Start the appliance.
- Open the console.
- When the startup has completed, you will see the following screen and log in with the following credentials: Login: admin Password: VMware123
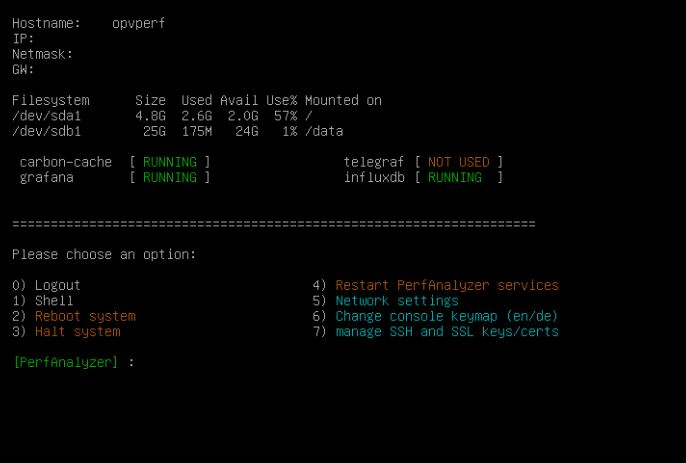
- After login the configuration main menu shows up
- First We have to configure the network for the machine by selecting option 5
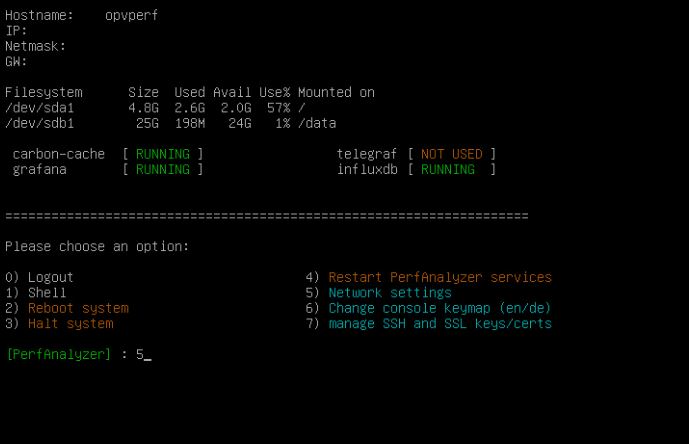
- a): If you want to use DHCP, select yes and you have to configure SSH and SSL from menu item 7.
b): If you want to use a static address click NO to configure it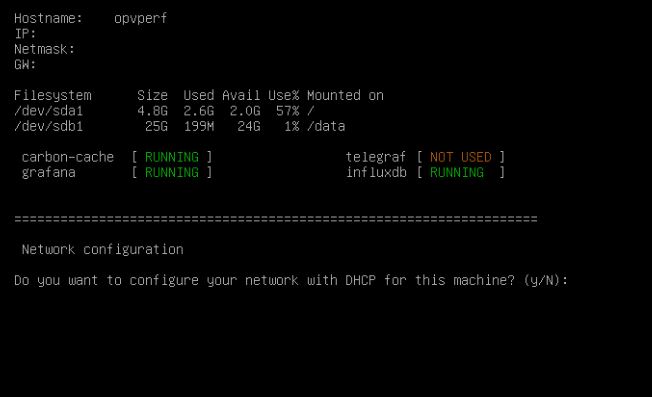
- First We have to configure the network for the machine by selecting option 5
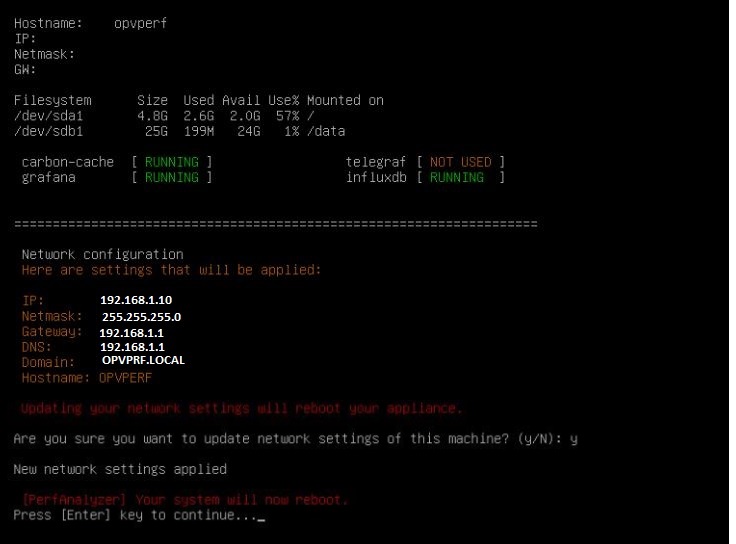
- Add the required IP details one by one here ( Fist Add IP – > Press Enter , Next ->Net mask ) . Once All data filled press y to save and click enter to reboot the appliance and take effect
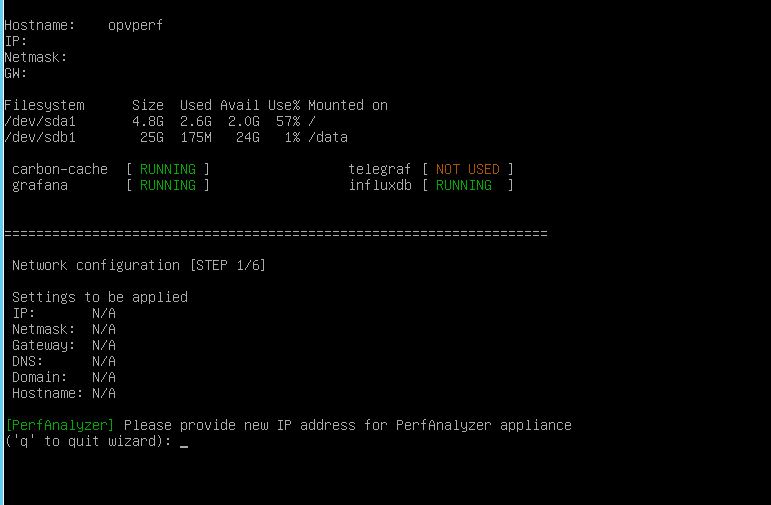
- After completing this step , a demo license creates automatically and the appliance restarts
- After about one minute, the appliance should will be online , next we have to login and configure vCenter
- Open the appliance configuration page by IP or FQDN of appliance in your browser.
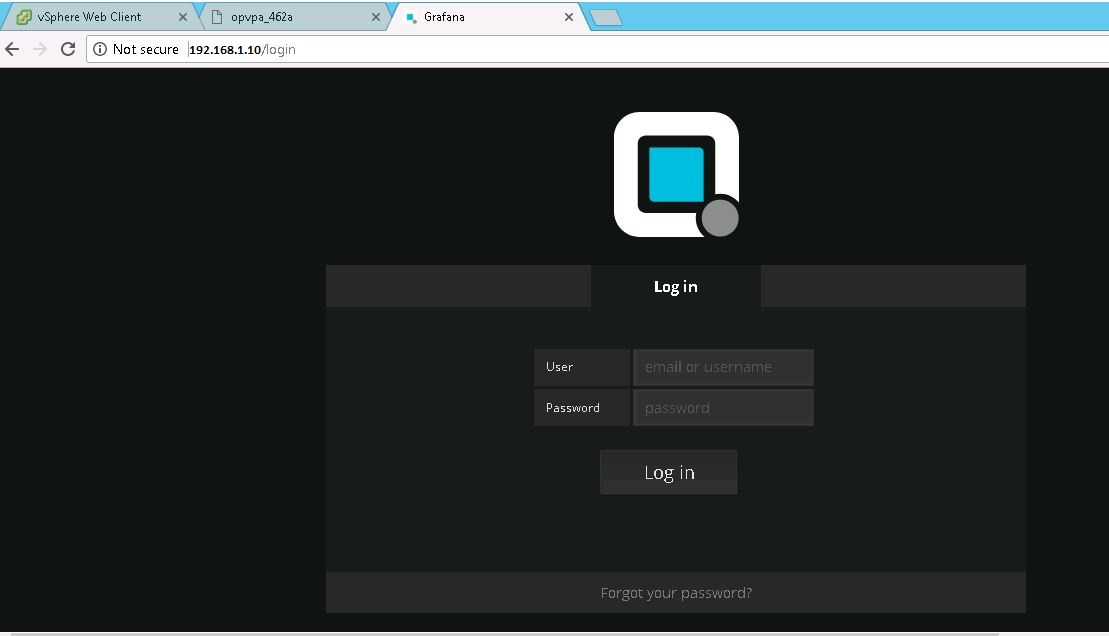
- To login, use the default credentials : User name: admin Password: VMware123
The Overview page of the administration area appears.
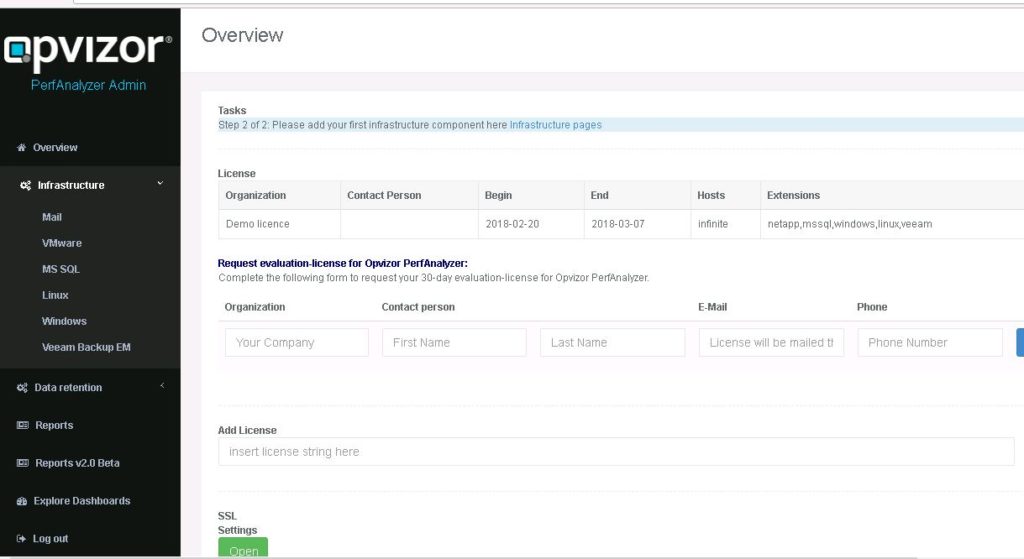
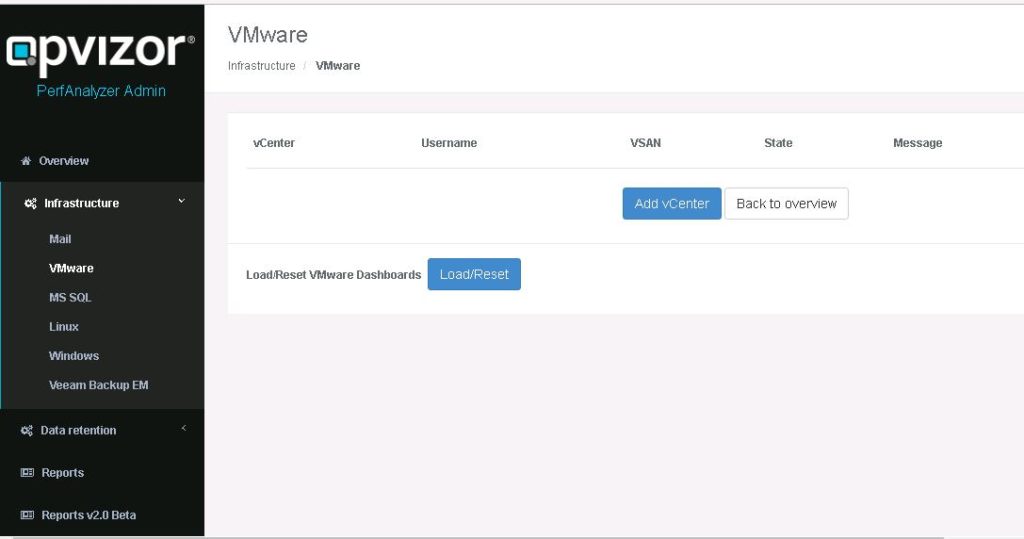
- Click on Infrastructure >VMware >Add new vCenter to indicate the vCenter and access data.
- Enter the credentials and click Add.
As a user you can use a less privileged VMware user that has only read access ( Has to be configured on VC level )
Note : VMware VSAN is availabel on your environment you can collect performance data by selecting VSAN check box.
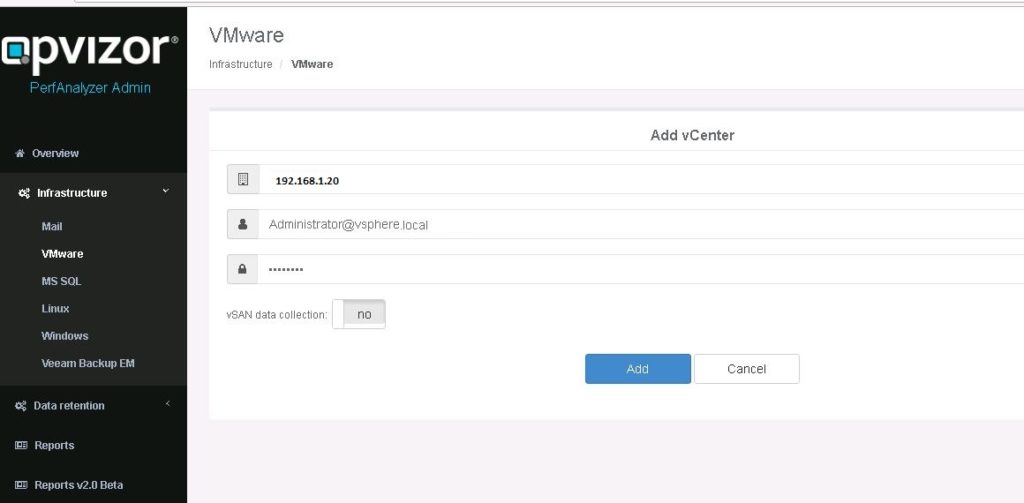
- The credentials are automatically tested and If the test was successful, the message “success” below the VMware vCenter entry shows up.
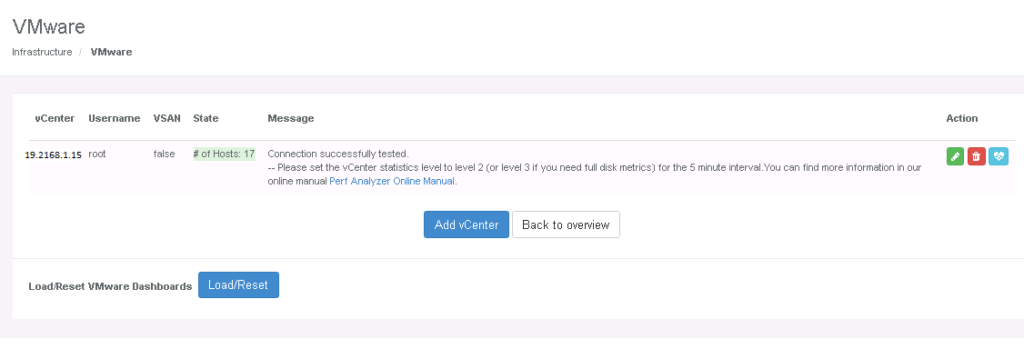
- The opvizor PerfAnalyzer is now successfully configured and begins collecting data. Note:- Depending on the size of your VMware Infrastructure data collection may take time .
How to Enable HTTPS
We made it pretty straightforward to enable HTTPS (SSL) to access the appliance. Within the Admin interface / Overview click the Open Button under SSL settings:
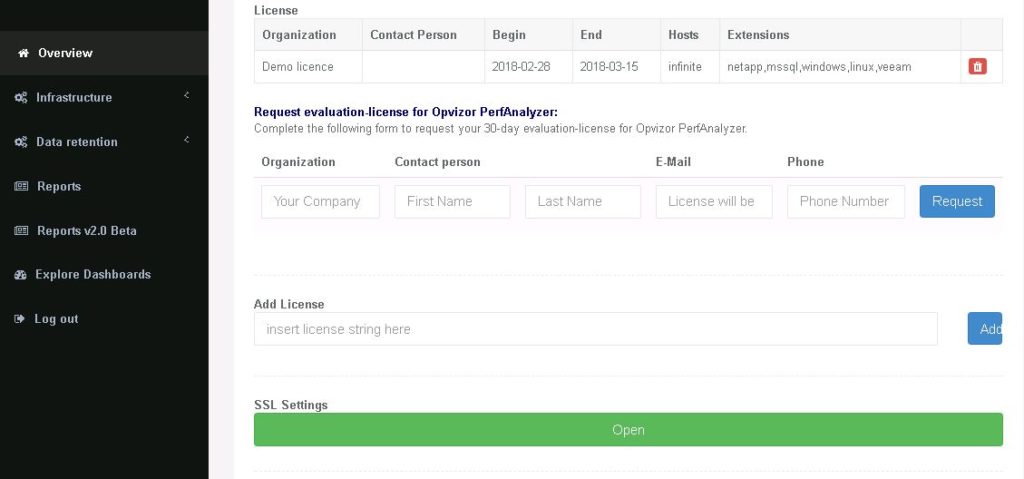
Then either use the integrated SSL Certificate or upload your own PEM formatted certificate.
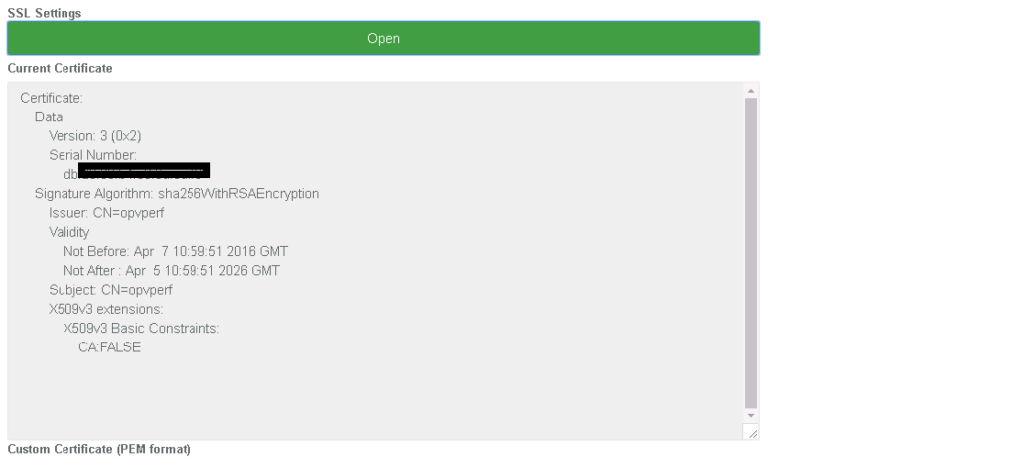
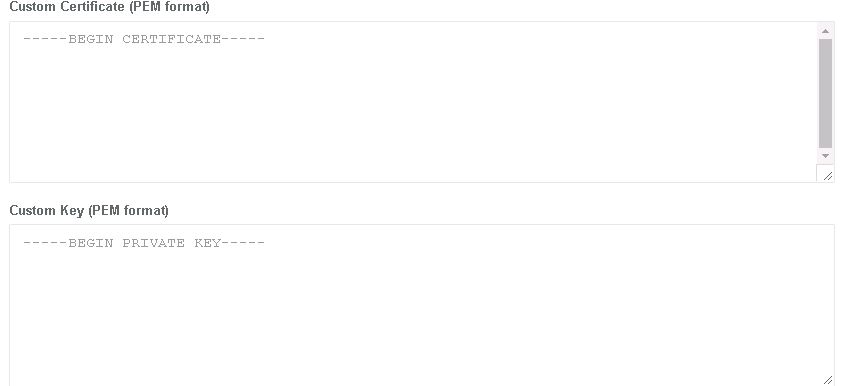
You can save the SSL Settings and decide to redirect all HTTP connections to HTTPS as well.
VMware vSphere Settings
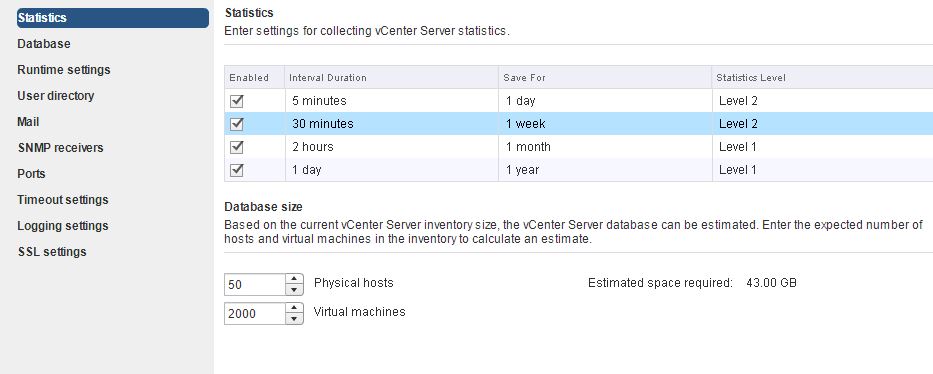
Please make sure that you have a 5 minute statistics level of 2 configured for your VMware vCenter systems ,Otherwise some virtual machine metrics can’t be collected and the some charts will be empty.
- In the vSphere Web Client, navigate to the vCenter Server instance.
- Select the Configure tab.
- Under Settings, select General -> Click Edit.
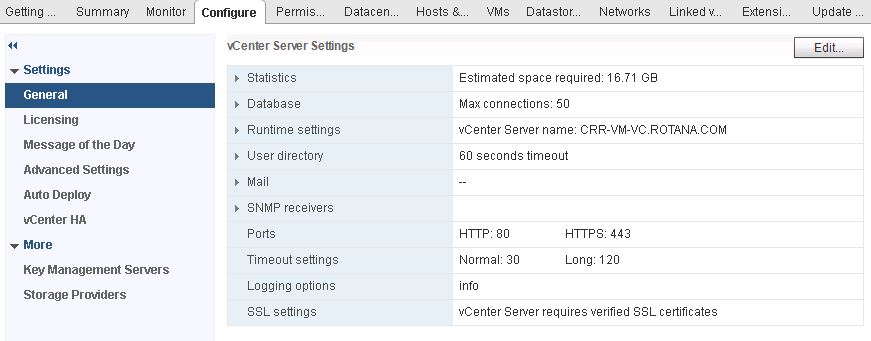
4 . Change the Static Level to 2 form drop down menu .
