
Veeam Backup for AWS is a solution developed for protection and disaster recovery tasks for Amazon Elastic Compute Cloud (Amazon EC2) environments. With Veeam Backup for AWS, you can create image-level backups of EC2 instances and keep them in Amazon Simple Storage Service (Amazon S3) for high availability, cost-effective and long-term storage. In addition to image-level backups, you can protect your data by creating and maintaining a chain of cloud-native snapshots of EC2 instances.
In our previous article, we discussed Veeam Backup for AWS, and this article will cover the Deployment and Configuration of Veeam Backup for AWS Free Edition.
Before you start using Veeam Backup for AWS, consider the following requirements.
Network Ports
The following network ports must be open to ensure proper communication of components in the backup infrastructure of Veeam Backup for AWS
| From | To | Protocol | Port | Notes |
| Web browser (local machine) | Backup server | HTTPS | 443 | Port used for communication with Veeam Backup for AWS Web UI. |
| SSH | 22 | Command port used for communication with the backup server. | ||
| Worker instance | HTTPS | 443 | Port used for communication with the Veeam Backup browser on the worker instance in the file-level restore process. | |
| Backup server | Worker instance | SSH | 22 | Command port used for communication with a worker instance. |
| TCP | 9999 | Port used for communication with the worker instance in the file-level restore process. |
To open network ports, in the AWS Management Console, you must add inbound rules to security groups associated with backup infrastructure components.
For details on how to add inbound rules to security groups, see AWS Documentation.
Web Browsers
To access Veeam Backup for AWS, you can use any of the following web browsers: Microsoft Edge 40 or later, Mozilla Firefox 56 or later, Google Chrome 62 or later.
IAM Role Permissions
IAM roles that Veeam Backup for AWS uses to perform data protection and disaster recovery operations must have permissions to access AWS resources. The minimal set of permissions for IAM roles is described in the following Veeam KB articles: KB3032, KB3033, KB3034.
AWS Services
Backup infrastructure components (the backup server and worker instances) must have outbound internet access to the following AWS services:
Endpoints supported for AWS services are listed in AWS Documentation.
Install Veeam Backup for AWS Free Edition
Sign in to AWS Marketplace using credentials of an AWS account in which you plan to install Veeam Backup for AWS Free Edition.
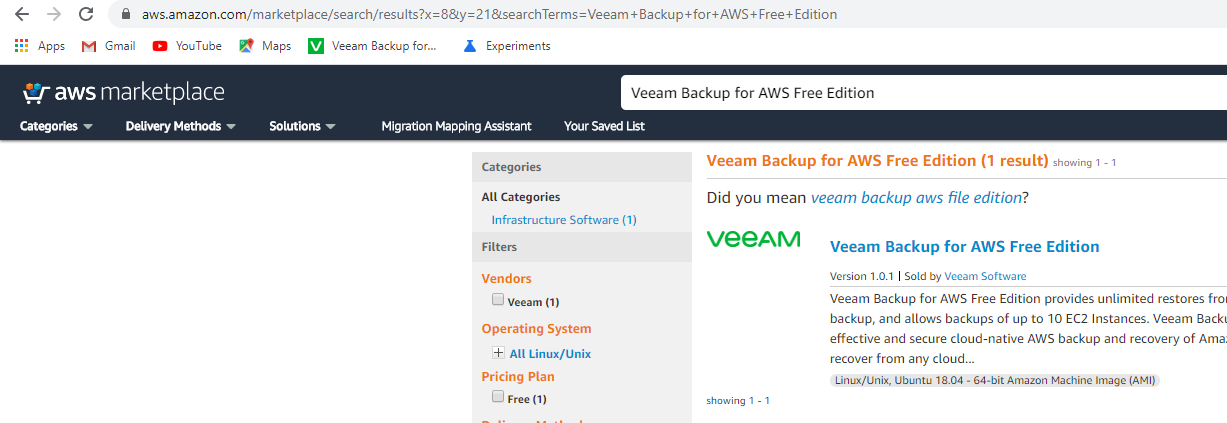
Search for Veeam Backup for AWS Free Edition and Click on the result
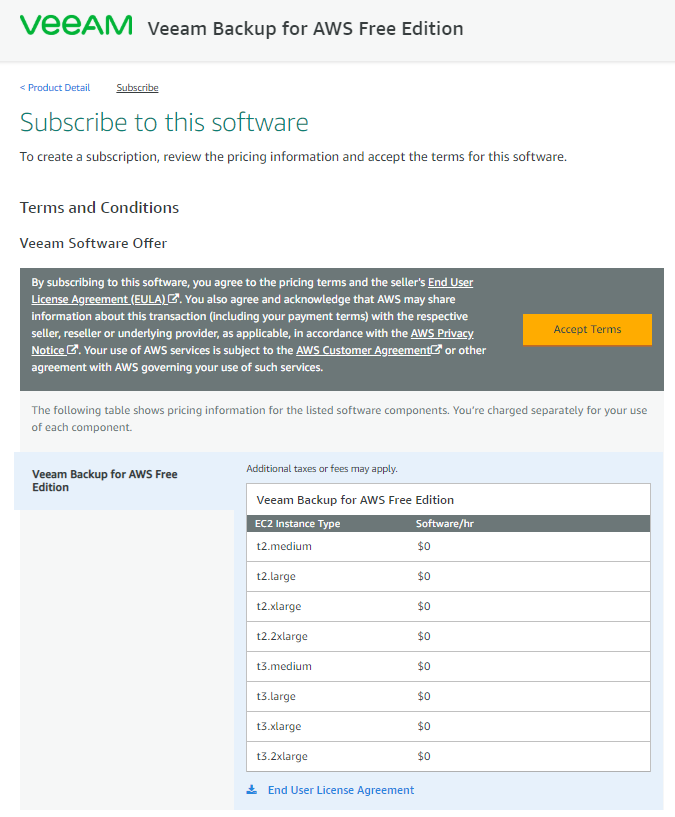
From the Veeam Backup for the AWS overview page, click Continue to Subscribe.

Click on Accept Termas to continue
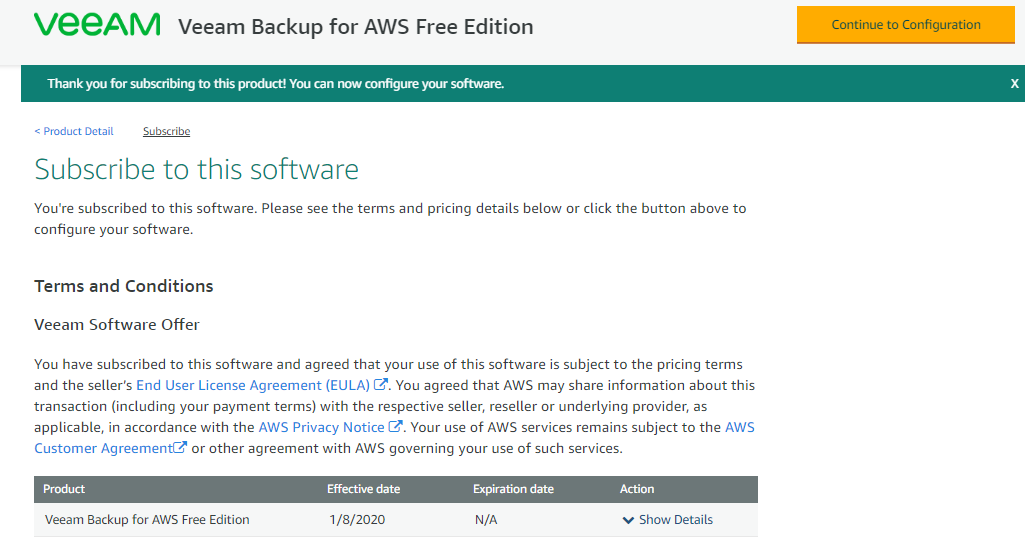
Click Continue to Configuration
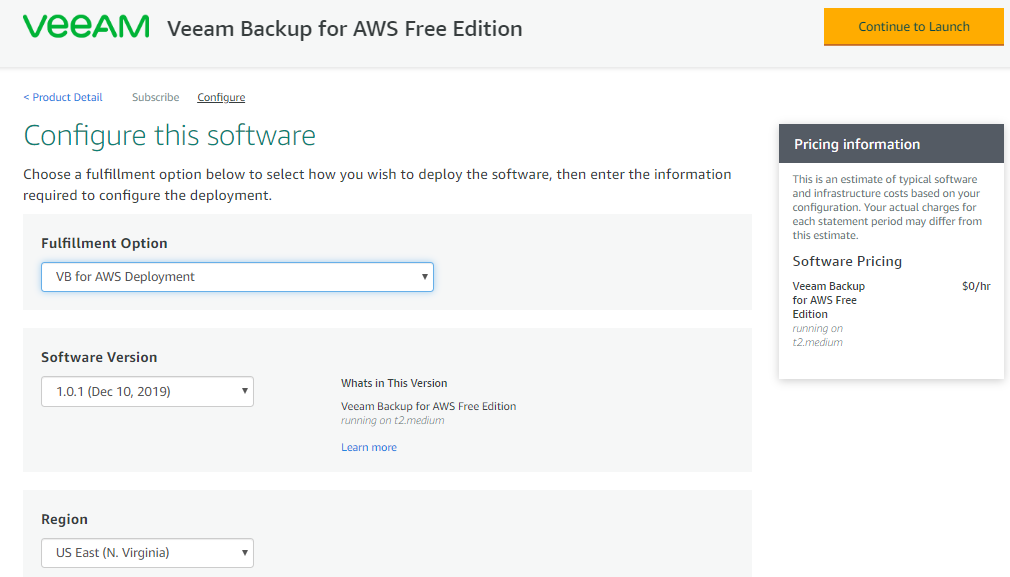
From the Configure this software page, select the installation settings and Clik on Continue Launch
Click Launch
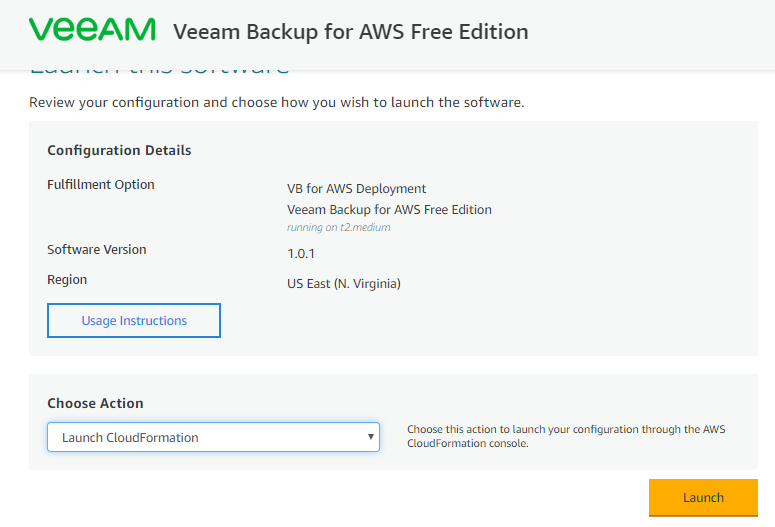
It will launch the Create stack wizard, You have to create a stack for Veeam Backup for AWS from this window
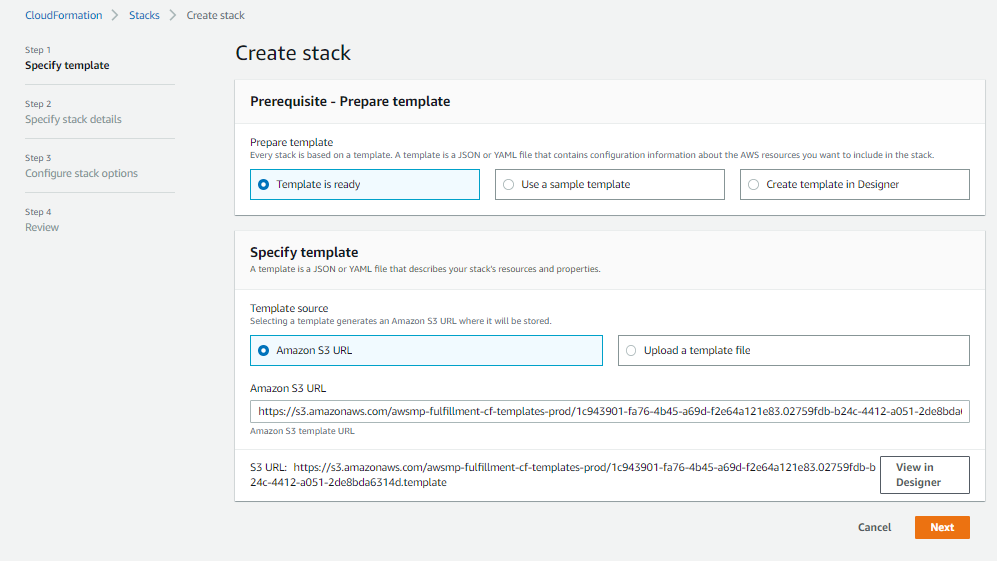
Use default settings on Specify the template page and click Next.
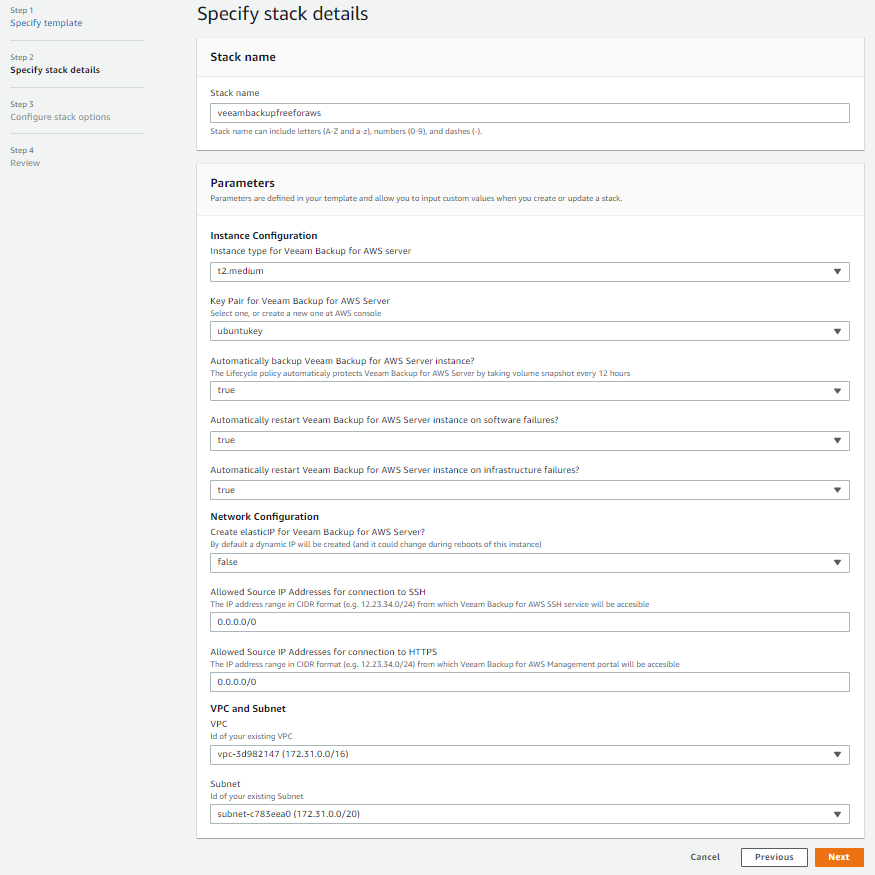
On the Specify stack details step of the wizard, configure stack settings
Note:-The IPv4 address range is specified in the CIDR notation (for example, 12.23.34.0/24). To let all IPv4 addresses access Veeam Backup for AWS, you can specify 0.0.0.0/0. Note that allowing access from all IPv4 addresses is unsafe and thus not recommended in production environments.
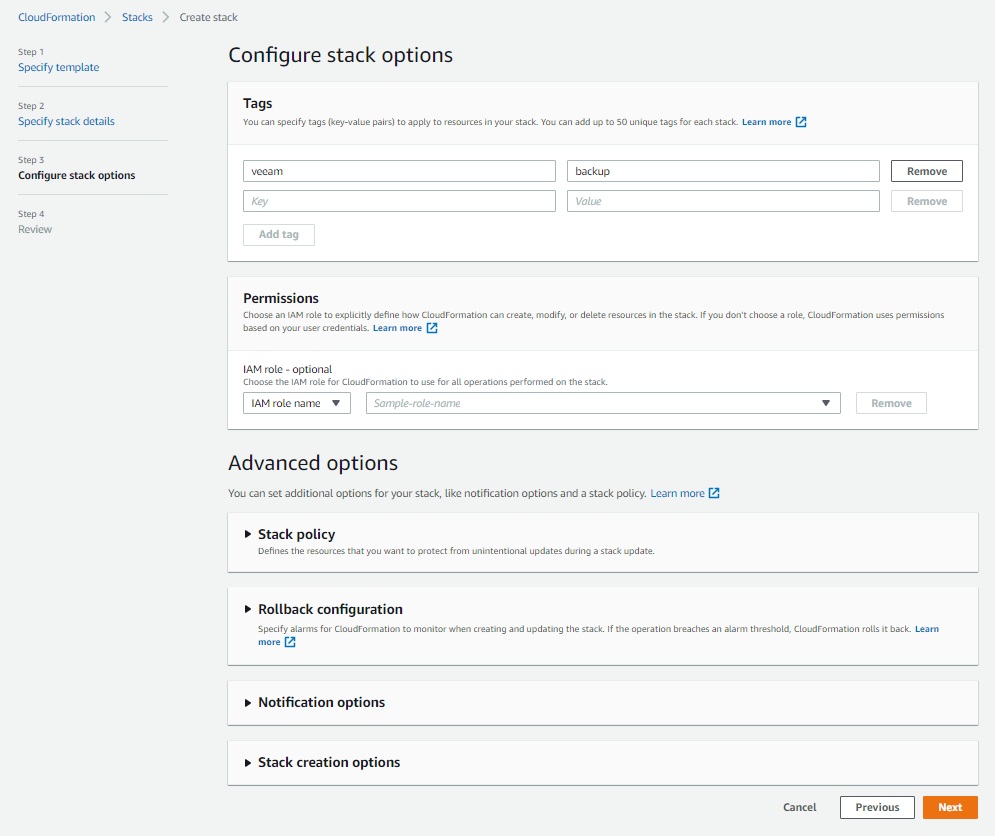
At the Configure stack options step of the wizard, specify AWS tags, IAM role permissions and other additional settings for the stack and click Next.
select the I acknowledge that AWS CloudFormation might create an IAM resources checkbox and Click Create stack.

You can monitor the status of the creation on the stacks page

Once the creation is completed, click on the stack and you can verify stack details
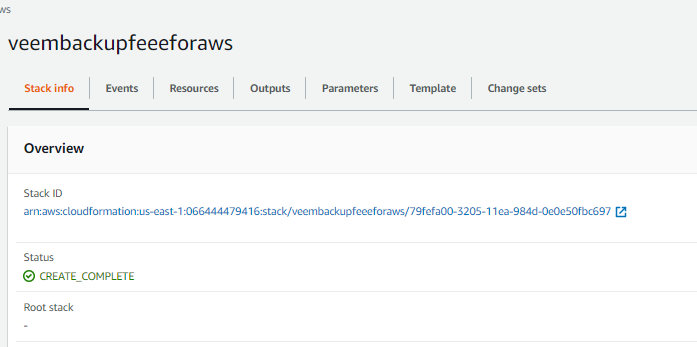
Next, navigate to EC2 Dashboard and check the new instance has been created and with the same stack name.

Select the instance and note the public IP or the Public DNS to access the Veeam Backup for AWs console and start the initial configuration

After the deployment of the instance, you must perform the initial configuration of Veeam Backup for AWS.
In a web browser, navigate to the Veeam Backup for AWS URL.
The URL consists of a public IPv4 address or DNS hostname of the EC2 instance on which Veeam Backup for AWS is installed like below
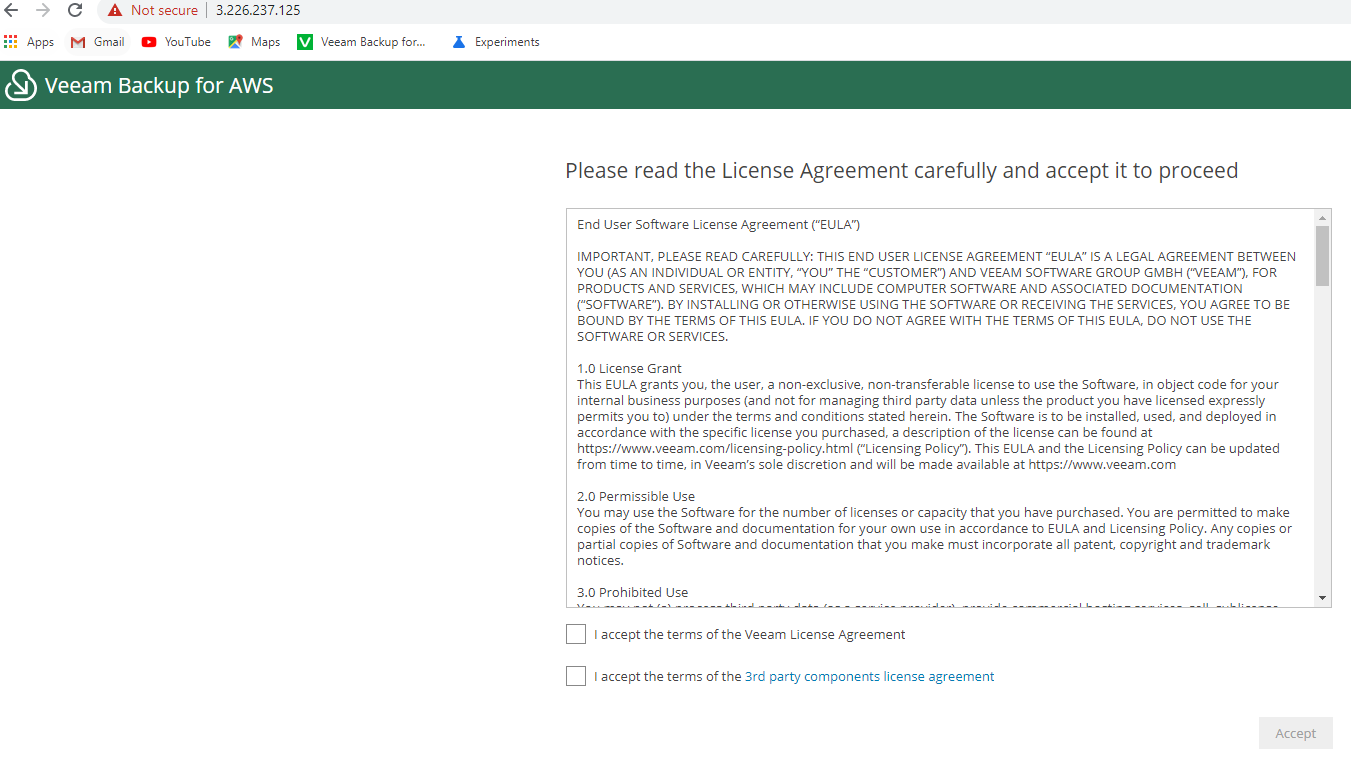
Read and accept the license agreement for Veeam and 3rd party components that Veeam incorporates by selecting checkbox and Click Accept
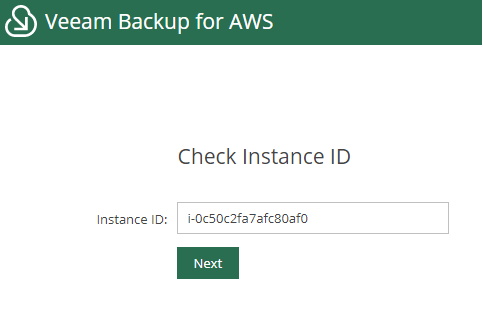
Provide the EC2 instance ID on which Veeam Backup for AWS is installed and click Next.
Specify credentials for the Default Admin user and click Create.
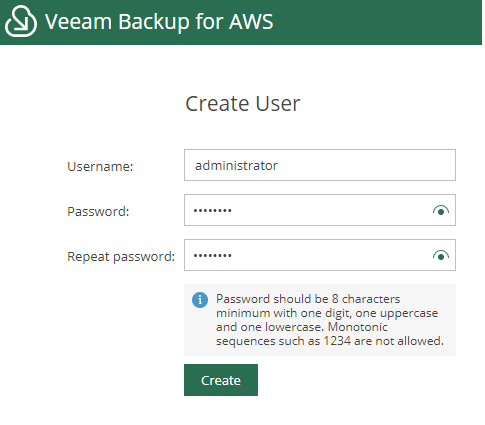
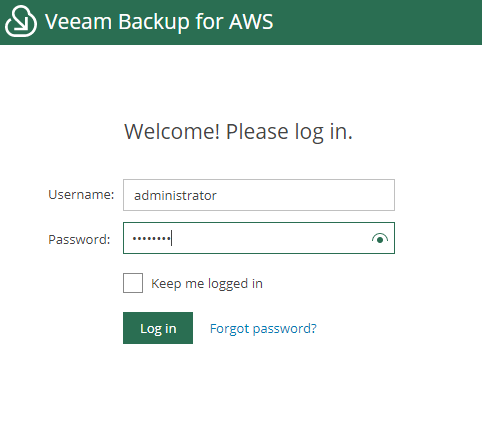
Once the user created you can login to the console using the Username and Password created in the previous step
Once you logged in you can see a console like below, next you have to perform the configuration which is required to set up the backup of your instance

Conclusion
Veeam Backup for AWS is a solution developed for protection and disaster recovery tasks for Amazon Elastic Compute Cloud (Amazon EC2) environments. And using Veeam backup Free edition you can backup up to 10 instances without any cost. Veeam Backup for AWS is a perfect and cost-effective solution for protecting your AWS instances. In this article, we have covered deployment and initial configuration of Veeam Backup for AWS solution, we will cover backup configuration and other options in the next article.