
VMware vSphere 6.7 has been announced by VMware recently and there are many enhancement and new features are available with this release.In this post I am sharing details about upgrade of Windows based vCenter Server 6.5 with embedded PSC to 6.7 version .
Current vCenter Configuration
Operating System – Windows 2012 R2
CPU and Core – 2 x 2
Memory – 16 GB
vCenter Version – vCenter Server 6.5 U1 with Embedded PSC
Database – Embedded SQL Database
I am performing upgrade from vCenter Server 6.5 U1 to vCenter 6.7 version , and not making any changes on configuration side . Also refer below checklist before proceeding the upgrade to new version .
Download the VMware vCenter Server and Modules for Windows ISO from VMware Official Website.
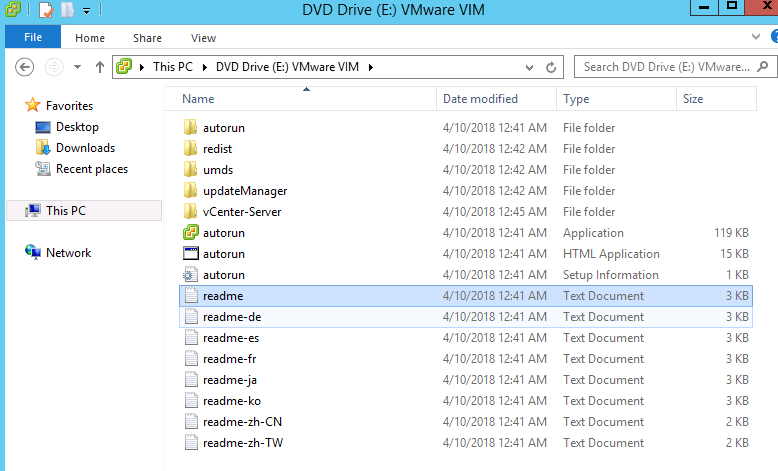
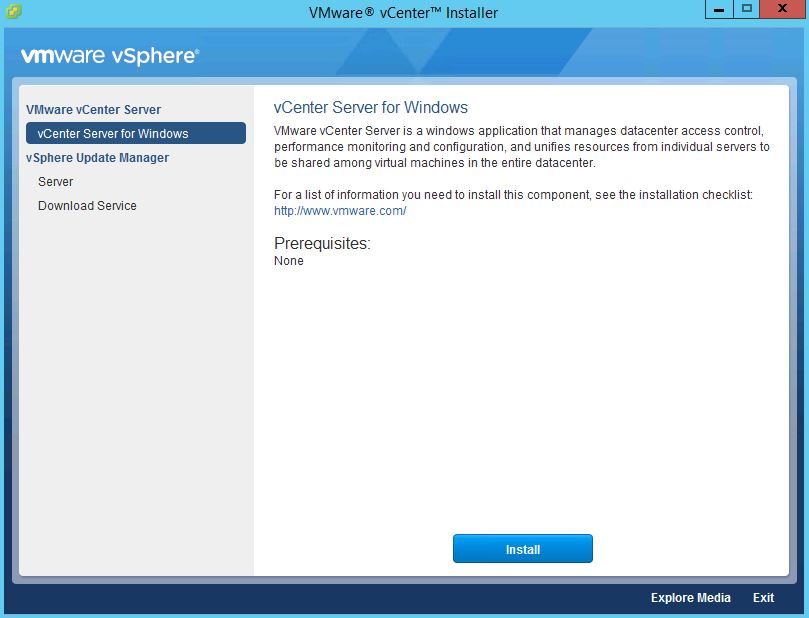
Mount the ISO and right click autorun.exe, select Run as administrator. The VMware vCenter Installer will open. Ensure vCenter Server for Windows is selected and click Install.
The vCenter Server 6.7 Installer will open in a separate window, select vCenter Server Windows and click Next.
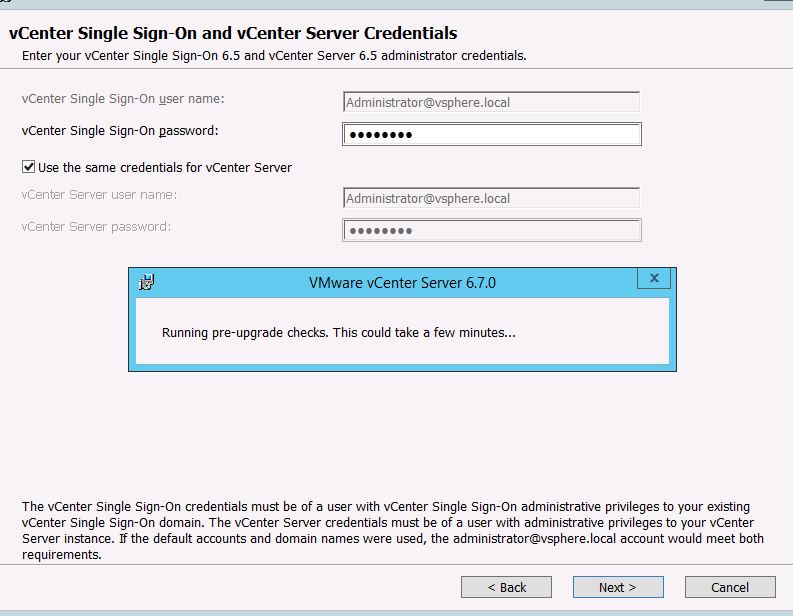
Enter the current vCenter Server 6.5 SSO credentials and you can choose the same for vCenter Server and click Next
Note:If SSO administrator account has been removed from the vCenter administrators the you have to use the credentials of vCenter administrator.
The installer will now run pre-upgrade checks and continue after that
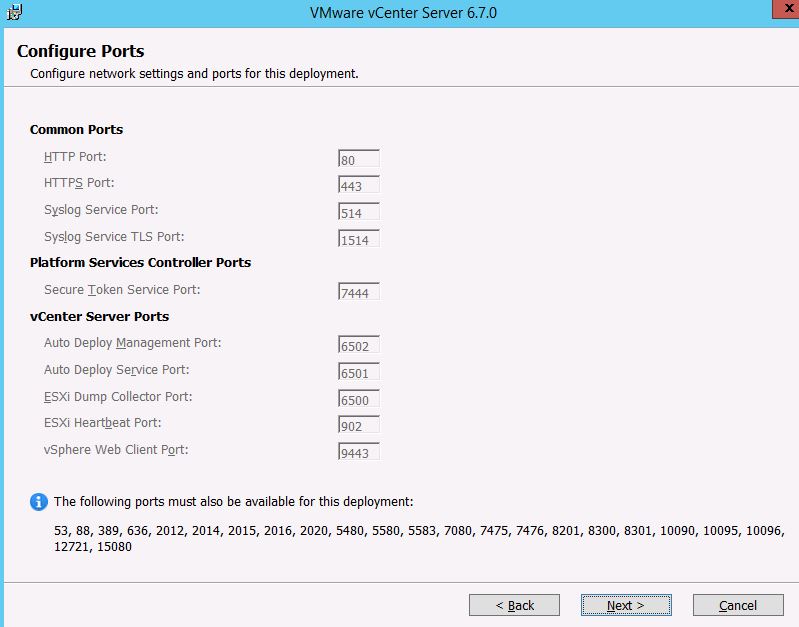
It will list the default ports required and configured , Click Next to Continue
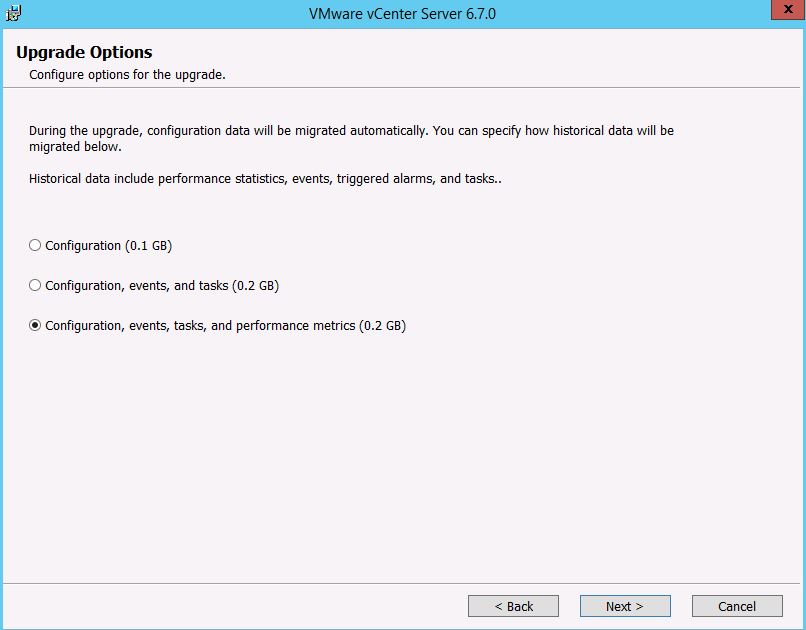
Select the type of data to migrate during the upgrade, click Next.
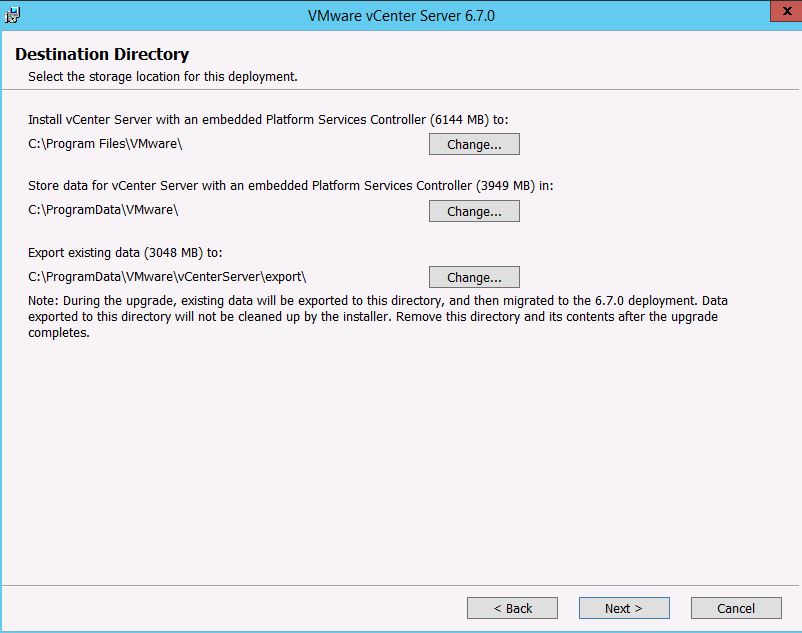
Select the installation directories. and Click Next
Note: You will need to remove the data export location folder after verifying the upgrade is successful because it won’t remove automatically after the installation , the default location isC:\ProgramData\VMware\vCenterServer\export.
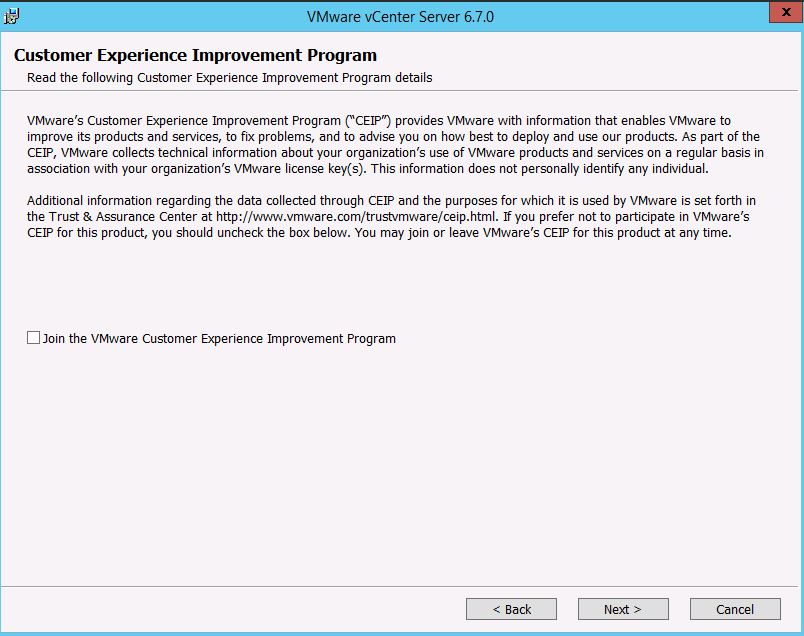
Tick or untick the VMware Customer Experience Improvement Program as appropriate and click Next.
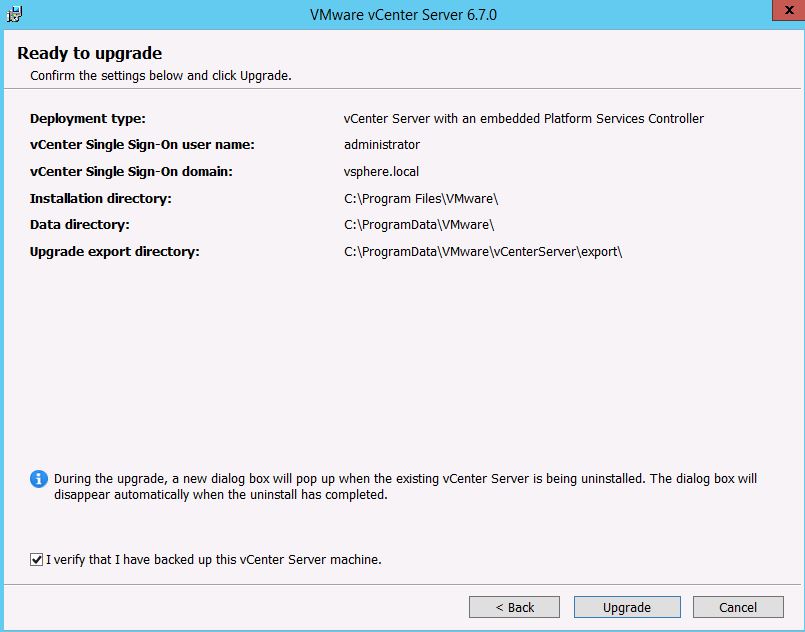
Check the configuration on the review page, check the box to confirm that you have backed up the vCenter Server, and click on Upgrade to begin the installation .
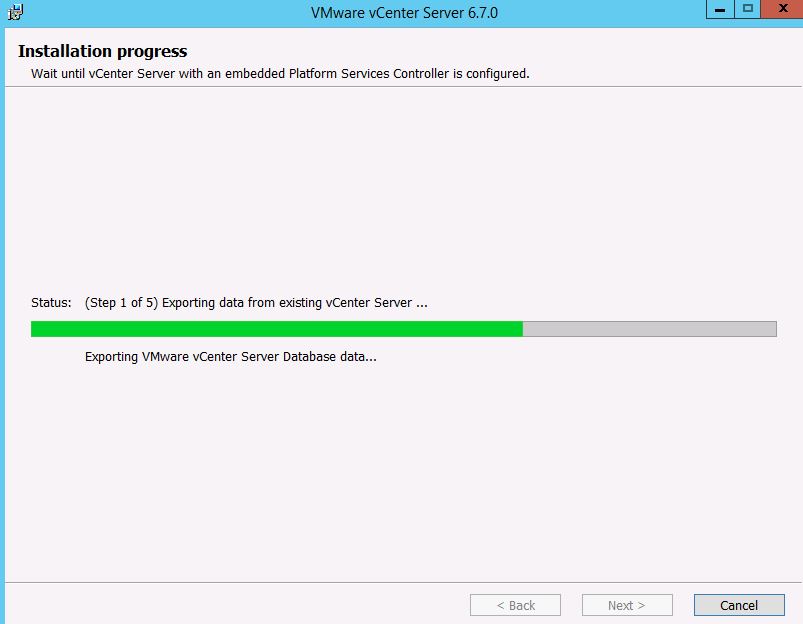
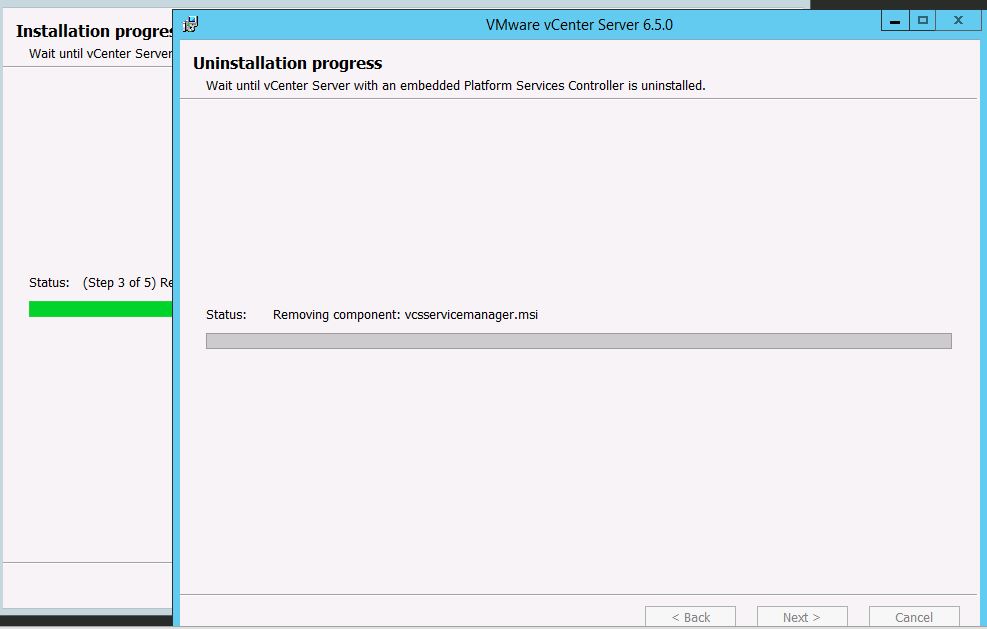
new windows will come up with a progress bar , upgrade is 5 stage process it will take few minutes based on the existing setup .
Different Steps of vCenter Upgrades

From version 6.7 onwards TLS 1.0 is disabled and TLS 1.1 will be used and incase a you need to use old TLS you can run reconfiguration tool from directory as show in below image .

Also After upgrade you have reconfigure DHCP setting for auto deploy

After Completing the installation you can Click on Launch vSphere Web Client to open vCenter on default Web browser
Click Finish to Exit the Installer .

Also you can Connect to the vCenter by using the IP or FQDN of the vCenter. and start accessing the new vCenter 6.7 re by clicking either the vSphere Web Client (Flex) or the vSphere Client (HTML5).
As we discussed on earlier posts new HTML5 client has most of the features available Start accessing the vCenter and learn new features .

Note that if you have installed and configured Update manger then you have to perform upgrade of that also with version 6.7 .