HP StoreVirtual Storage VSA Installtion & Configuration
Continue of Part 1
- Select the host name / IP address of the ESXI host from drop down menu and click Next
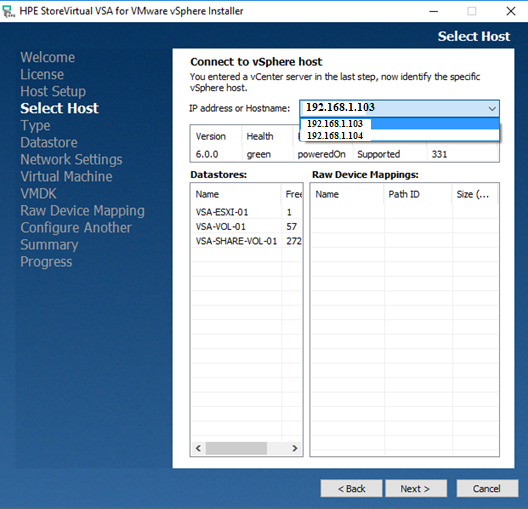
Note:-You may see the Datastore information form this window.
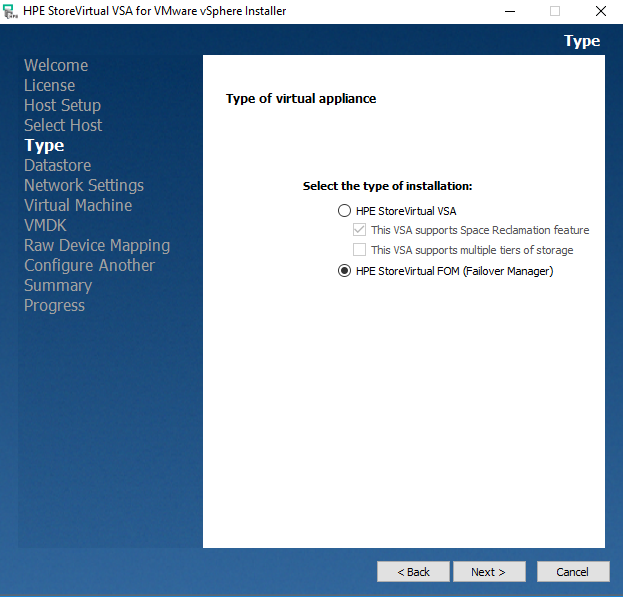
- Select the HPE Storevirtual VSA and sub two options as shown in the below image and click Next
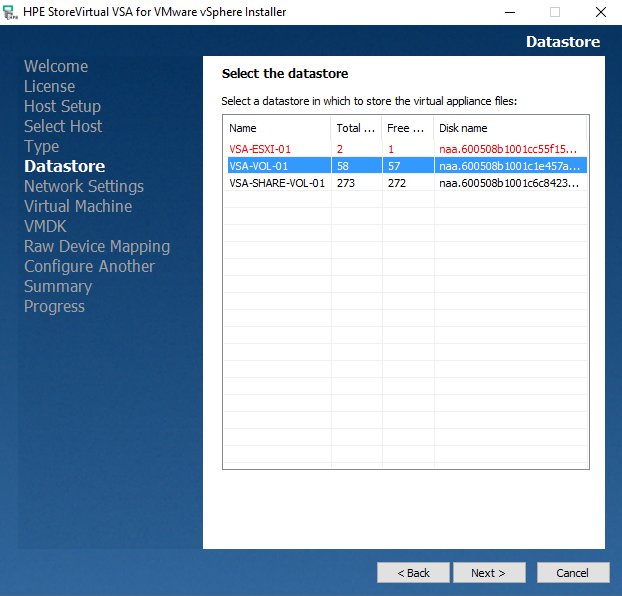
- Select the Data store and click next to install the VSA appliance which the VSA should reside
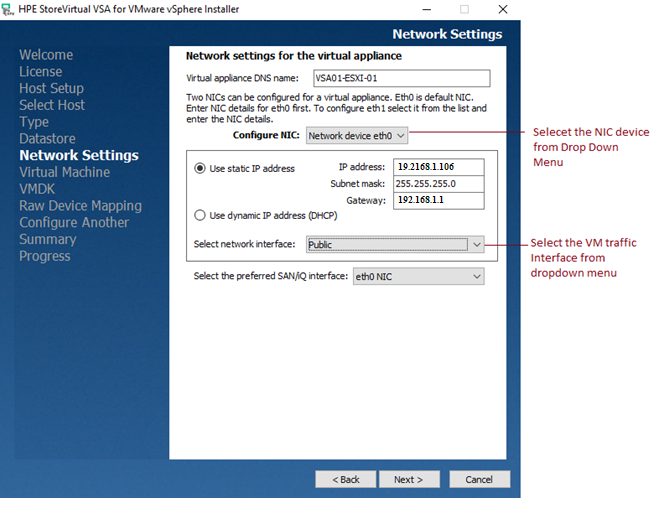
- Provide the Name for VSA – Appliance , Select the NIC , inut the IP Address and VM port group for communicating to Public Network and Click Next .This step covers the NIC setup of the VSA. Recommended to use two NICs for the VSA: One for management and a second one for iSCSI traffic .
- Give a name to the VM and to select the drive type , Prefer same as Appliance DNS Name
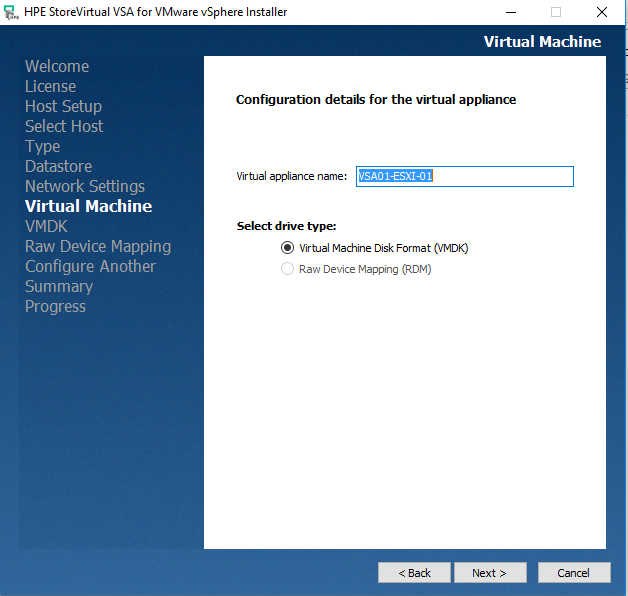
Note: – Since there is no RDMs currently the option is greyed out.
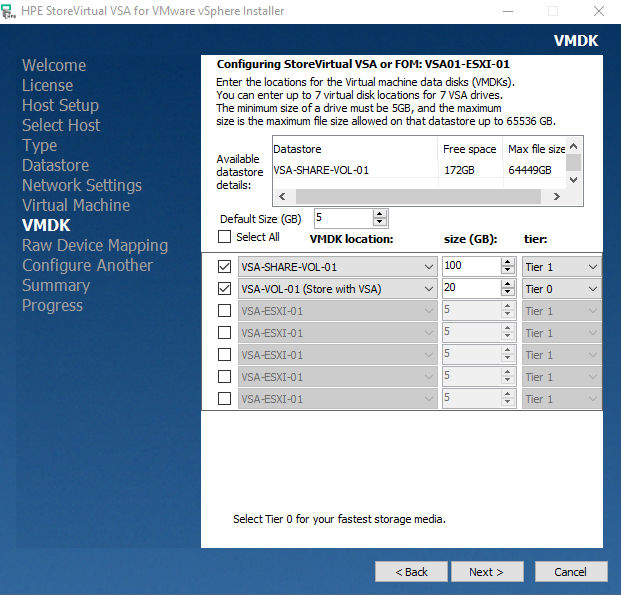
- Now we have to configure the data disks .This Data disks will be used for creating shared volume for ESXi hosts.

Note: – Also we can configure the Tiering, Select the Data store, Size and Tier, Tiering will be on differ type of disks like SSD, SAS or NL SAS. If have to use AO (Adaptive Optimization) Tiering should be configured. Refer # Step
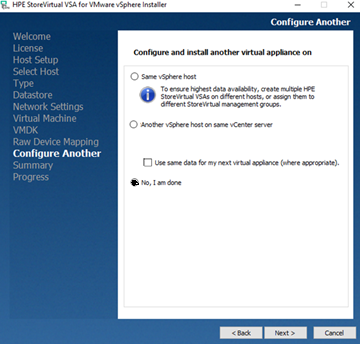
- Select No, I am done and click next , this option will deploy the Appliance
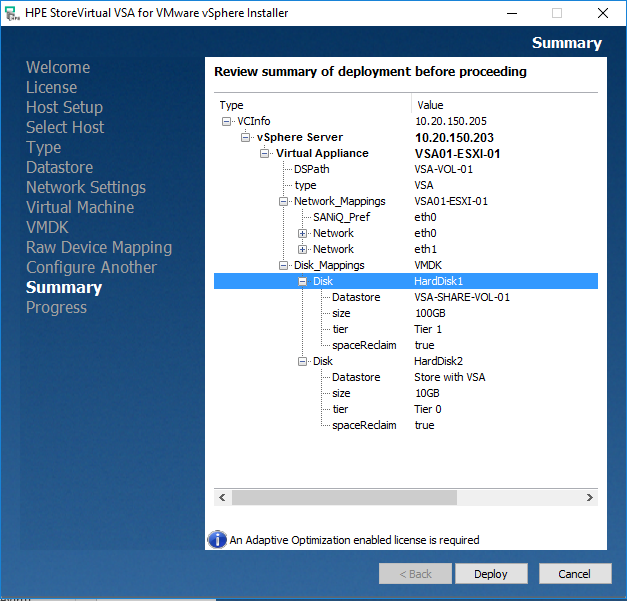
- Before you click Deploy check the settings of Appliance. If everything is fine, click the Deploy button. The deployment will start immediately
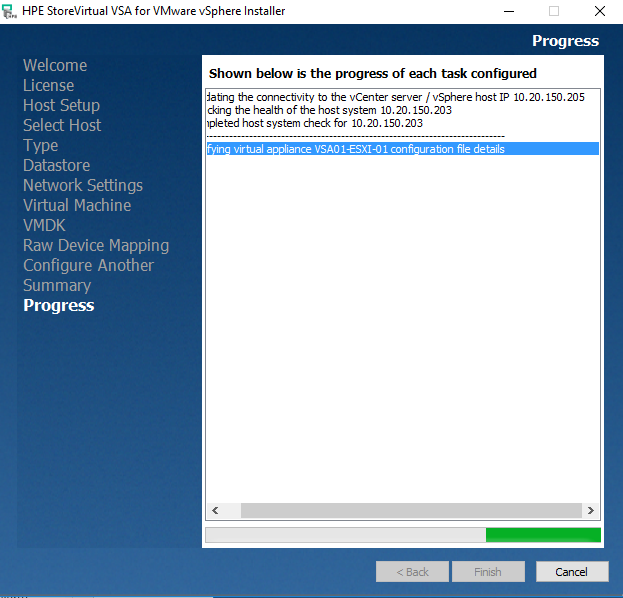
- Deployment started and it may take few minutes to complete.
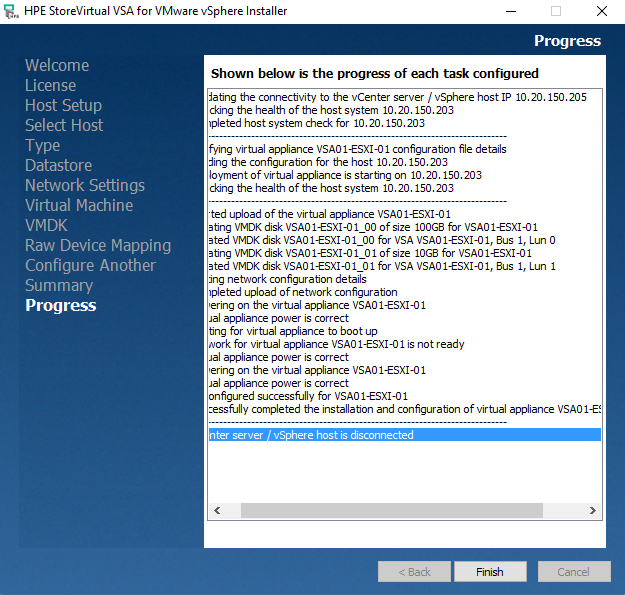
- Once the deployment is finished, Click “Finish”. Start the Centralized Management Console (CMC) and add the VSA nodes. If CMC already installed you may close the wizards else CMC is installed automatically by the wizard.
Continue PART 3
See – Part 1 , PART 2 , PART 4


