
Here were are discussing about how can we do backup ad restore vCenter server appliance . This option is very useful incase of a disaster and your VCSA is no longer available, it’s time to put that backup to use. Make sure to have the original ISO used when deploying or upgrading your VCSA .
Backup and Restore VCSA 6.5 needs to be performed from different interface. Backup of VCSA 6.5 needs to be performed from VAMI (Appliance Management Interface) of vCenter Server appliance.
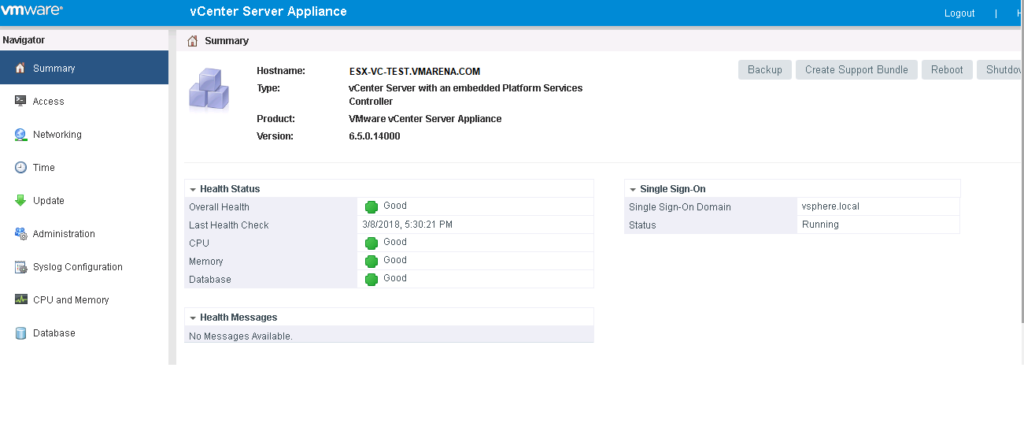
Login to VCSA using vCenter FQDN or IP :5480 on the web browser and login with root credentials.
In the Summary tab, Click on “Backup” to start the backup of the vCenter Sever appliance.
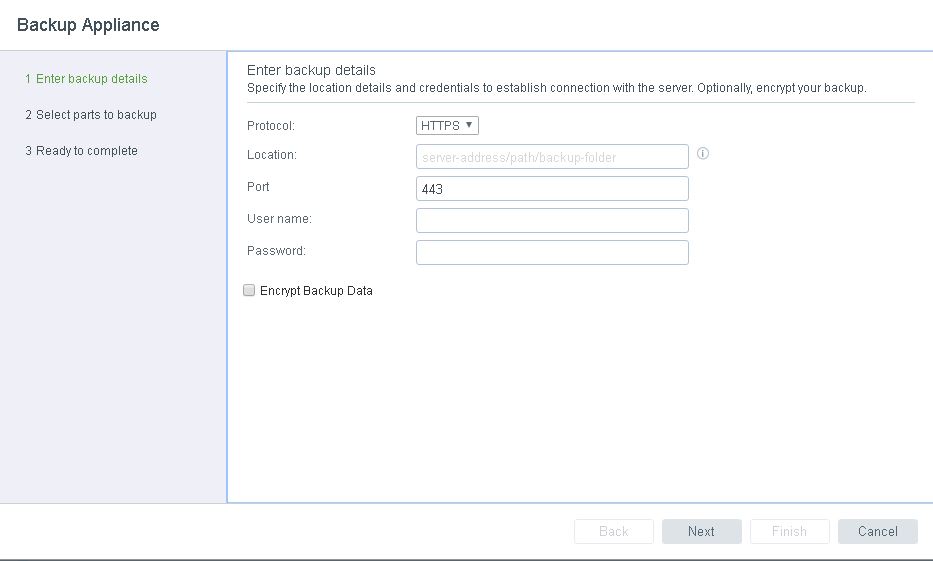
VCSA backup can be backed and sent up to different location using different protocols , below are those
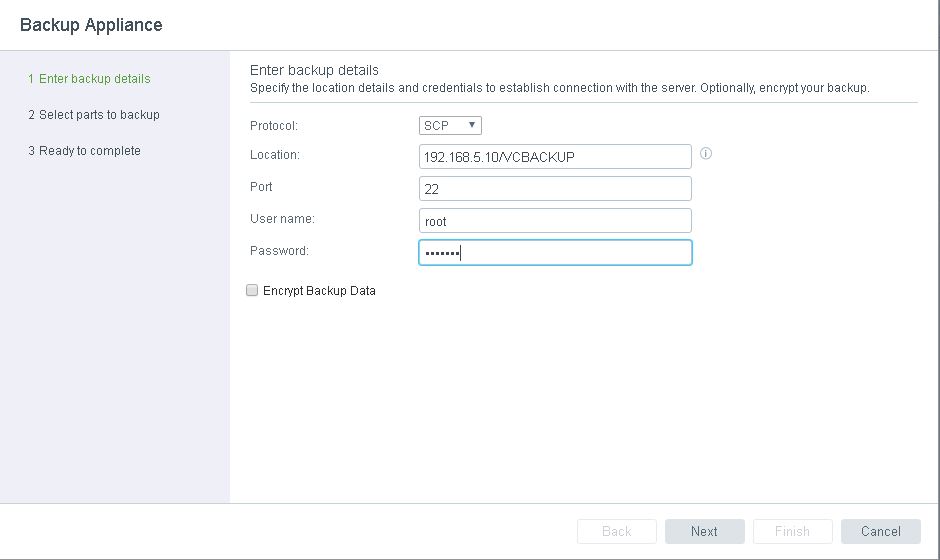
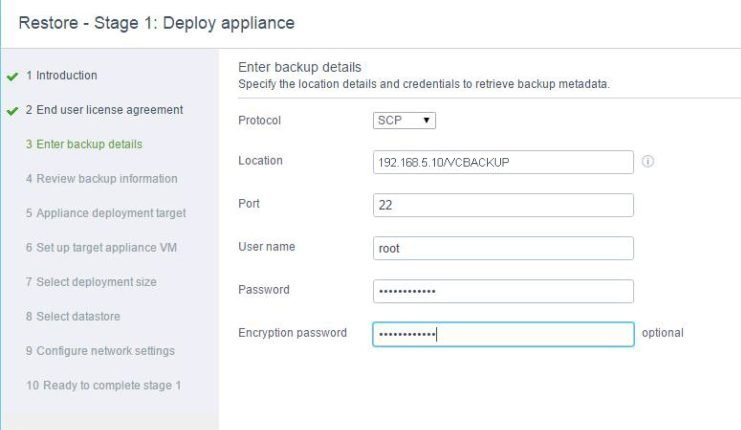
This scenario am using SCP option to transfer VCSA backup files to the remote location. Specify the credentials for accessing the remote location to store the VCSA backup files. If encryption required select the encryption option to encrypt the data .
Note : Remember the password using here same required while restoring the backup.
During the backup minimum set of data needed to restore the appliance will be backed up by default. This data includes OS, VC services, vCenter Server database, inventory and configuration etc. You can also choose to backup additional things such as Historical data which are available on the vCenter Server database.
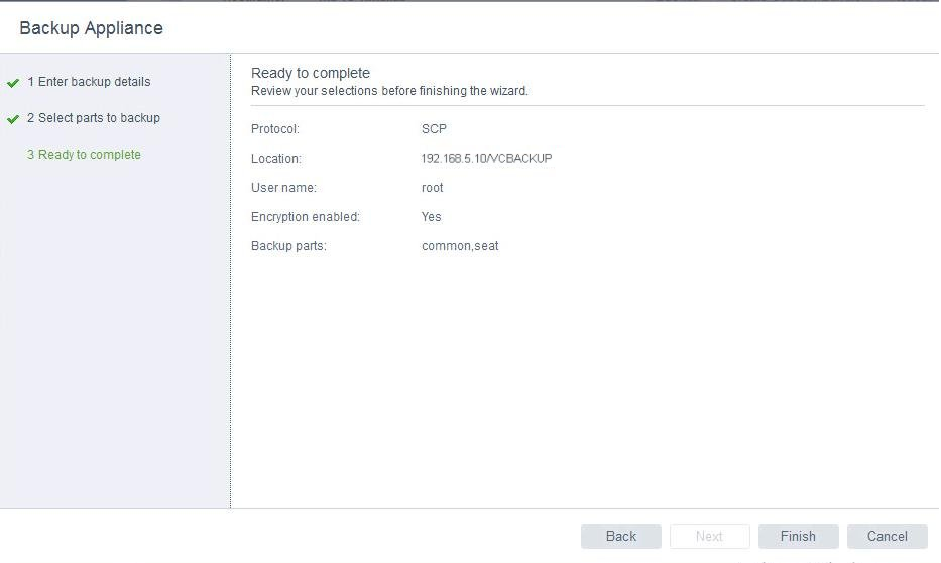
Review the backup option selection and Click on Finish.
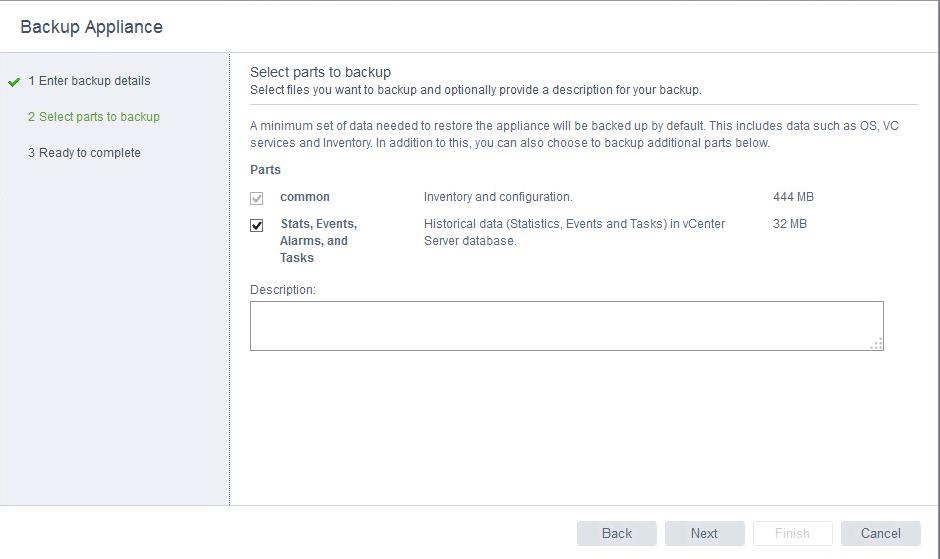
Backup will take few secs to minutes to complete based on the data size of the vCenter server appliance. Once backup is completed, Click on Ok.
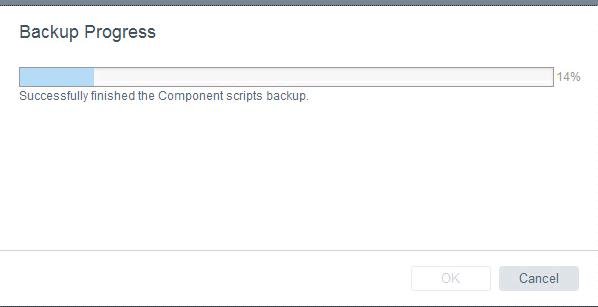
Once the backup of is completed, you may browse the location for the backup file and validate files are stored on the defined backup location.
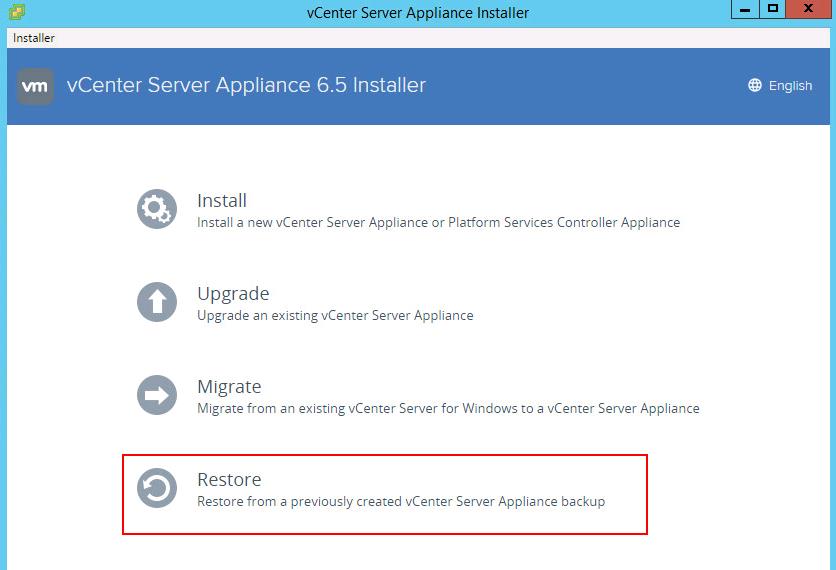
Restore process is the straight forward process and it needs to be performed from the VCSA 6.5 installation media. Launch the VCSA 6.5 installer, Click on Restore to restore VCSA from a previously created vCenter Server appliance backup.
Specify the backup location details and credentials to retrieve the backup metadata information. Restores option will restore vCenter server appliance to a brand new appliance with the existing backup data.
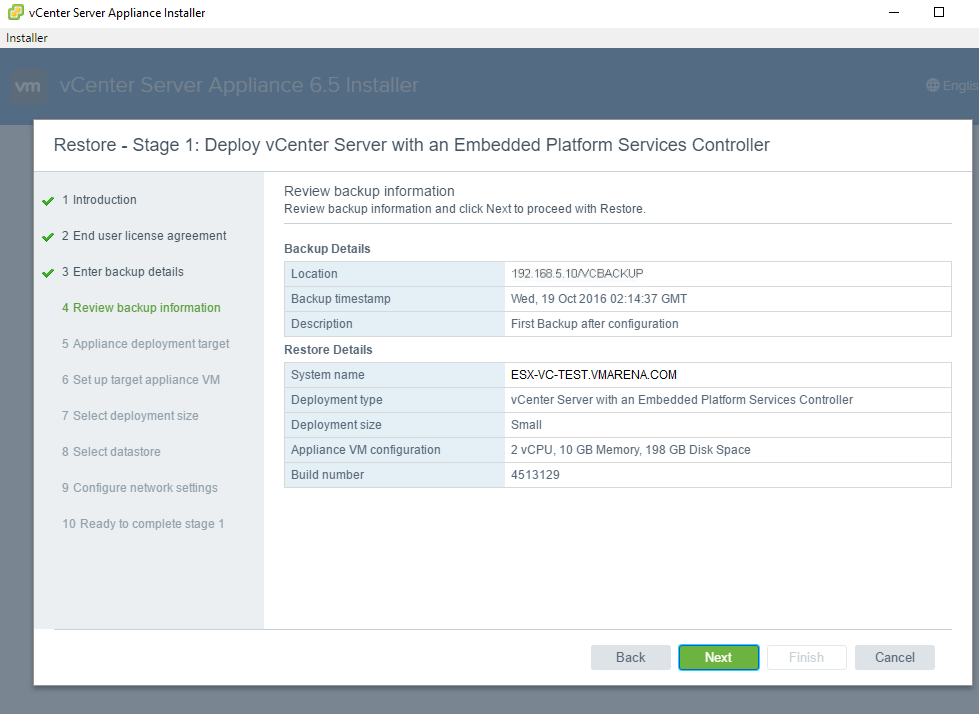
The Appliance Installer UI will then have you review your backup information. Ensure you have the correct backup and pay attention to things such as the Appliance Build Number and size.
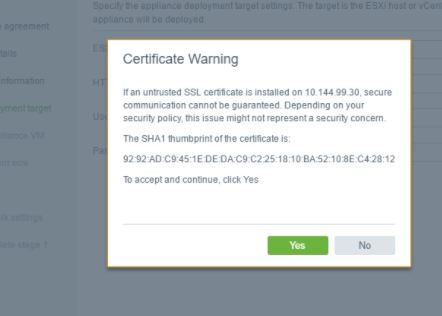
There will be warning pop up due the certificate , if you want to use same proceed .
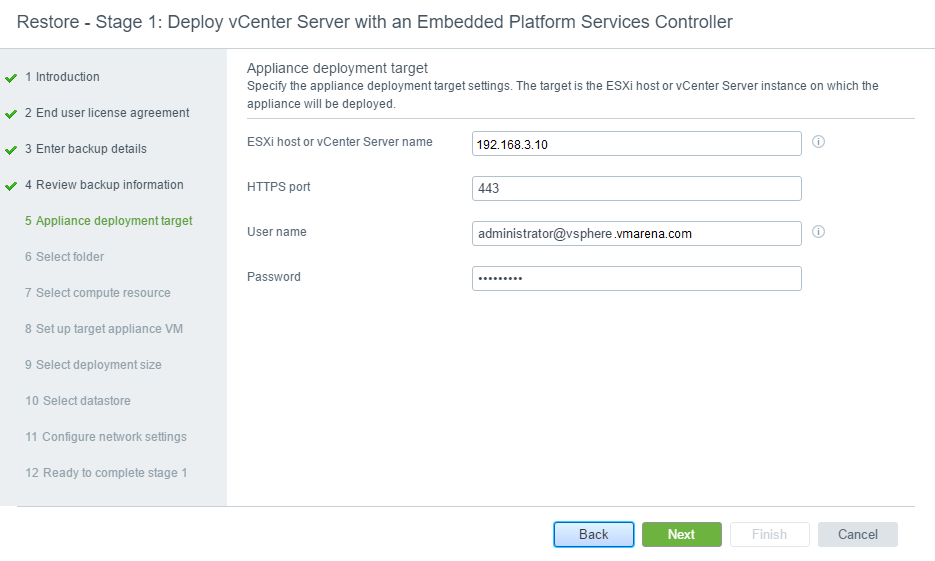
Next,select your target for VCSA ,Select an ESXi Host or vCenter Server for deployment
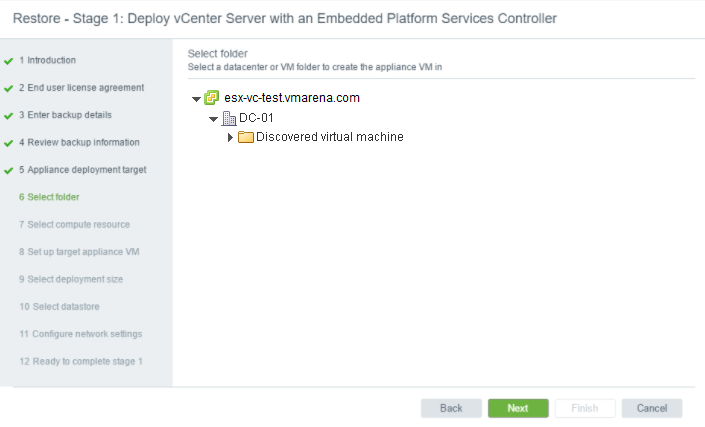
Select a folder for the VCSA
Next you have to select the ESXi host
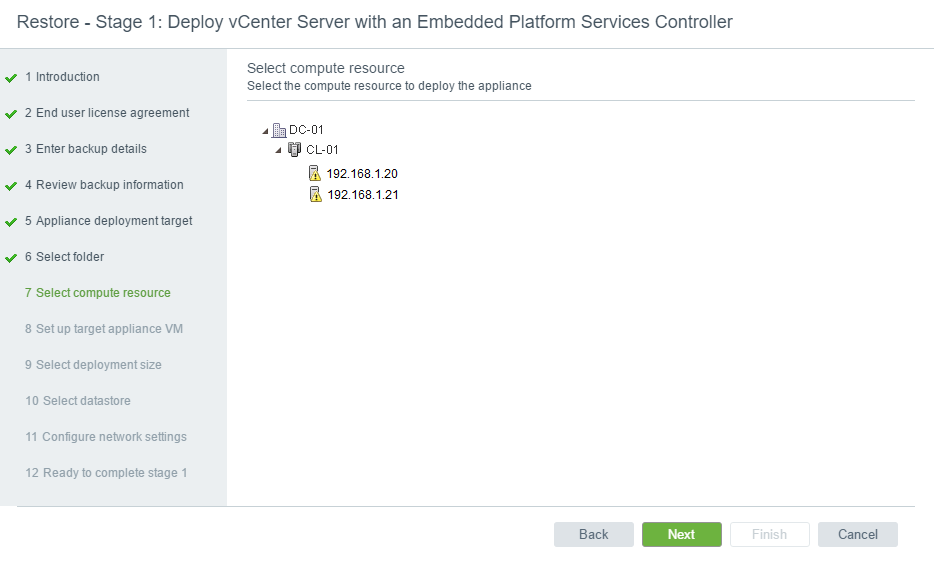
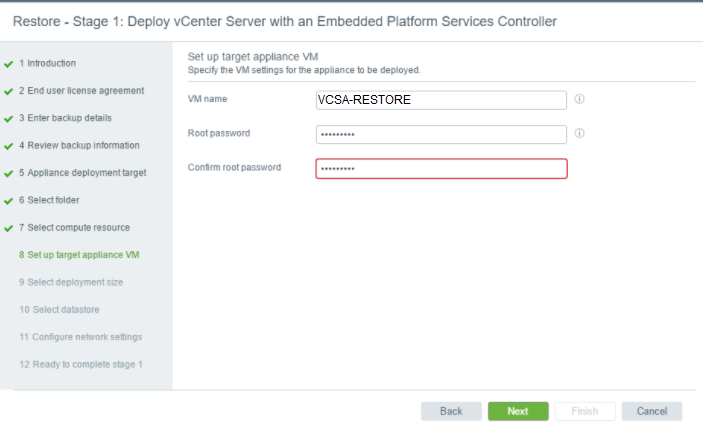
Provide a VM name
Note:-If you want same name as old VCSA , then remove other one from VC or Rename it .
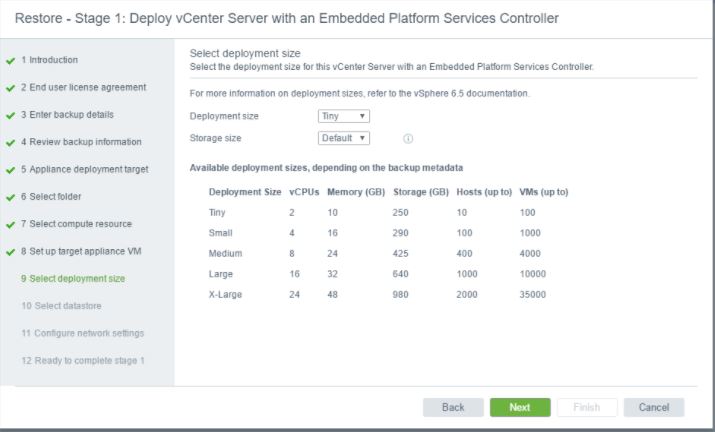
Select the size of VCSA you originally had, or resize larger if required
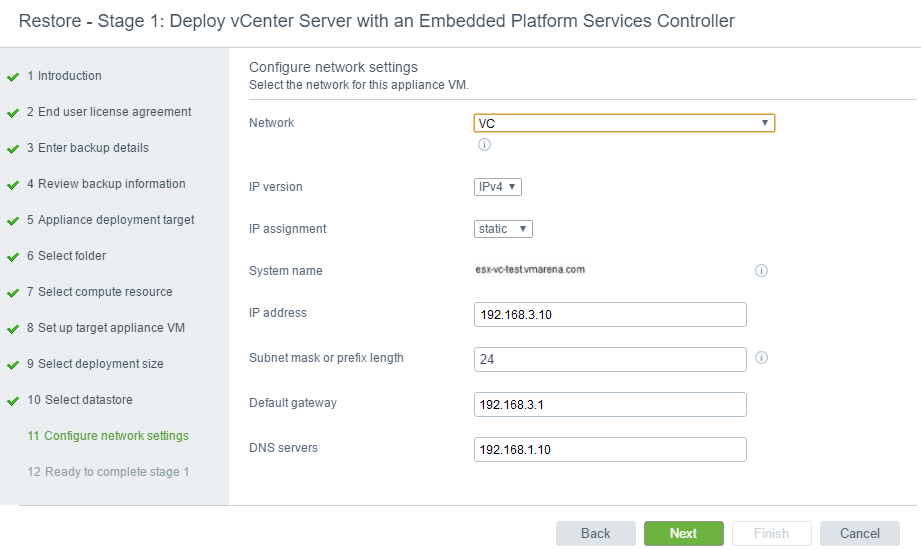
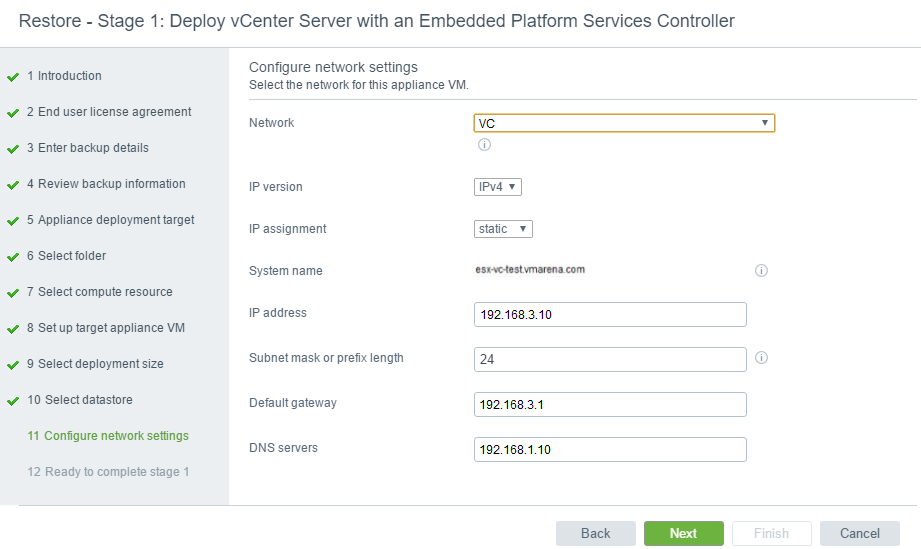
Select the target PortGroup and and enter the network details
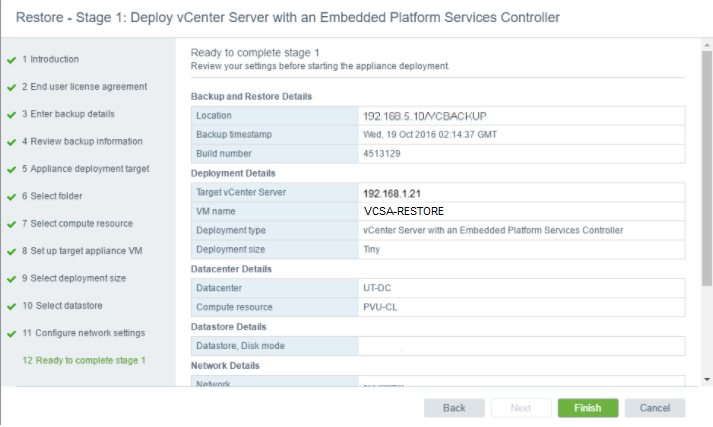
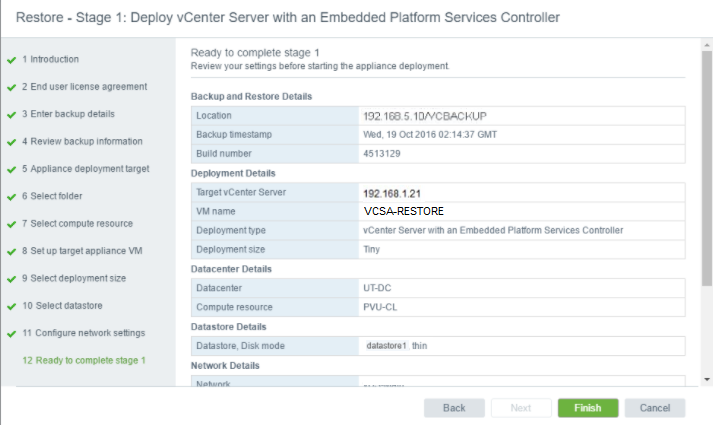
Review all the details and click Finish .
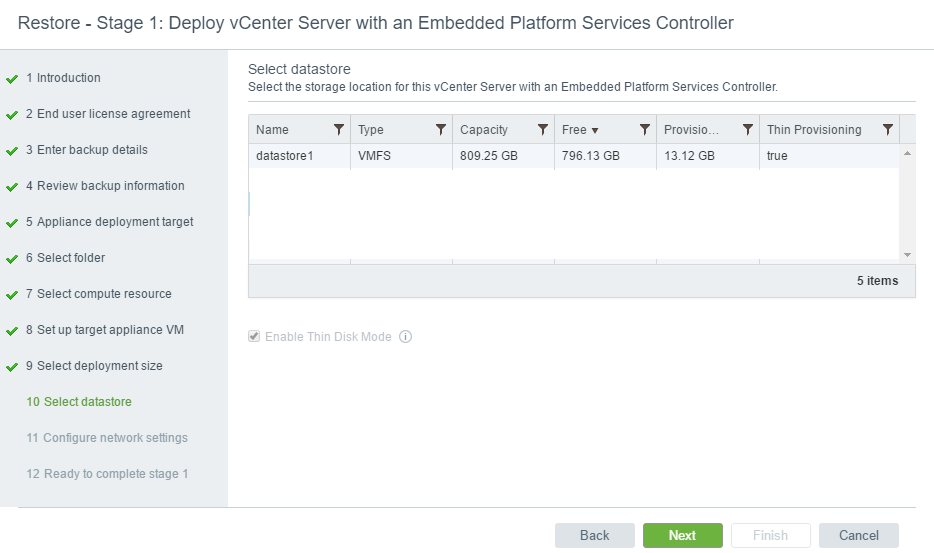
Choose a datastore for the VCSA VM to deploy
Select the target PortGroup and ensure the network information is still correct.
Review all settings and click ‘Finish’.
The VCSA will begin deploying to the location you have chosen .
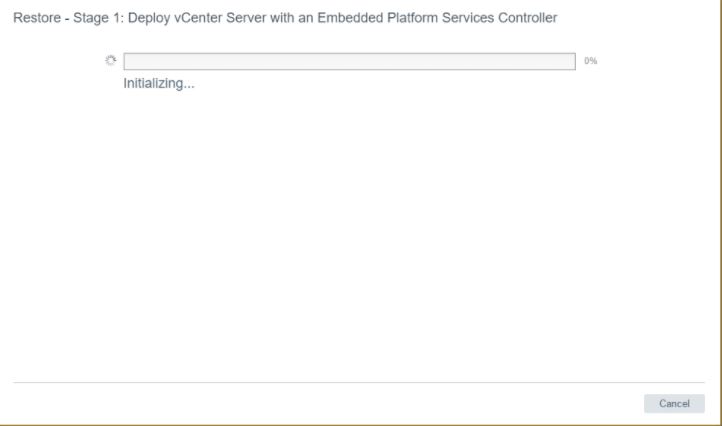
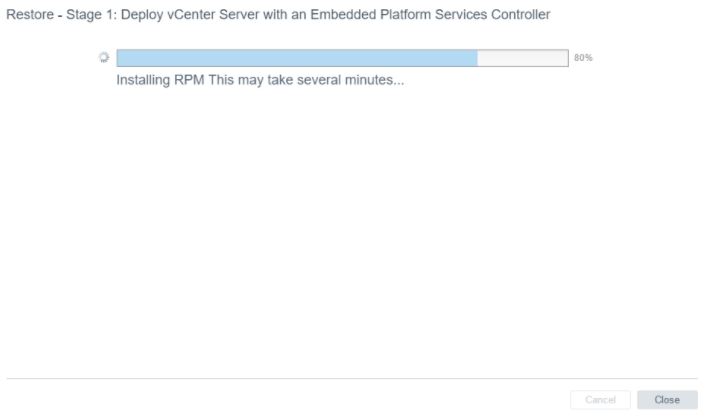
click ‘Continue’ to being stage 2 of the restore
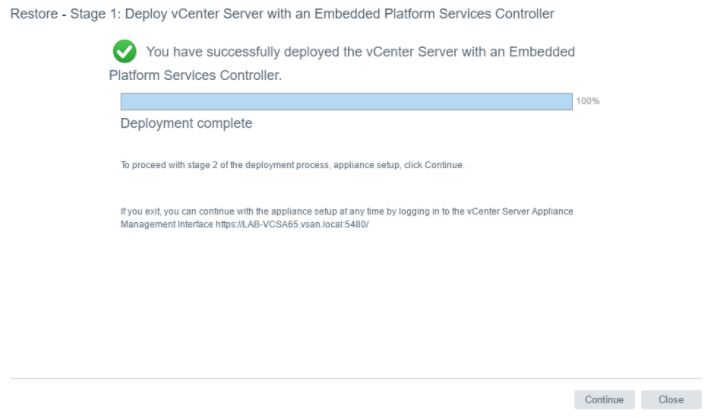
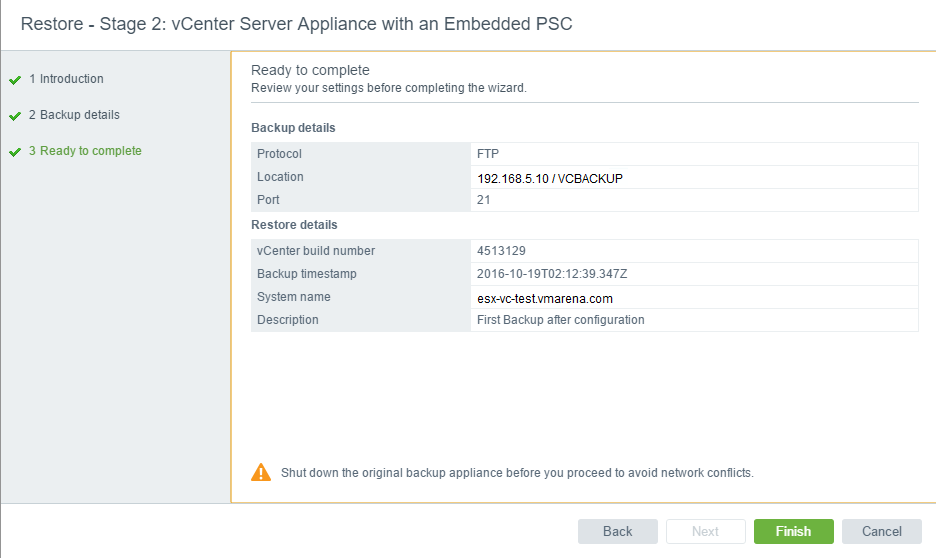
Next will be Stage 2 and it is about the VCSA configuration. Click ‘Next’ to begin to start configuration
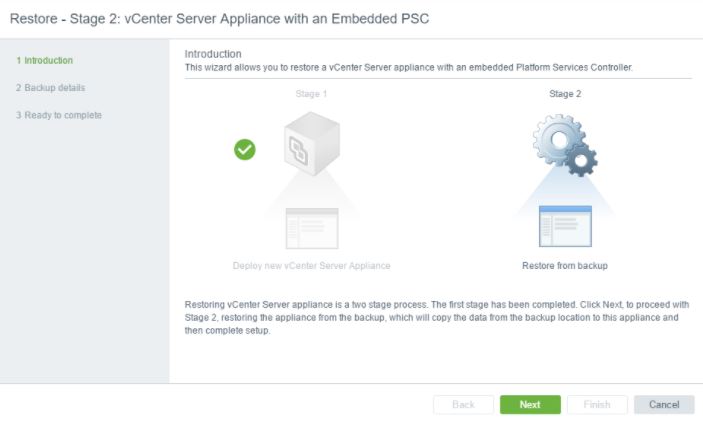
Verify the backup details and if it is all correct , click ‘Finish’
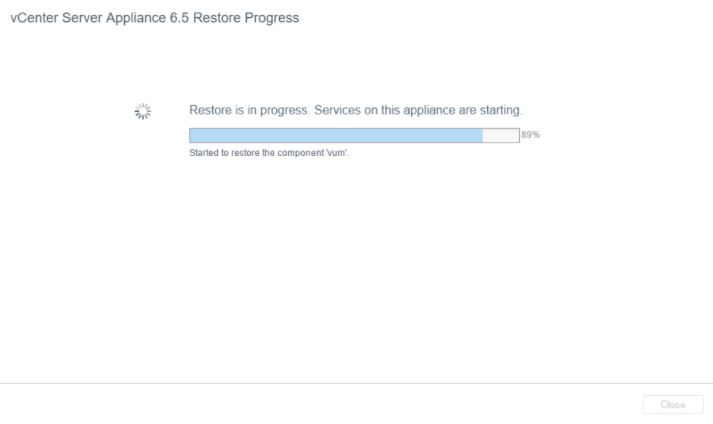
You can see the vcsa restore progress
After completion ,will get the links to the Web Client and ‘Getting Started’ pages same like initial implementation of VCSA.