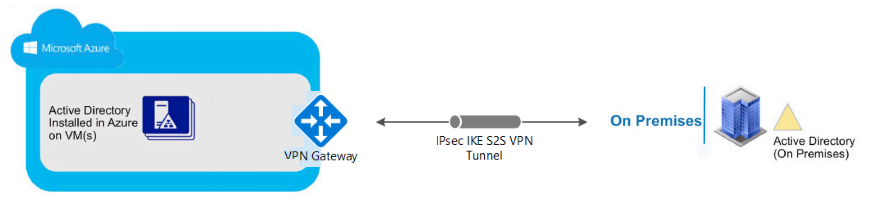
In this article, we will share how we can do a replication from On-Premise Domain Controller to an Azure Virtual Machine. If you want your on-premises AD forest to be truly extended into the cloud, the best option is to continue to use virtual machines running the Active Directory Domain Services role. Replication from On-premise Domain Controller to a virtual machine hosted in the azure required dedicated VPN network which we discussed in pout previous article. Once you have the to site VPN available you can start to configure the replication.
Prerequisites
- On-Premises Domain Controller
- Site to Site VPN Connection from Azure to On-Prem Network
- Valid Azure Subscription
- Azure Virtual Machine (with the Active Directory Service Role Installed)
Steps Involved
- Create Virtual Machine in Azure With connected to the S2S VPN configured VNET
- Configure the DNS on VNET to On-premise Domain Controller IP
- Install Active Directory Service Role in Azure VM
- Promote the Azure VM to Domain Controller
Create a Virtual Machine in Azure
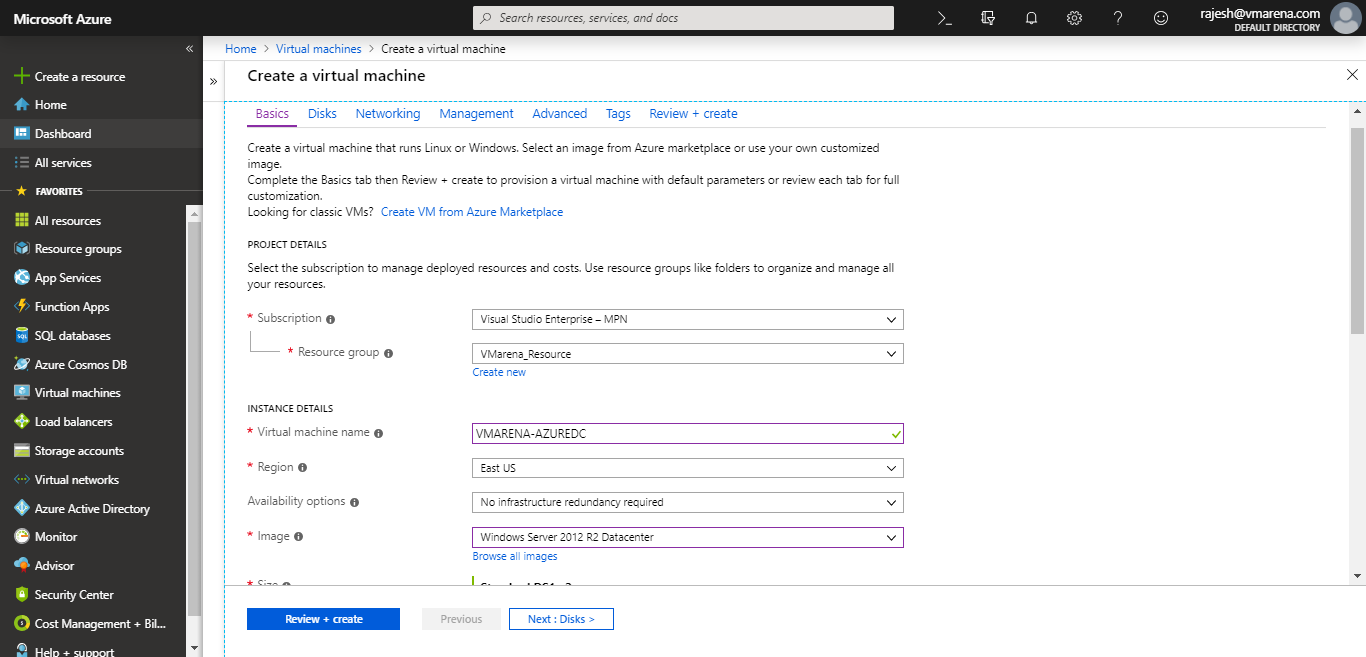
- Login to Azure Portal
- Navigate to Virtual Machine and click on Add Button
- Fill in the information in the VM creation Page
VM Name, Image – Server OS, Size of the VM ( Resource), Login Credentials Click Next
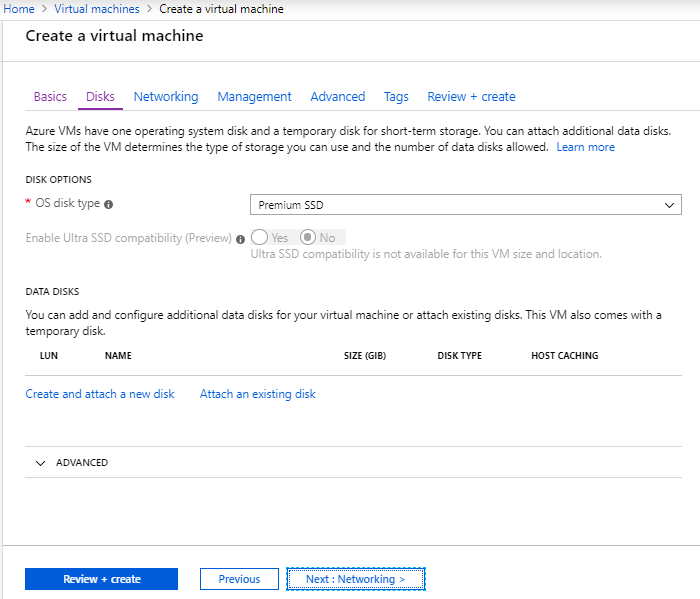
- Select the OS Disk Type and if required add or attach an existing disk, Click Next
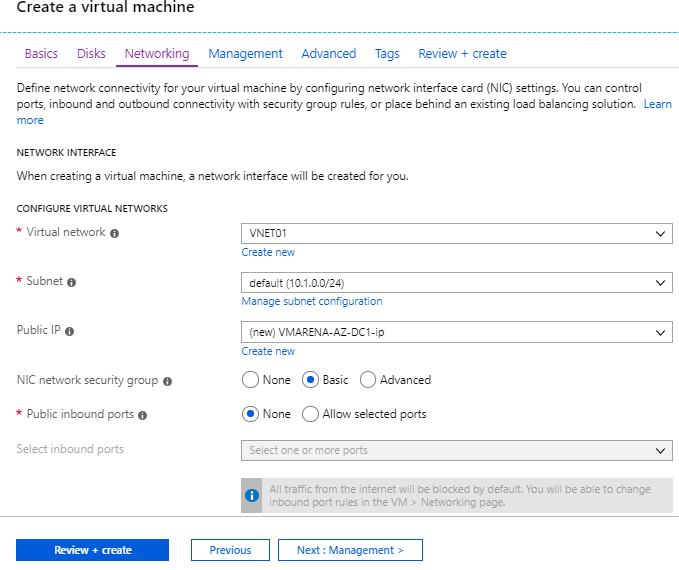
- Select the Virtual Network which has a connection to the site to site VPN, Subnet, Security group to Basic, Create New Public IP then Click Next
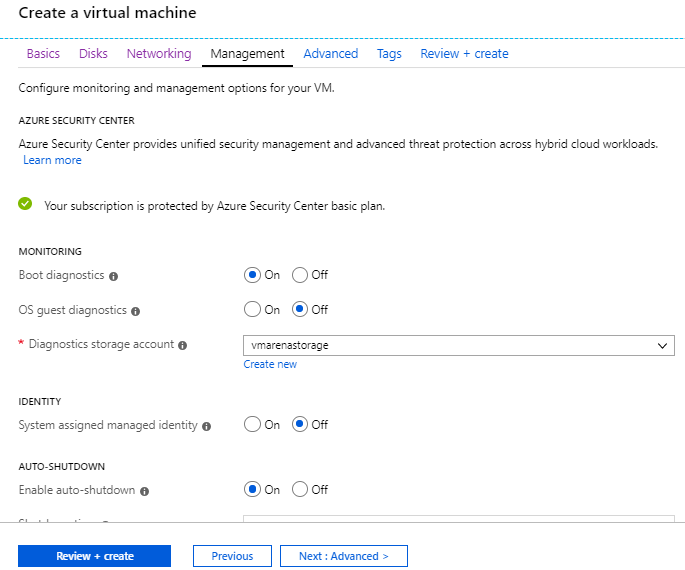
- Choose the required option or leave as default and Click Next
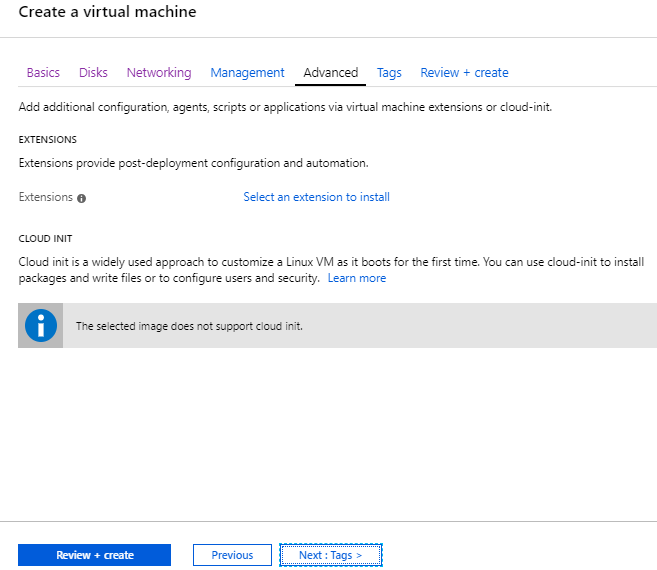
- if required you can configure else skip and Clik Next
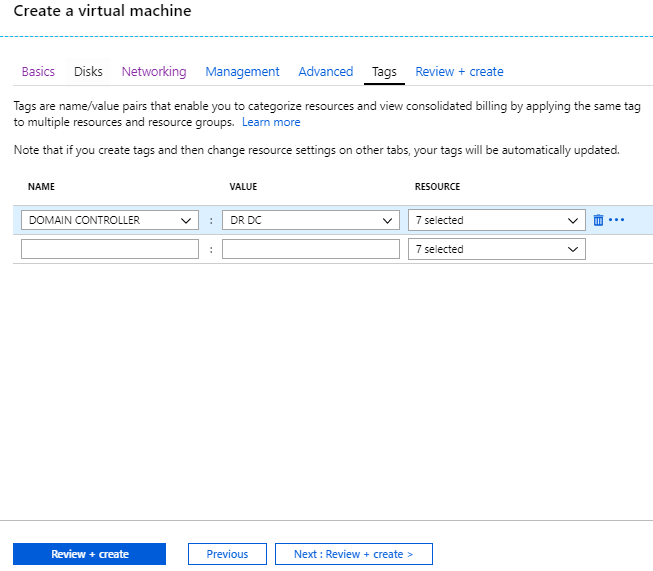
- Provide a tag to future reference purpose and Click on Review and Create
Once the Validation is passed and Clik on Create
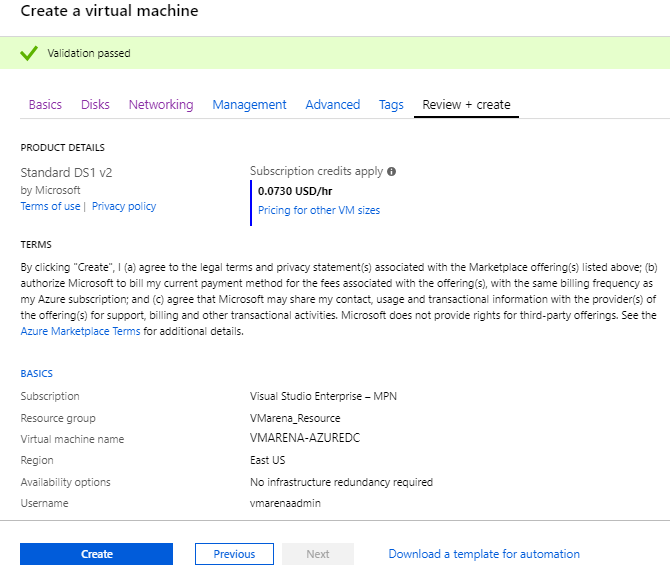
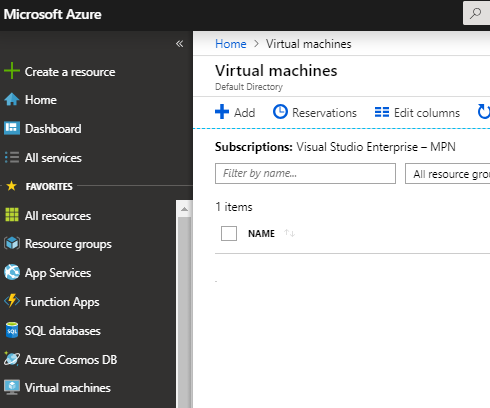
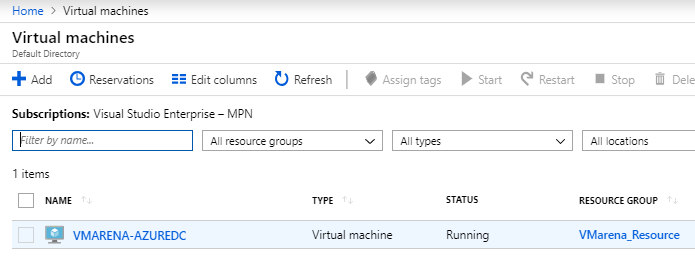
It will take some time to finish the creation once created you can view the server under virtual machines tab
Refer How To Create A Virtual Machine In Microsoft Azure more details
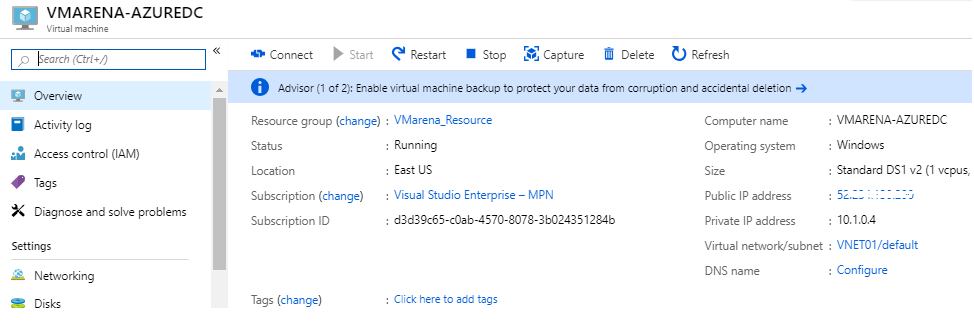
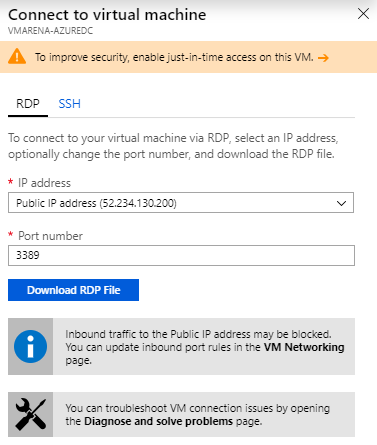
- Click on the Newly Created Virtual Machine and access that from Connection Option
- You will option to download the RDP file, once downloaded open the file and it will ask for the credentials
- provide the credentials created the first step of the VM creation
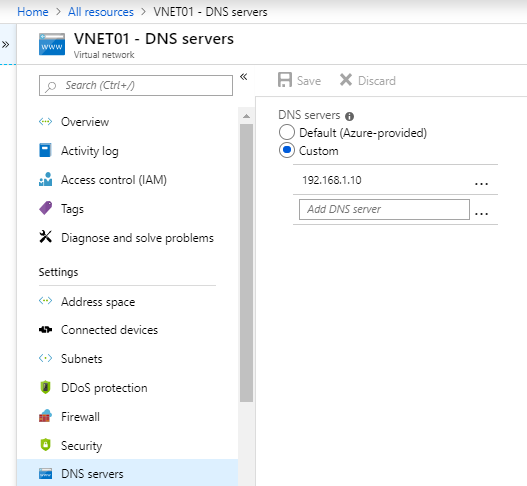
- Navigate to VNET Connection of the VM and Select the DNS Servers
- Click on custom and add the On-premise Domain Controller IP
- Login to the Newly Created Azure Virtual machine
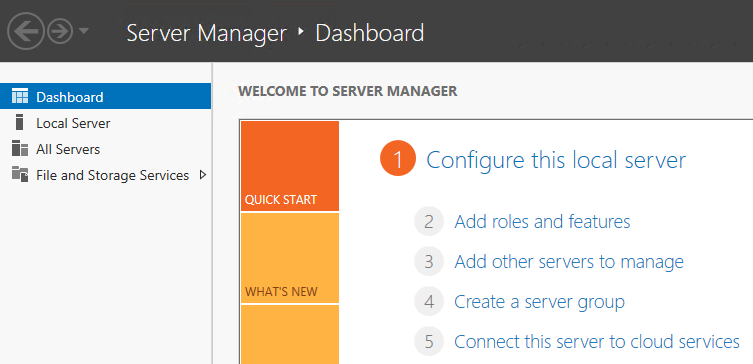
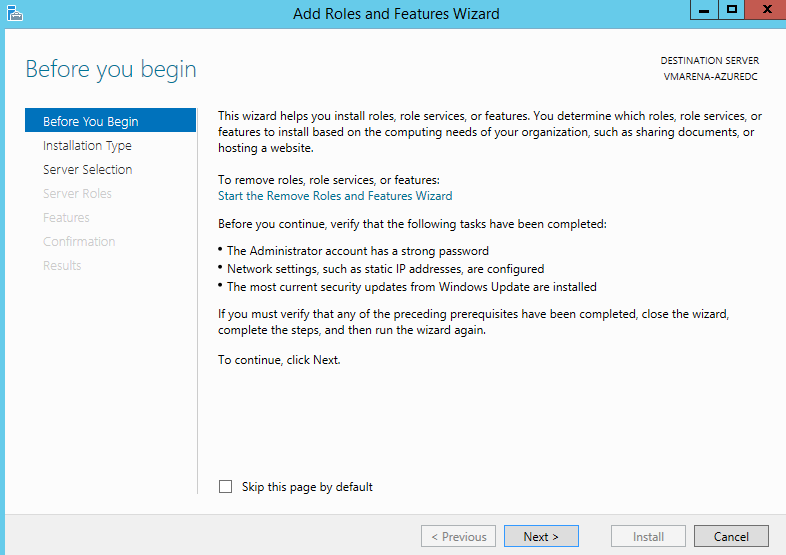
- Open the Server Manager console and click on Add roles and features
- Click Next
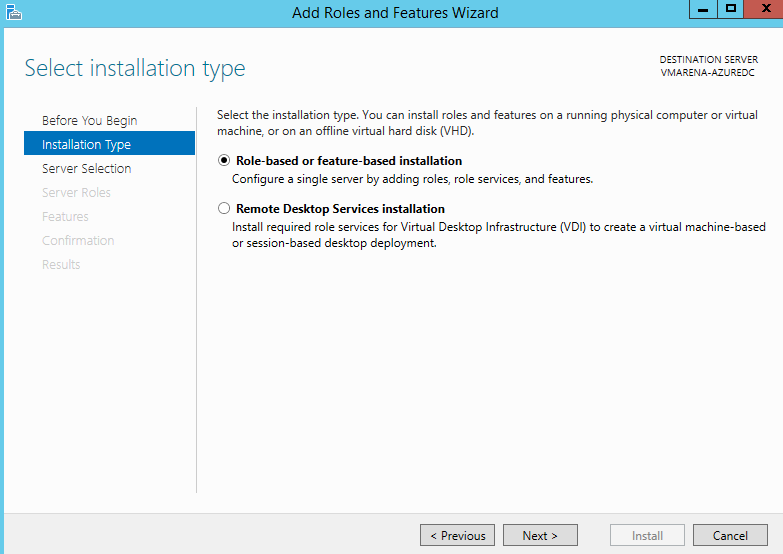
- Select Role-based of featured-based installation and select Next.
- Select the Server and Clik Next

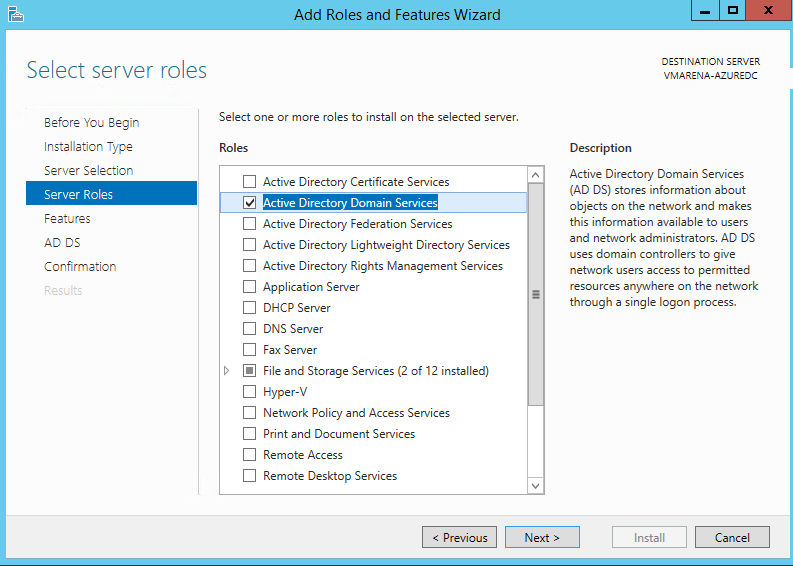
- Select the Active Directory Directory Services role.
- Accept the default features required by clicking the Add Features button.
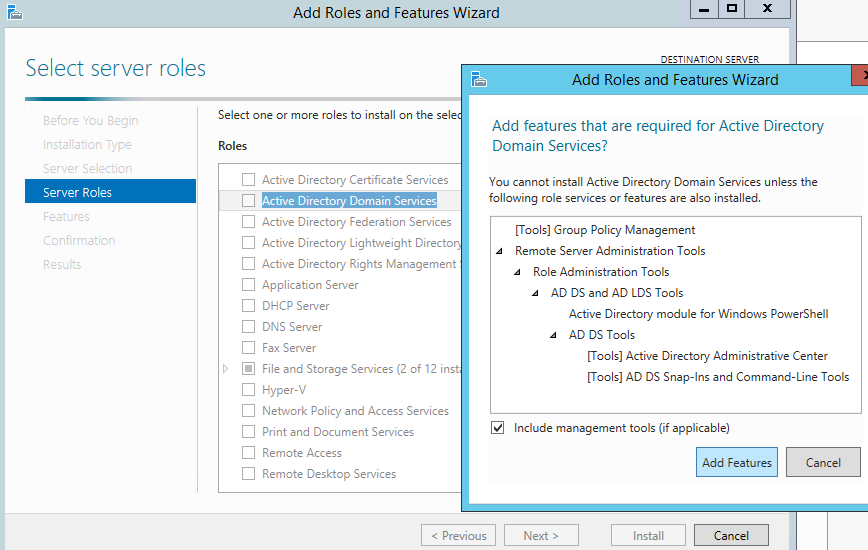
- Click Next
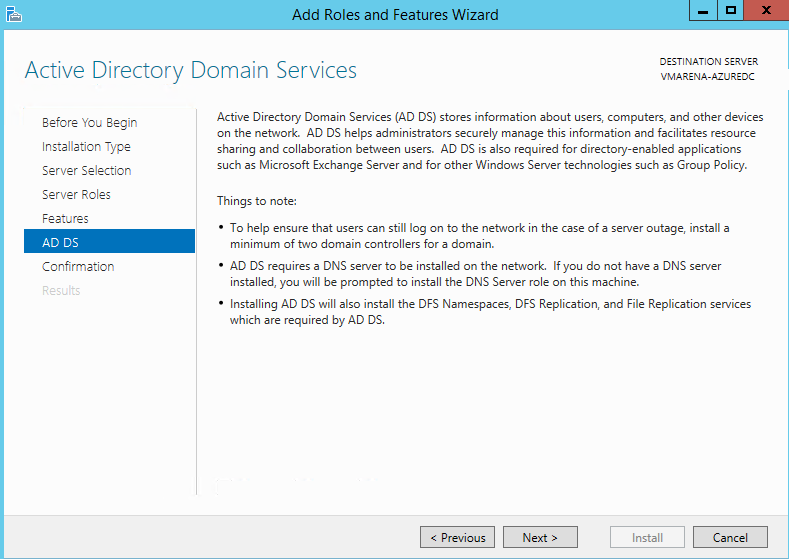
- On the Features, screen clicks the Next button.

- Click Next
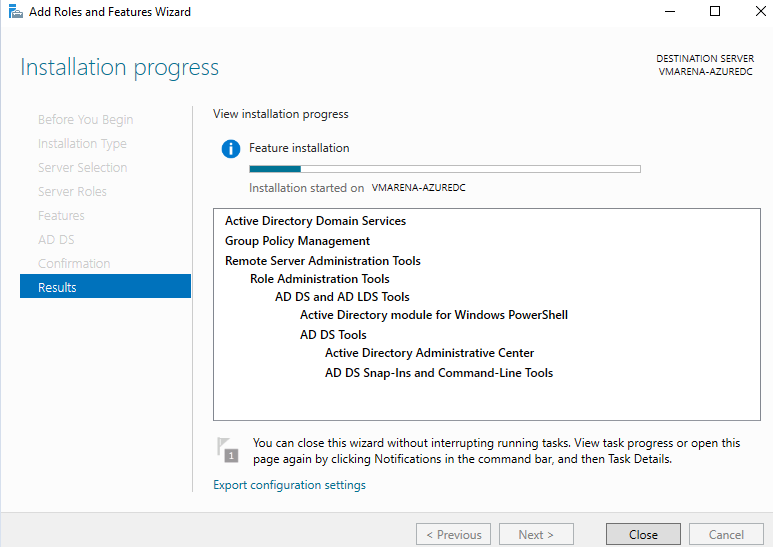
- Click the Install button.
- It will take some time to complete the installation, Click the Close button once the installation has been completed.
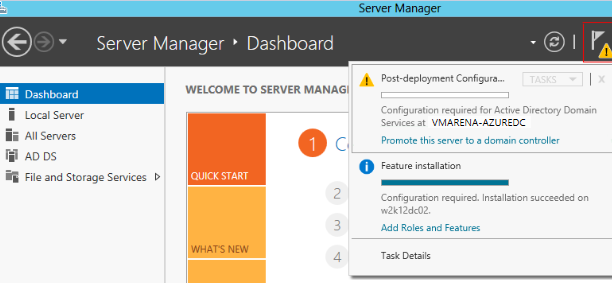
- Once completed, you will get a notification on the dashboard highlighted by an exclamation mark.
- Click on that and select Promote this server to a domain controller.
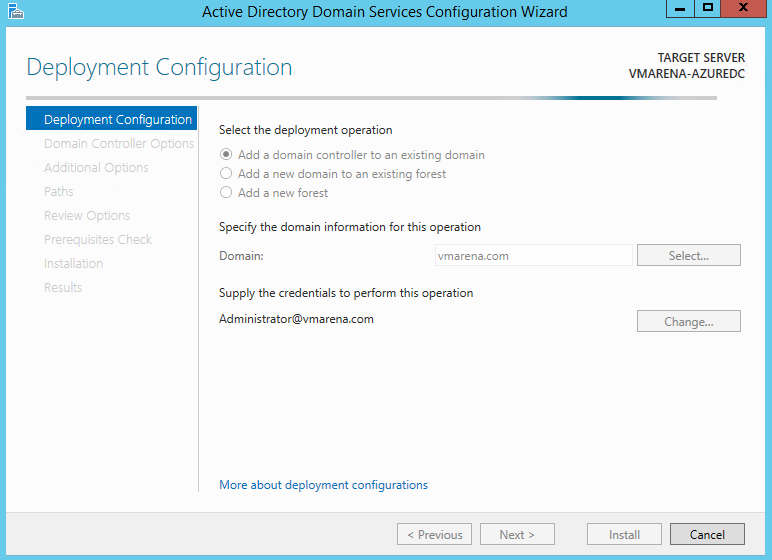
- Select add a Domain Controller into an existing domain and provide the domain name and credentials has permission to promote this server as a domain controller, click Next.
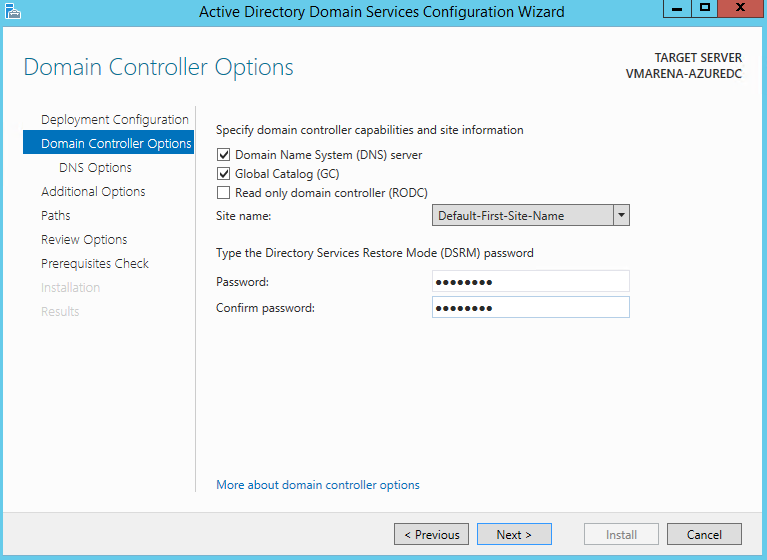
Define if the server should be a Domain Name System DNS server and Global Catalog (GC). Select the Site to which this DC belongs to and define the Directory Services Restoration Mode (DSRM) password for this DC
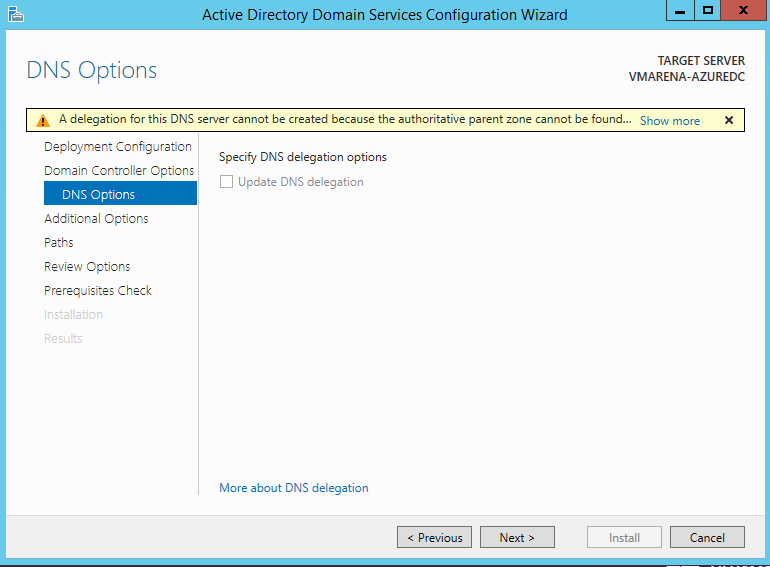
- Do NOT check Update DNS delegation and click Next
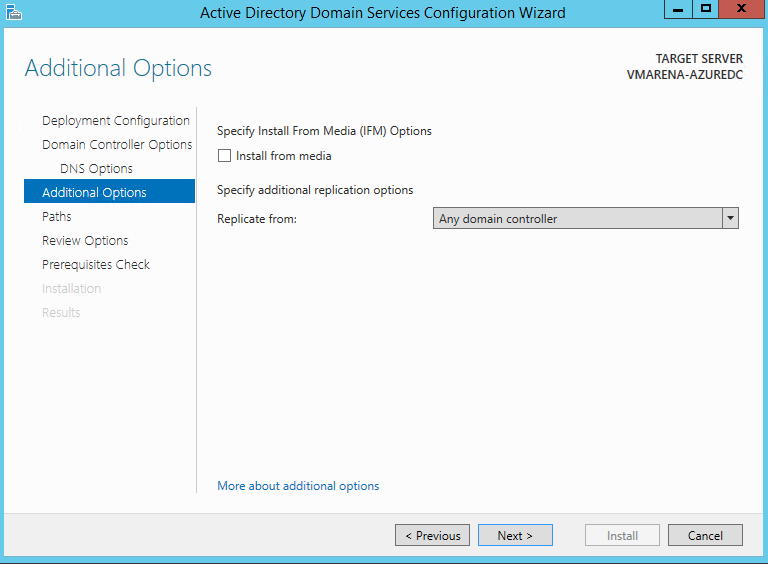
- Select from the Replicate from the drop-down menu, the name of the On-Premises Domain Controller name / Any Domain Controller option
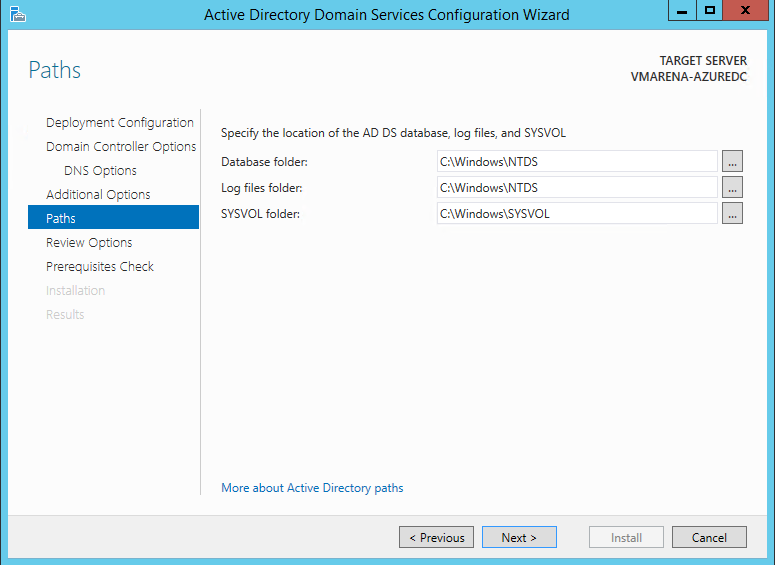
Here we use the default paths, recommended is to use a different drive NOT the system.
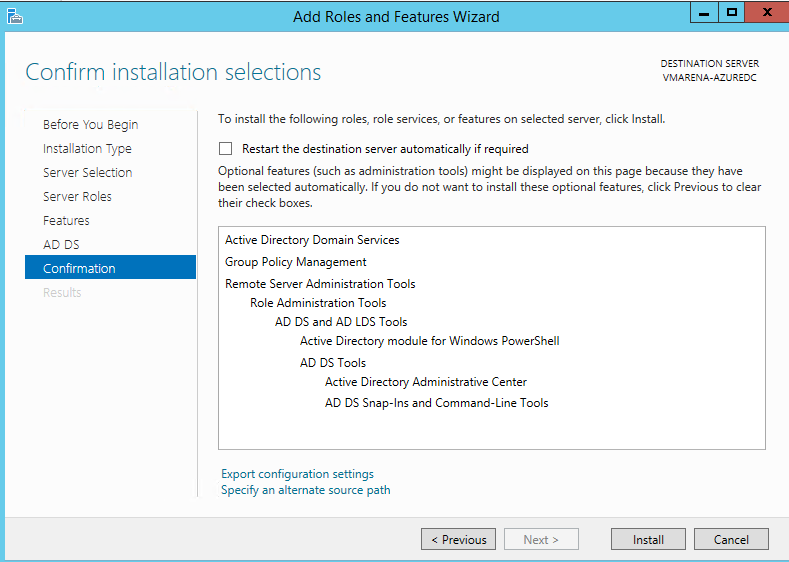
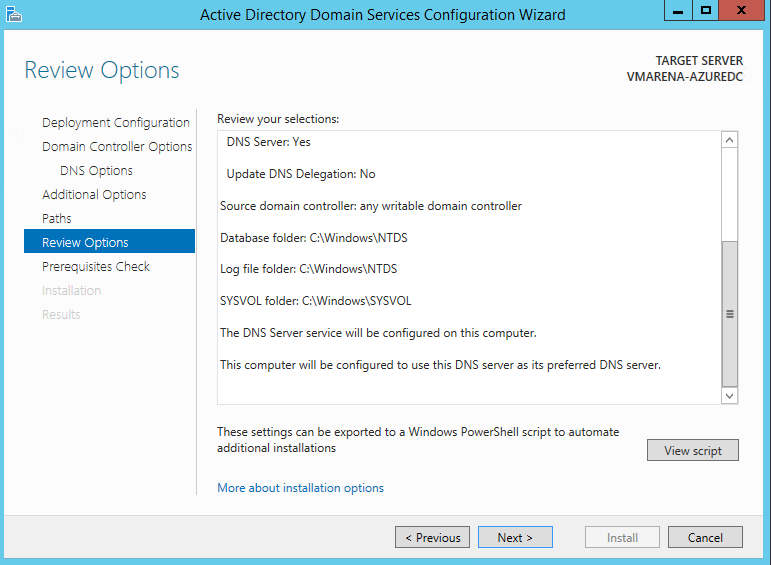
- From Review OPtions Page Click Next
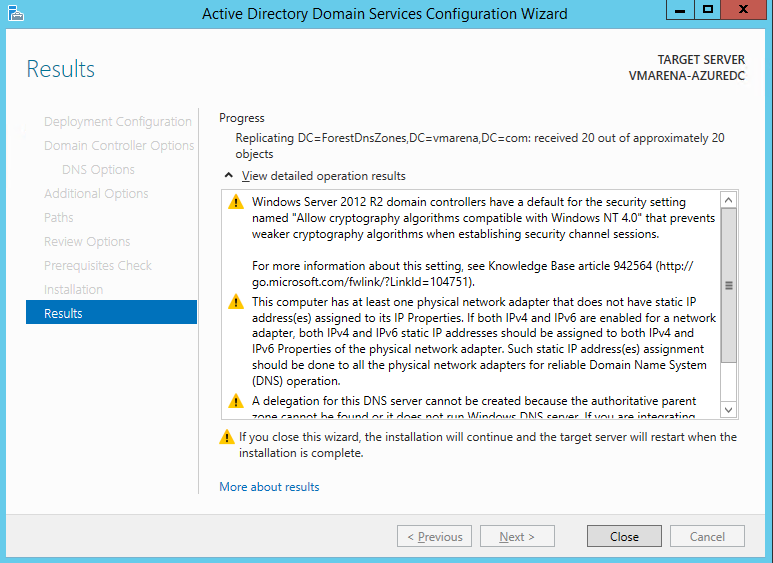
- Check the results from the Prerequisites Check and if everything is ok, click Install to begin the installation.

Once we get the message that the server was successfully configured as a domain controller Click Close and Server will reboot
Once Server is booted Try to access them using the domain credentials
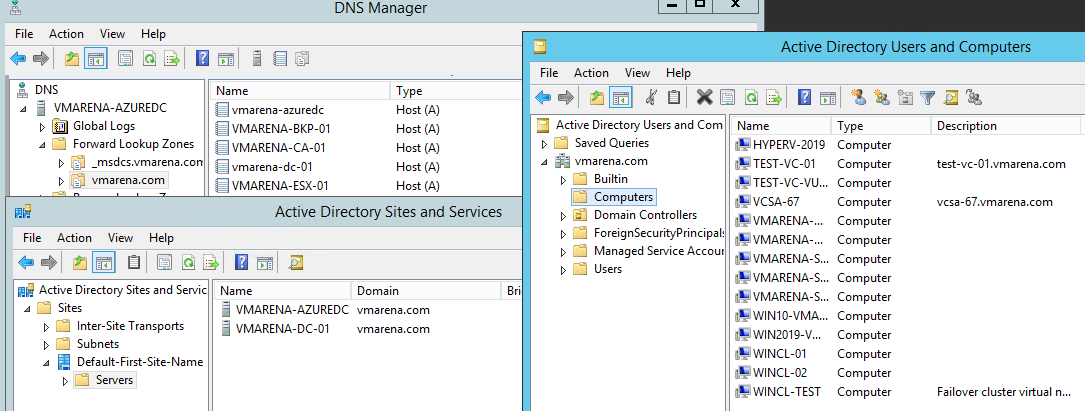
You can check the Active Directory User & computer, DNS, Site, and Services to verify replication is working or not.
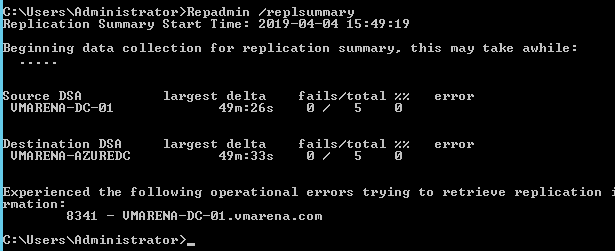
Also from the command prompt, you can verify the replication status using below command
Repadmin /replsummary
Conclusion
We have successfully created the replication between On-Premise Domain Controller to an Azure Virtual Machine with the Domain Controller role enabled. You must give good attention to the Site-to-Site VPN configuration for this procedure because this is the communication channel between Azure VNet and the Local Area Network. You can refer How To Create A Site To Site (S2S) VPN In Azure to check the procedure to create Site to Site VPN from on-premises to Azure .