Azure Storage is Microsoft’s cloud storage solution for modern data storage scenarios.We have aready discussed about azure storage account and how you can create a storage account and test it is availability in my another post .In this post we cover how can protect our storage account from accidental delete from any users .
If our infrastructure is on azure we will have storage account and our important data since will be there if there is proper security configured there is chance of accidental deletion of your data .Once the storage account is deleted there is no way we can recover it because the deletion of a storage account is an irreversible action in Azure. So it is always advisable that we should protect the azure resources from accidental or unknown deletion by applying lock into them.
We can apply locks in the multiple levels in Azure , find below
- Subscription Level.
- Resource Group Level.
- Resource Level.
There two types lock level available CanNotDelete and ReadOnly. In the Azure portal, the locks are called Delete and Read-only respectively.
- CannotDelete -: In Azure portal this lock level is called Delete and it will allow authorized users read and modify a resource, but they can’t delete the resource.
- ReadOnly :- In Azure portal this lock level is called Read-only and it will allows to read a resource, but they can’t delete or update the resource. Applying this lock is similar to restricting all authorized users to the permissions granted by the Reader role.
How locks are applied
When you apply a lock at a parent scope, all resources within that scope inherit the same lock. Even resources you add later inherit the lock from the parent. The most restrictive lock in the inheritance takes precedence.In Azure portal the Owner and the User Administrator can apply the lock to any of the above mentioned levels.
How to Apply Lock in Azure Storage Account
Login to Azure Portal and Navigate to Storage Accounts
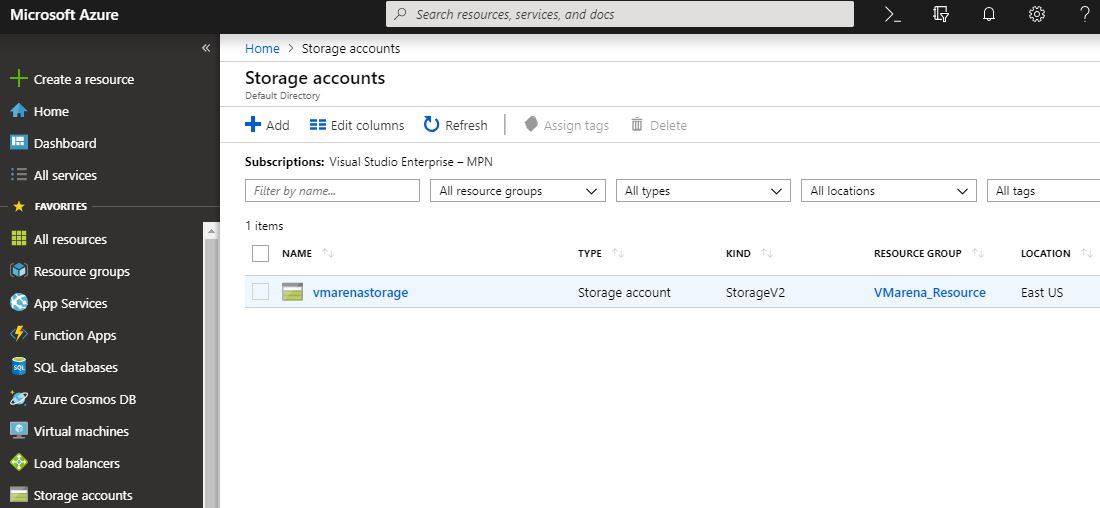
Click on the storage account , in our case it is vmarenastorage to open the storage account and Click on the Locks option

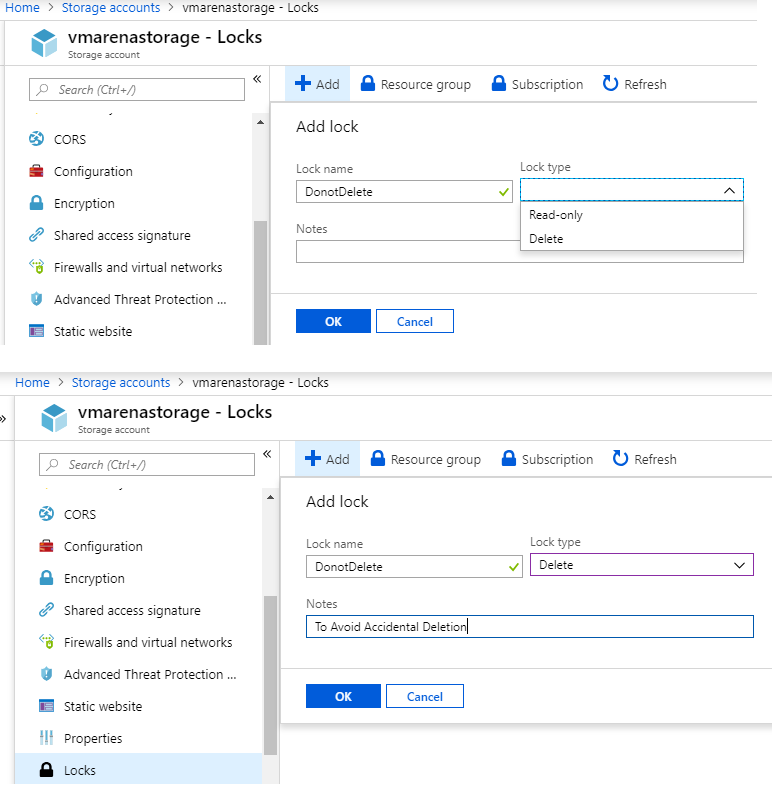
Currently there is no lcok availavle , to create a lock clik on Add ” +” symbol and select the Local Level and add a note and Click OK
As i mentioned above lock types two Readonly and Delete , Here we will select the Delete and add note to understand what is purpose of this lock .
Test how the Lock is Working
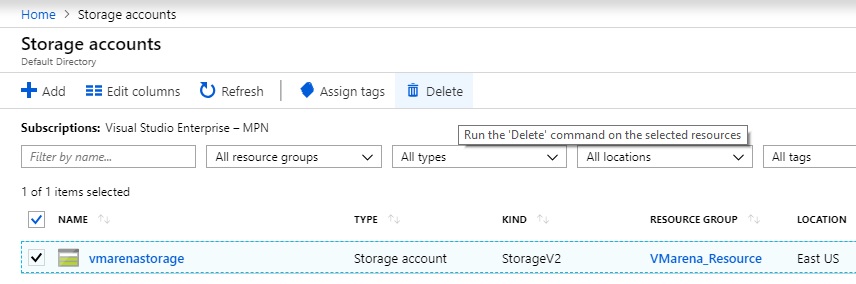
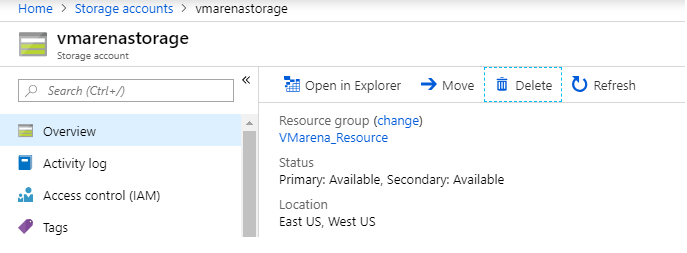
Navigate to Storage Accounts -> Select the Storage Account -> Perform Delete Operation
You have to Confirm by entering yes to and click on Delete
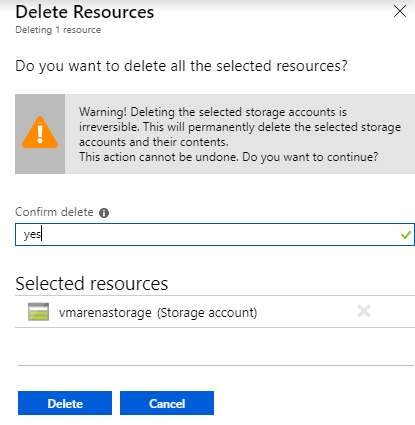
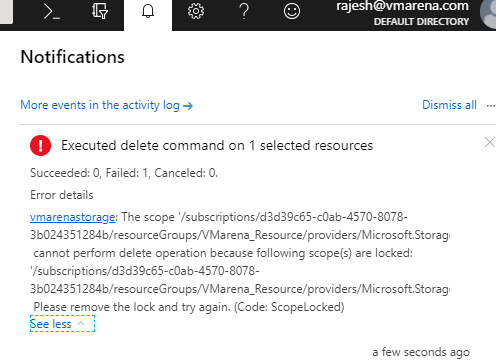
You will get error on the notification as Execute delete command failed and reason for that there local available
Another Method to Test
Navigate to the Storage Accounts -> Your storage Account -> Select Delete Option
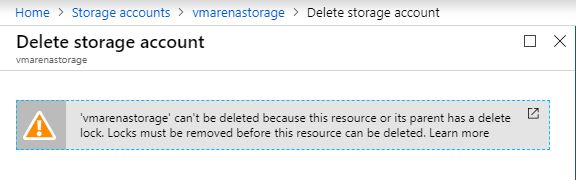
And you will receive a message as shown below while trying to delete this account.
Conclusion
We have explained the purpose of the Lock option available on the Azure Portal and available lock options . By following the Procedure of the creating the lock you can secure your data and avoid accidental deletion .