
Most of us using VMware Workstation as a virtualization platform for creating Labs for testing or learning purpose but it is not free of cost. Now Microsoft provides the ability virtualize your desktop operating system Windows 8 and Windows 10 without installing any other software.
In this Post, I will sharing information how to enable this feature on your Desktop machine running with Windows 10.
Hyper-V is available on 64-bit versions of Windows Professional, Enterprise, and Education in Windows 8 and later.
It is not available on Windows Home and Mobile edition.
Supported Guest Operating System
Refer Microsoft Website
Below are Minimum requirement
Features should be enabled in BIOS
Hyper-V is available on the widow’s features section; you have enable this feature from Windows Feature section on Control Panel

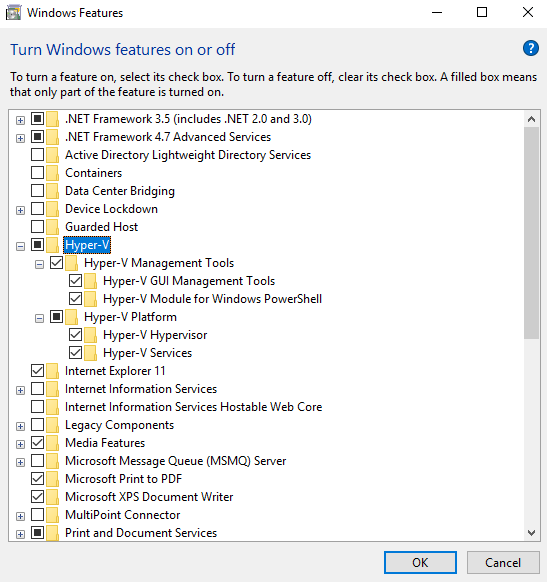
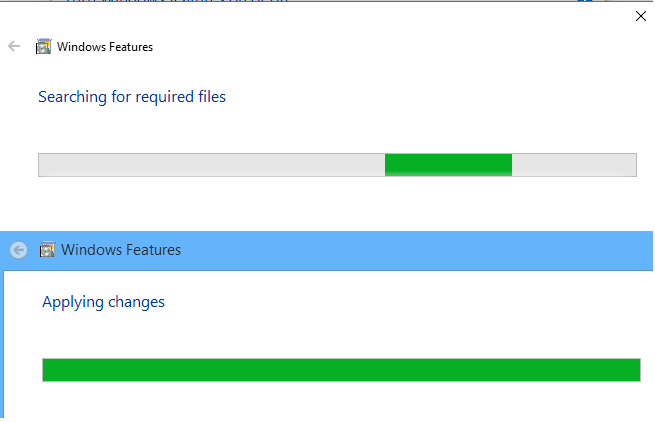
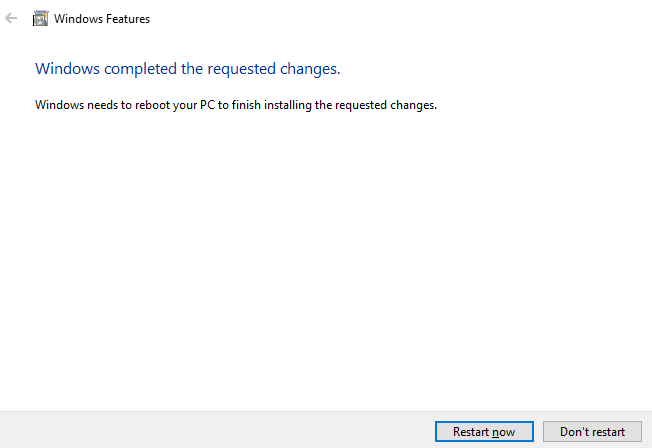
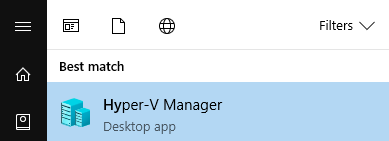
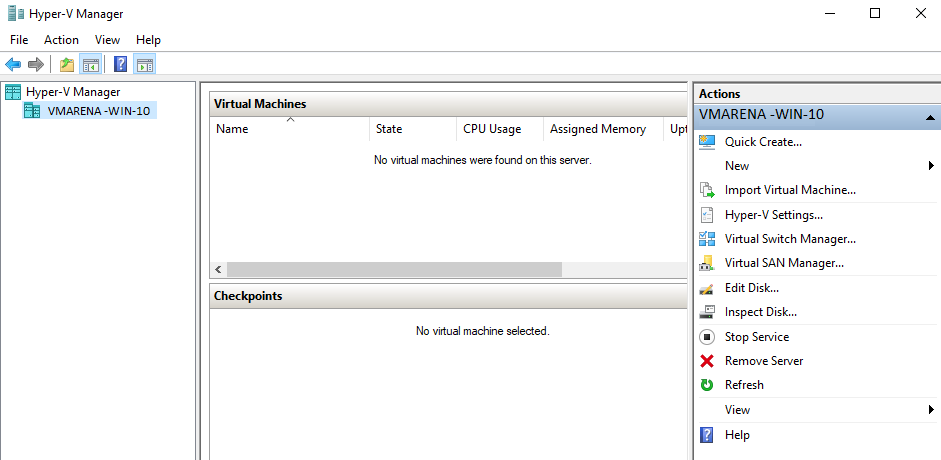
Hyper-V window will open and you can start using feature
Thank you for reading this post , Share the knowledge if you feel worth sharing it.