The basics of N2WS Backup & Recovery (CPM), enterprise backup and recovery for Amazon Web Services. In this post, we will share you how to start using it from AWS Marketplace.
N2WS Backup & Recovery (CPM), known as N2WS, is an enterprise-class backup, recovery and disaster recovery solution for the Amazon Web Services (AWS). Designed from the ground up to support AWS, N2WS uses cloud-native technologies to provide unmatched backup and, more importantly, restore capabilities in AWS.
N2WS is sold as a service. When you register to use the service, you get permission to launch a virtual Amazon Machine Image (AMI) of an EC2 instance. Once you launch the instance, and after a short configuration process, you can start backing up your data using N2WS.
Deploying an N2WS Backup & Recovery (CPM) Instance using the AWS Marketplace
The AWS Marketplace is an online store where you can find, buy, and quickly deploy software that runs on AWS. These software packages are available in the form of Amazon Machine Images (AMIs) that contain all the information necessary to boot an Amazon EC2 instance with your software. The AMIs available through the AWS Marketplace has been tested by AWS so you can be confident that the software/AMIs you deploy through the Marketplace will perform as expected, thus you should always check the Marketplace for software you wish to deploy.
Subscribe the N2WS Backup & Recovery (CPM) Instance
- Login to https://aws.amazon.com/marketplace/ and in the search bar, type cloud protection manager and click the search icon.
- The search will list various Cloud Protection Manager versions, you can choose your required version from there .
- Note that here we will be selecting CPM Free Trial version, regardless of the version you follow the steps for other versions also, steps are similar.
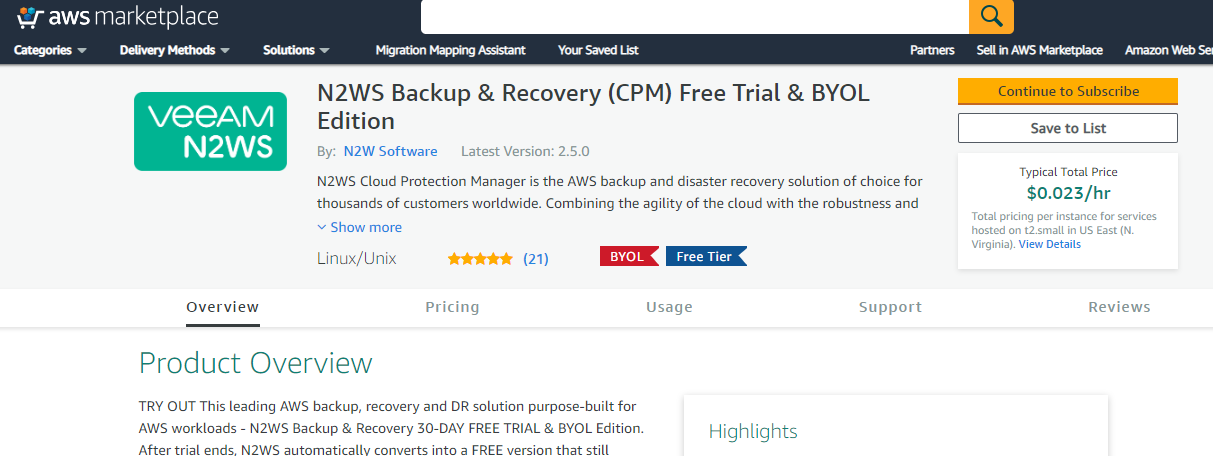
- Click N2WS Backup & Recovery (CPM) Free Trial & BYOL Edition

- On the N2WS Backup & Recovery (CPM) Free Trial page, Click on Continue to Subscribe to deploy the CPM instance.
Note: -You can review the Pricing Information from there
Accept the Terms by Clicking on the Accept Terms option

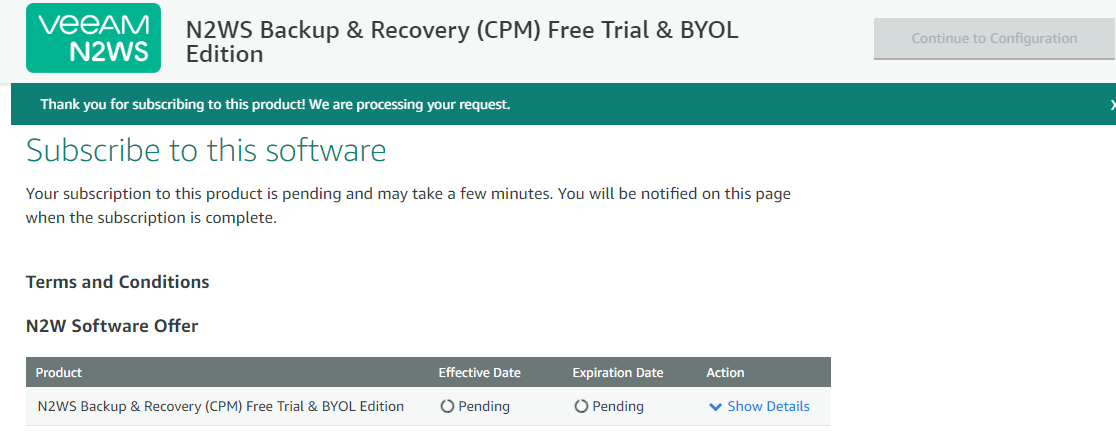
It will take a while, wait for completing the subscription
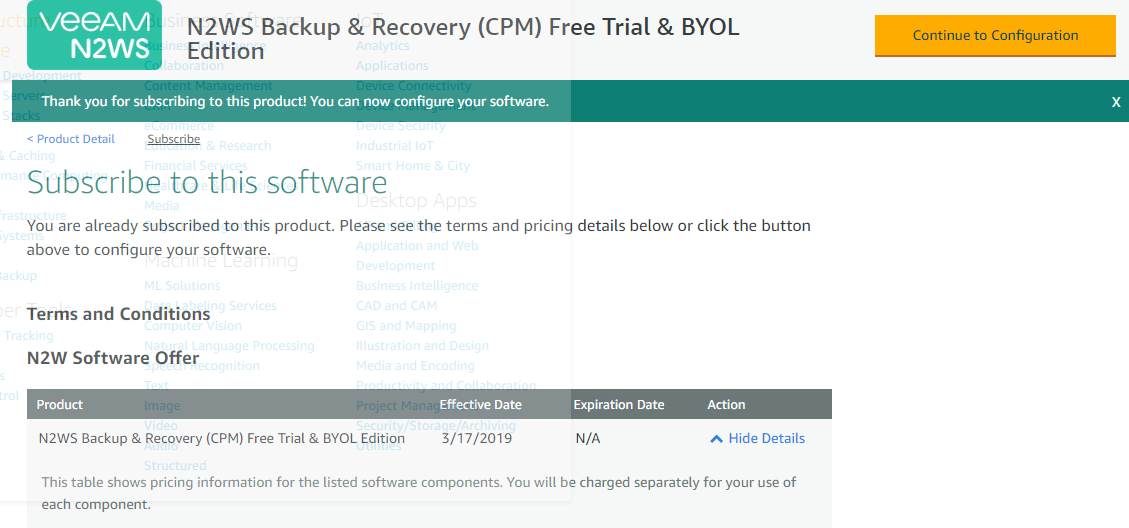
Once Subscription is completed you can view the effective date and you continue to the configuration from there by Clicking Continue to Configuration Option
Here we are going back to AWS console to configure the permissions and roles to configure the instance then we will resume the configuration if you configure the permissions and riles first you can continue from the previous step.
Configure the Permissions
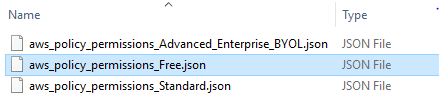
To perform the backup, restore, and DR operations with the minimal security permissions, a new IAM user with custom permissions need to create. It is very easy, just Download the JSON permissions file from this KB article and run the from IAM console.

Extract the ZIP file and Open the appropriate JSON file
Contacts will be like below, Copy Contents
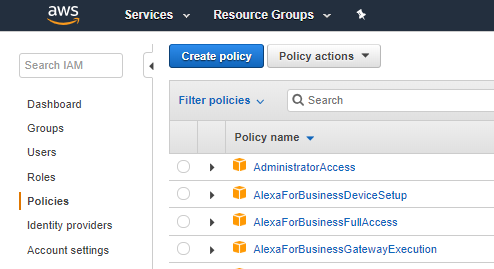
 Now navigate to IAM -> policies and Select Create Policy
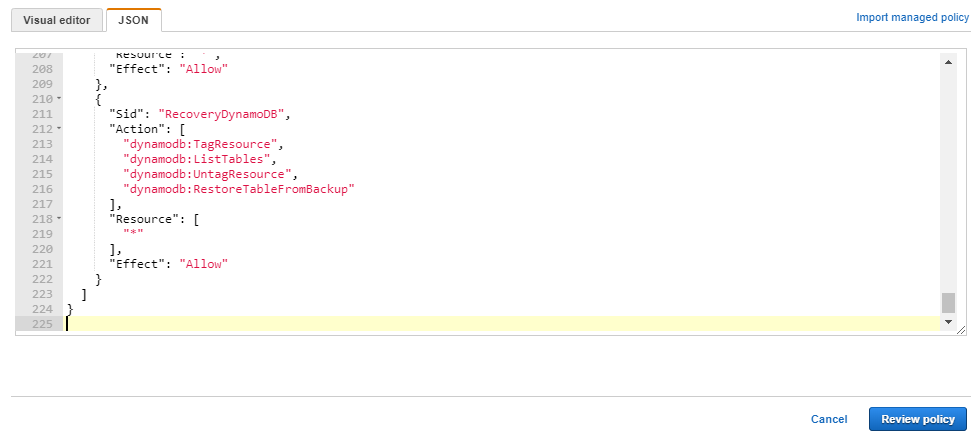
You can create permission using the visual editor but for the easy method we use JSON
Select the JSON option and remove the default contents on the page and paste the contents from the JSON file we downloaded from KB
Click on Review Policy
From next page provide a username and description and click on Create policy

You will get user has been created a successfull message

Role Creation
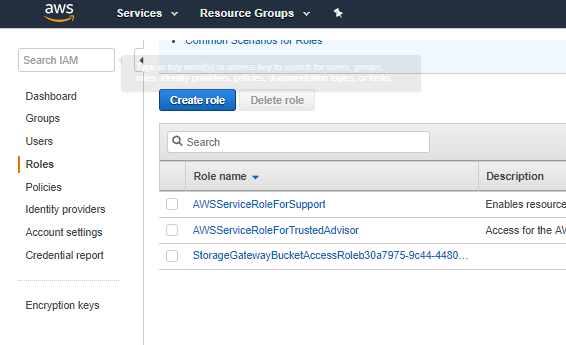
From the same IAM console navigate to Roles option and Click on Create role
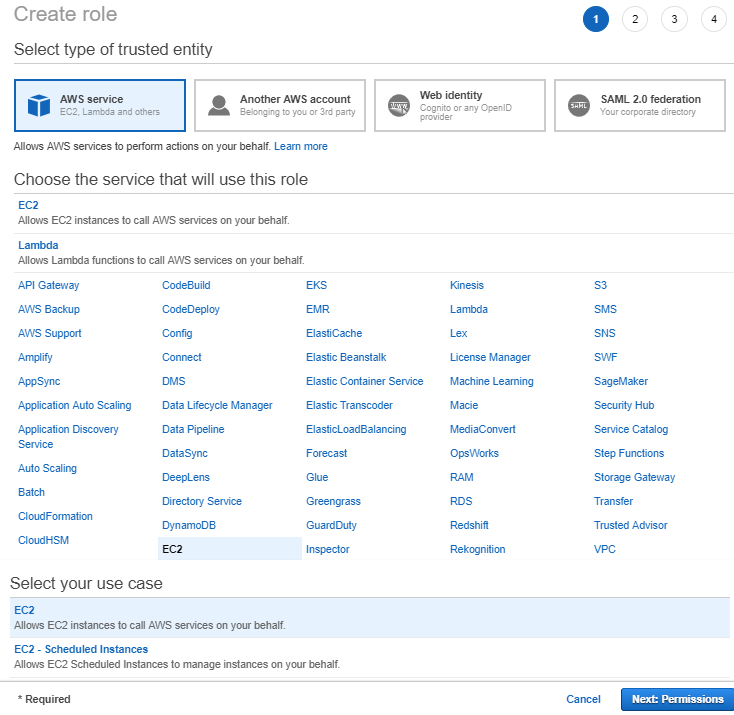
Click on AWS Service and Select EC2 from services list then, select “Allows EC2 instances to call AWS services on your behalf ” option and click on Next Permissions to continue
Select the user with permission we created using JSON file from previous steps and click on Next Tags

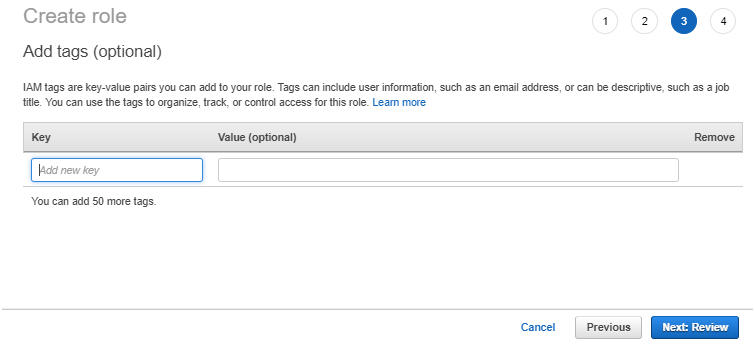
This is optional, you may set a tag or Click on Next: Review to Continue
Provide Role Name and Click on Create Role

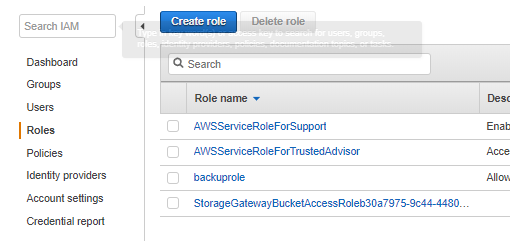
Once Role created you can view that on the Roles Name
Configure N2WS Backup & Recovery (CPM) Instance
Now we can continue configuring the CPM instance
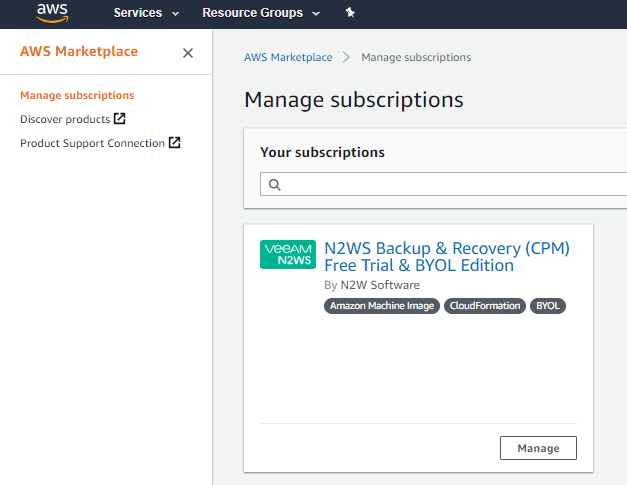
Navigate to AWS Market Place -> Manage Subscriptions and Clik on the N2WS Backup & Recovery (CPM) Free Trail & BYOL edition or the one you have subscribed
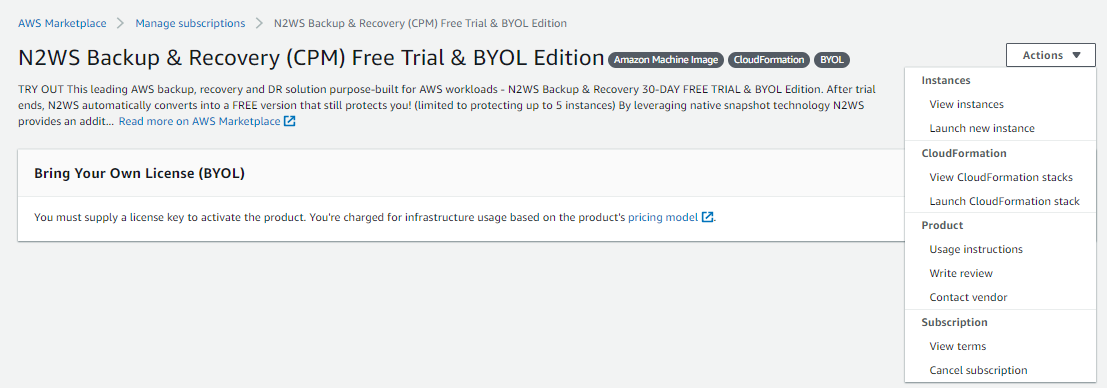
From N2WS Backup & Recovery (CPM) Free Trail & BYOL edition page Click on Actions and Select Launch new instance option
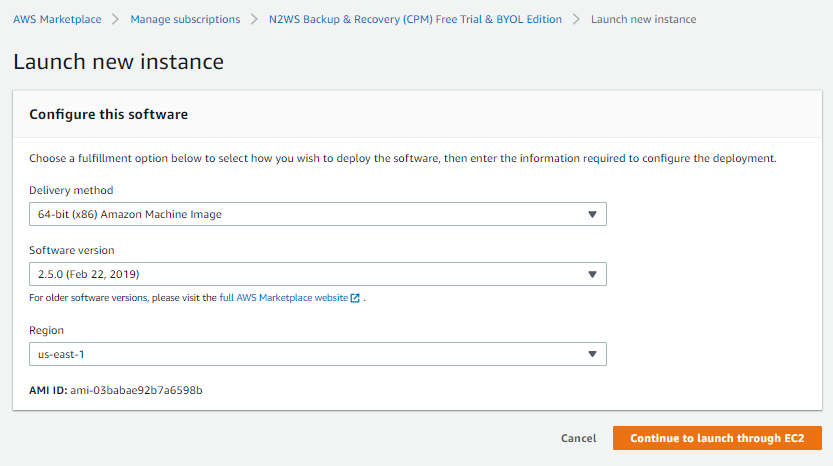
A new page will open and you can view AMI type, Software version, and Region from there.
Click on Continue to launch through EC2
Select the appropriate Instance Type, here we choose free tier and Click on Next: Configure Instance Details

In this page, you can select the IAM role we created, Network (VPC) etc, you can choose your own VPC and other option from there
Here we choose only IAM role rest is the default, Click on Next: Add Storage

Default size 8 GB, you can increase and change volume type etc from there, Click on Next : Add Tags

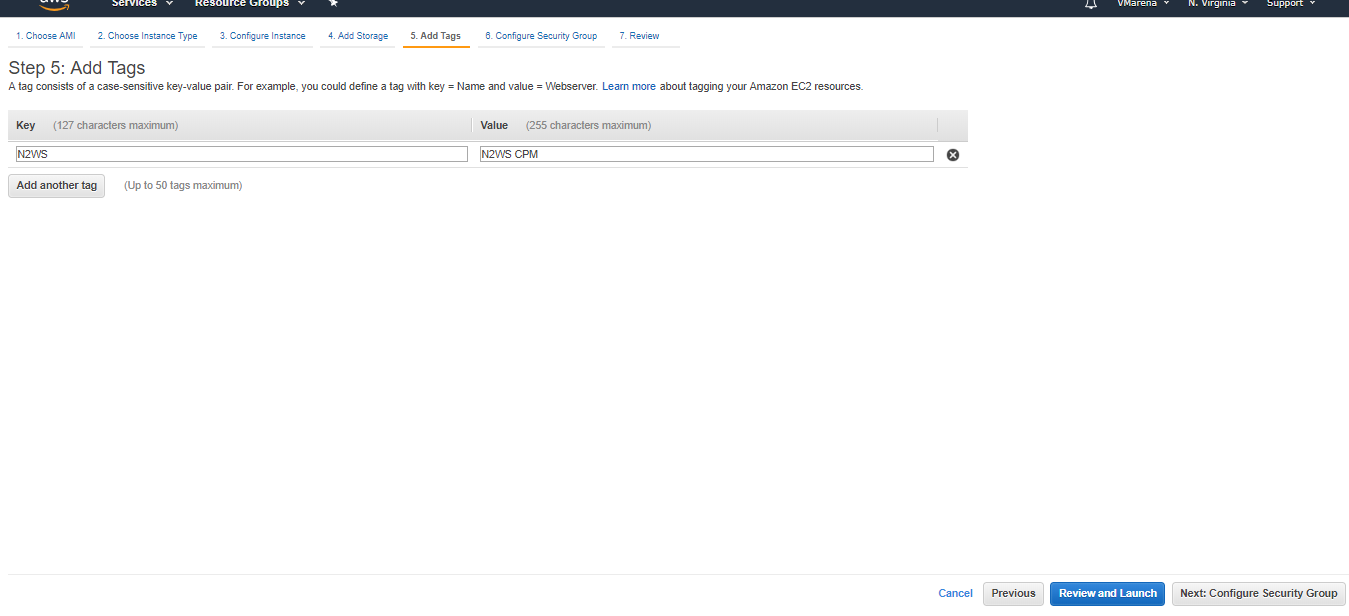
Provide Tag Key and Value and Click on Next: Configure Security Group
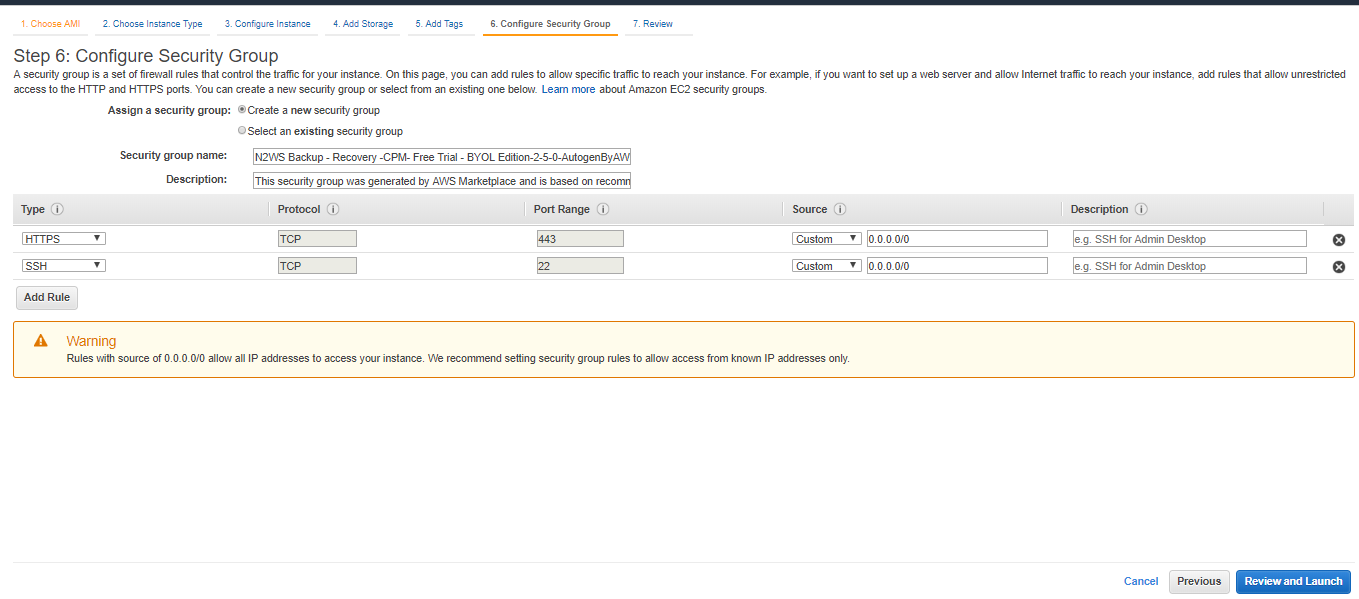
Here we Configure the Security group to access the Instance, Port 443 and 22 is required for this instance you can specify the source IP for more security, also you add any additional port required to poened form there .
Clik on Review and Launch
Review the details and Click on Launch

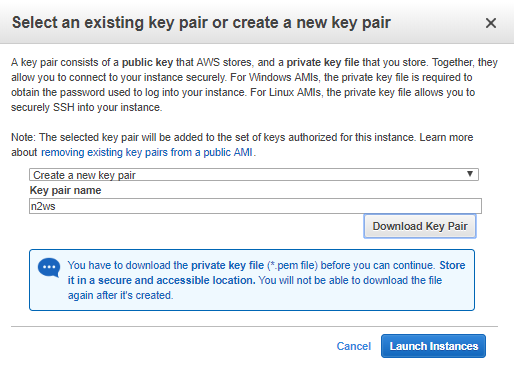
It will ask for selecting a pairing key, you may select an existing one or create new from there and download that for your reference
Wait for a few minutes to complete the launching of the instance, you can click on the view launch to view the progress
Once Completed you view that INstance is running, now you have successfully deployed the instance.
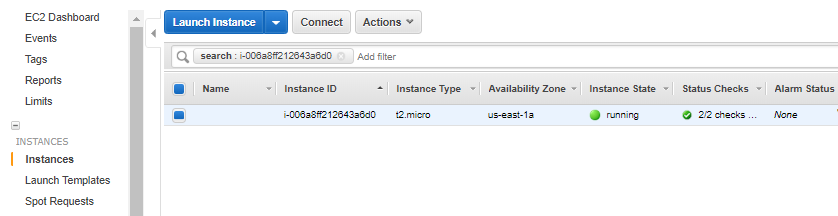
Click on the Instance, you can view the instance ID, Public Ip to Acess the INStance, Private IP etc
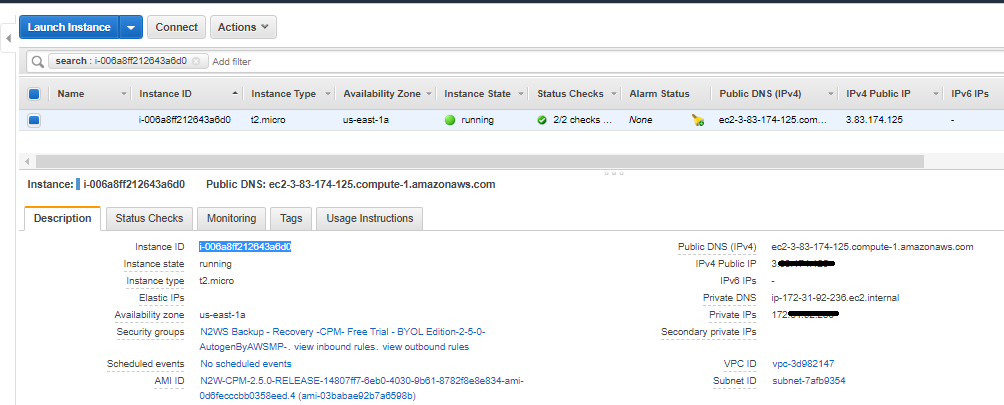
Open a Webbrowser and test the access to the instance by typing https://public IP
N2WS Cloud Protection Manager (CPM) Page will open , you can continue access from there .

Conclusion
In this article, We have successfully deployed N2WS Cloud Protection Manager (CPM) instance from the AWS marketplace and it is accessible from external. Now next we have to do the initial configuration of CPM and configure the backup policy and Schedule will share you more posts about this soon