Overview of UnityVSA
UnityVSA (Virtual Storage Appliance) is a software defined storage platform that provides users greater agility and flexibility. UnityVSA can be deployed on a Individual VMware ESXi host or vCenter with ESXi host and enough resources . UnityVSA is available in two editions – Professional Edition (PE) and Community Edition (CE). Professional Edition is a licensed product available at capacity levels of 10 TB, 25 TB, and 50 TB. Community Edition is a free downloadable 4 TB solution recommended for non-production use .
In this post we wills hare you the key features, requirements and steps to follow for deployment and initial configuration of Dell EMC Unity VSA.
Key features:
- Provides a software-defined version of Dell EMC Unity storage
- Available in 10, 20, or 50 TB – lower capacities upgrade seamlessly to 50 TB
- Sets up for NAS and SAN in minutes
- Unifies block, file, and VMware VVols support
- Enables VMware administrators to manage storage from VMware vCenter
Installation requirements
Resources – A 64-bit ESXi host running 5.5 or later that meets the following requirements.
Note:- It is recommended to use ESXi version 6.0 or later. To support VVols, the ESXi host must be running at least 6.0.
License requirements: While there are no further licensing or registration requirements to run Dell EMC UnityVSA for non-production use, if you are ready to purchase Dell EMC UnityVSA, contact your Sales Associate, Dell EMC Authorized Reseller, or visit Dell EMC UnityVSA in the Dell EMC Store.
Activate Your Dell EMC UnityVSA: Get Your System License for Full Functionality
System Requirements:
Infrastructure Requirements – Common to all use cases:
-
- vCenter version: 5.5 update 2 or later
- ESXi: 5.5 – 6.5
- Web-Browser: Chrome v57, IE v10, FireFox v52, Safari v6 or later
- Number of ESX hosts: Equal to the number of Dell EMC UnityVSA nodes needed (1:1 mapping)
Dell EMC UnityVSA
-
- RAM for each Dell EMC UnityVSA VM: 12 GB
- vCPU for each Dell EMC UnityVA VM: 2vCPU
- Physical Server Requirements: Dual Core CPU 64-bit x86 Intel 2GHz+ (SSE4.2 or greater)
- Hardware RAID Controller: 512MB NV Cache and Battery Backed (recommended)
- Type of HDDs: SATA, SAS, SSD
- I/O Ports (Front End or External): 1GbE / 10GbE
- Physical Memory Requirements: 16GB (ESXi 5.5) or 18GB (ESXi 6.0) or 20GB (ESXi 6.5)
- Maximum Number of Pool LUNs: 64
- Maximum LUN Size: 16 TB
- Maximum File System Size: 50 GB
- Maximum File Systems: 32
- Maximum Usable Capacity: 4TB Community Edition / 10TB, 25TB, and 50TB Professional Edition
File Type – The download package contains the Dell EMC UnityVSA Operating Environment OVA installation file.
File Type: *.ova , File Size: 2.4 GB , Version: 4.4.0
Deploy Unity VSA
Navigate the cluster you wan to deploy Unity VSA -> Actions -> Select Deploy OVF Template or Right click on the host and select Deploy OVF Template

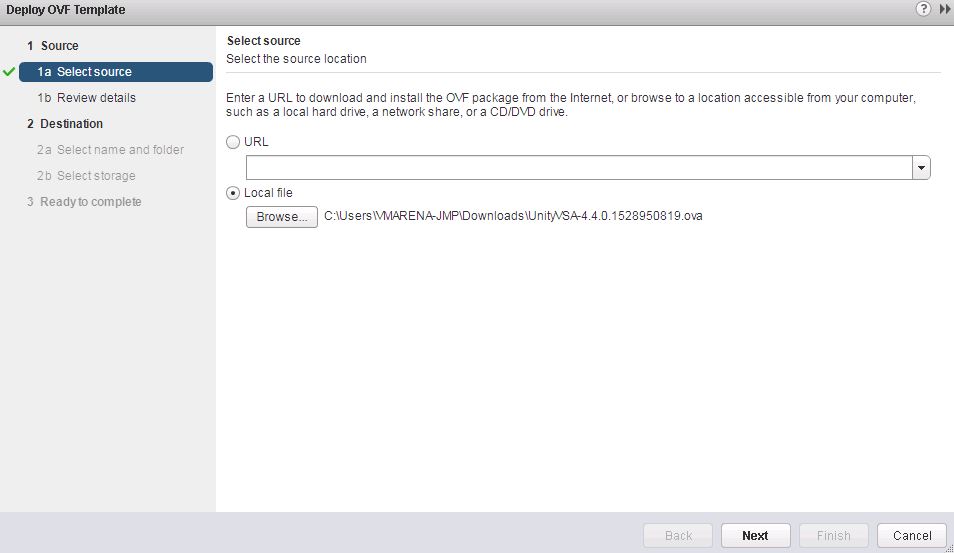
Select Source as the OVA you downloaded using Browse option
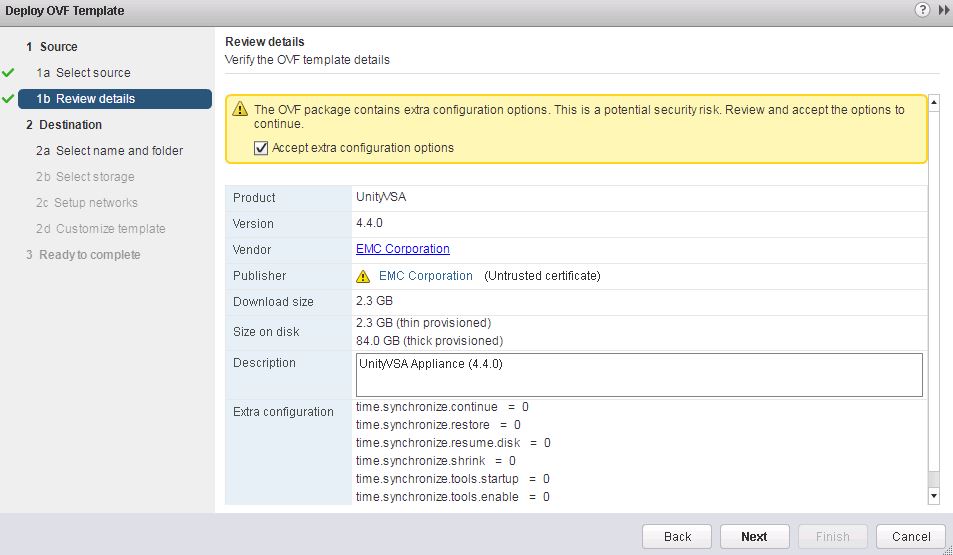
Review the details and “Accept extra configuration options”
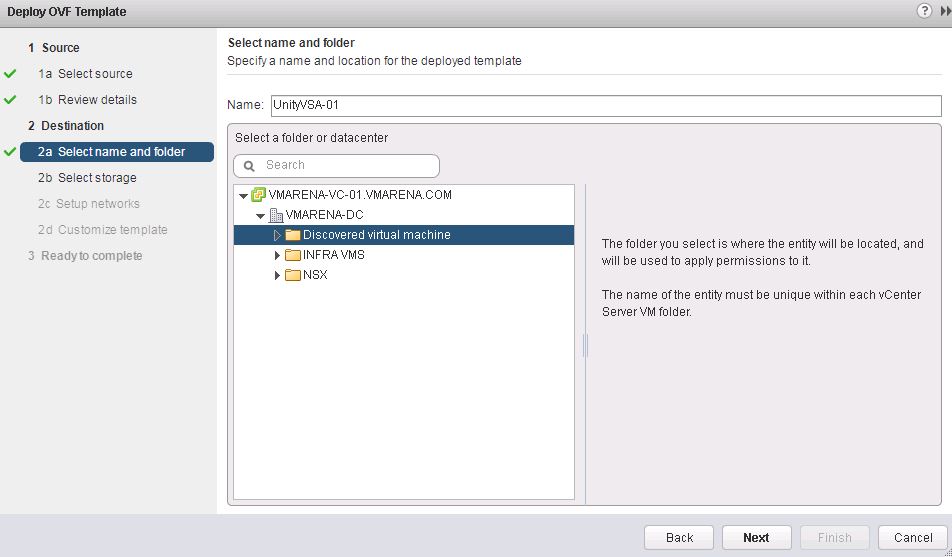
Provide the Name for the VSA and select a folder and click next
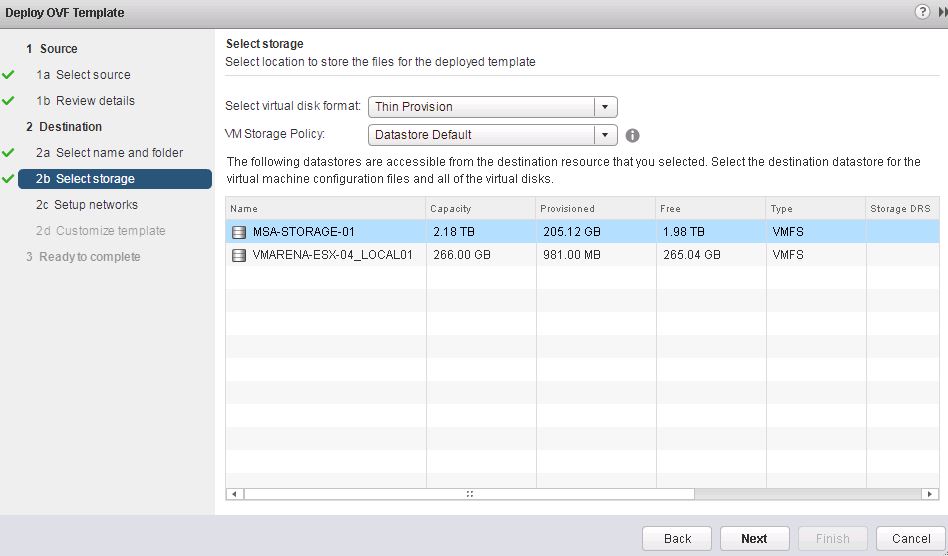
Specify the Storage from available list and click next , you may select the VM storage policy from here
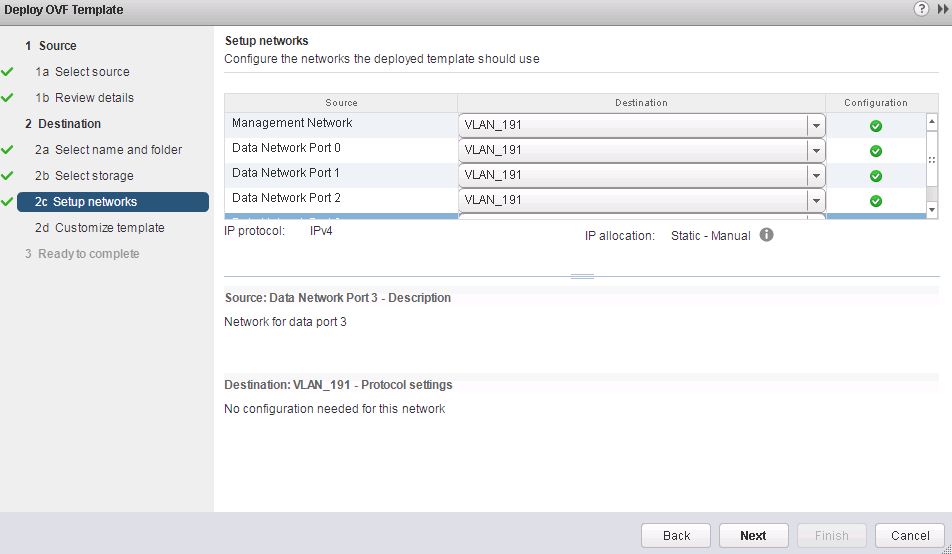
Choose the required networks and click next
Note:- There will be a management port and Data Network Ports
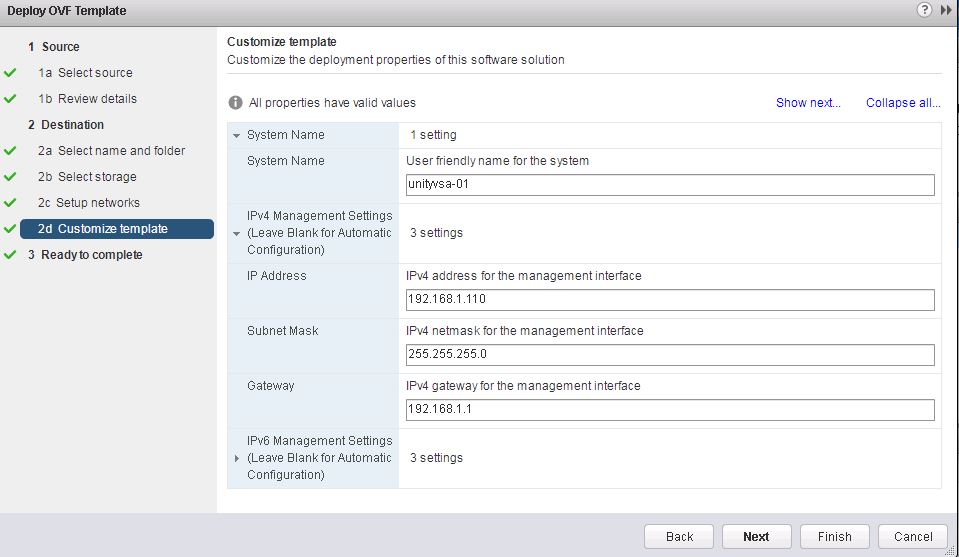
Next Customize the template you can specify the System Name, IPv4 Management and IPv6. Leave the IPs blank if you want to use DHCP and click next
Review the details and click on finish to start the Deployment

You may select the power on after deployment option or once deployment completed you can power on . It may take 10-20 minutes for UnityVSA to be up and running.
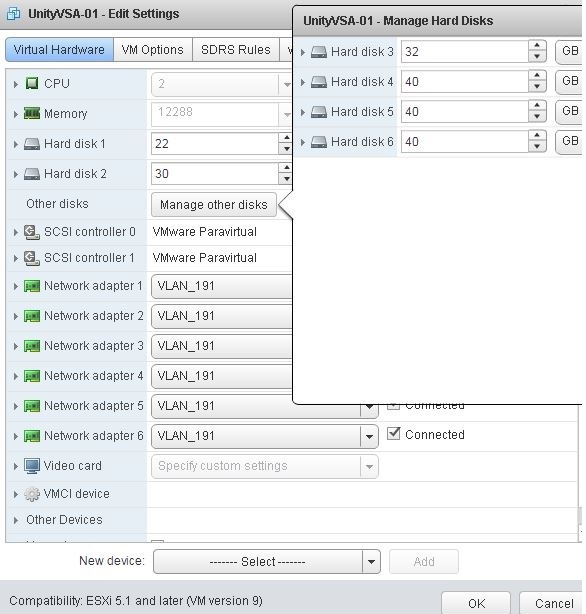
After the deployment you add new hard disk in VSA by editing the settings which you want to use o use for VSA storage.
Initial Configuration Wizard
Once the VSA is up and running start the Initial Configuration by accessing VSA console from web-browser using the Management IP and using the default admin credentials
Introduction Page will popup initially Click Next to continue

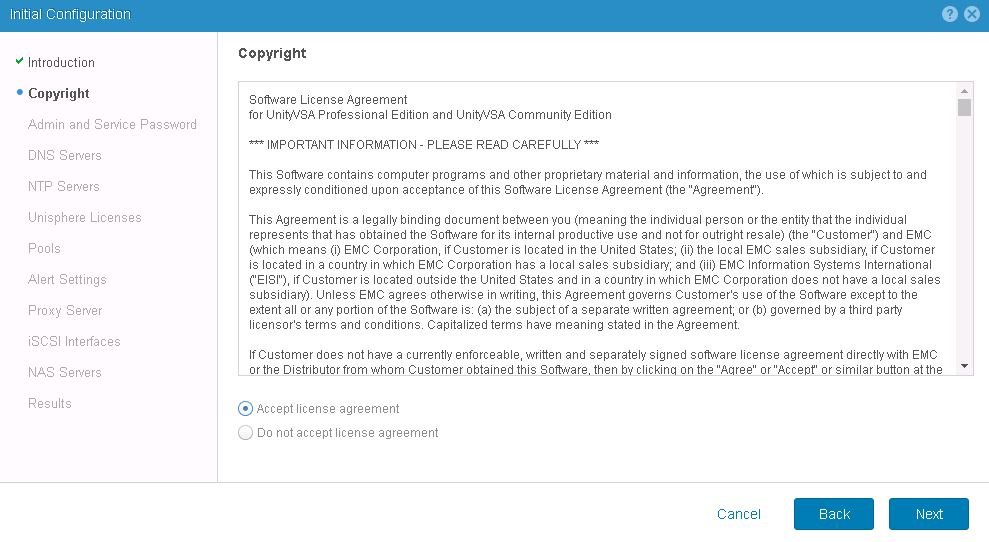
Accept License Agreement and Click Next
Set the new admin and service account passwords , they can be set to the same by selecting the option “set service password the same as admin password ”

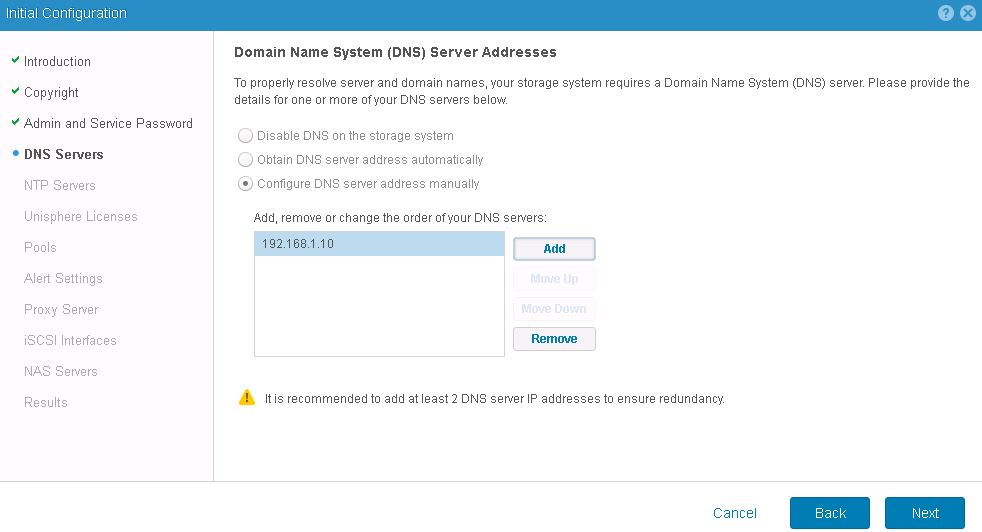
Add the DNS servers and click next
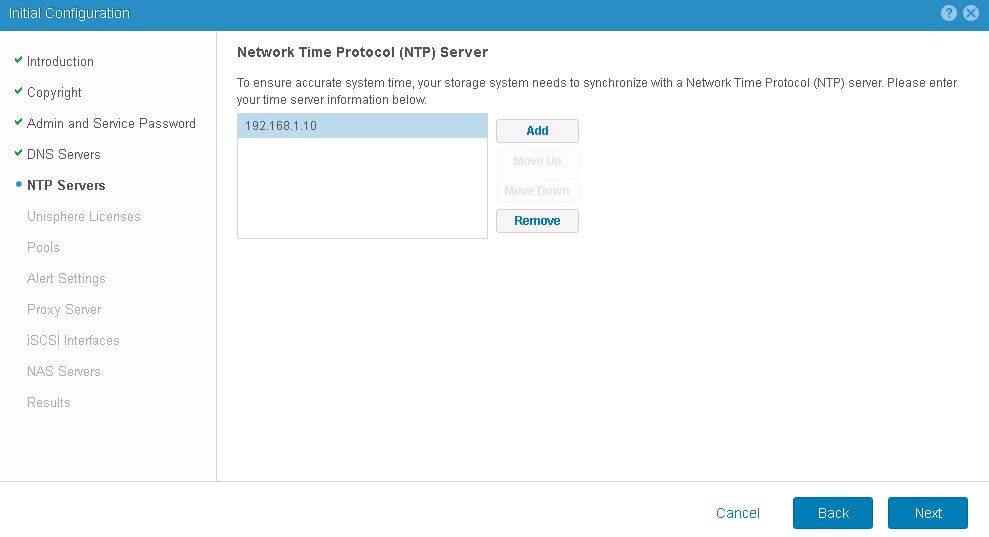
Add the NTP Server
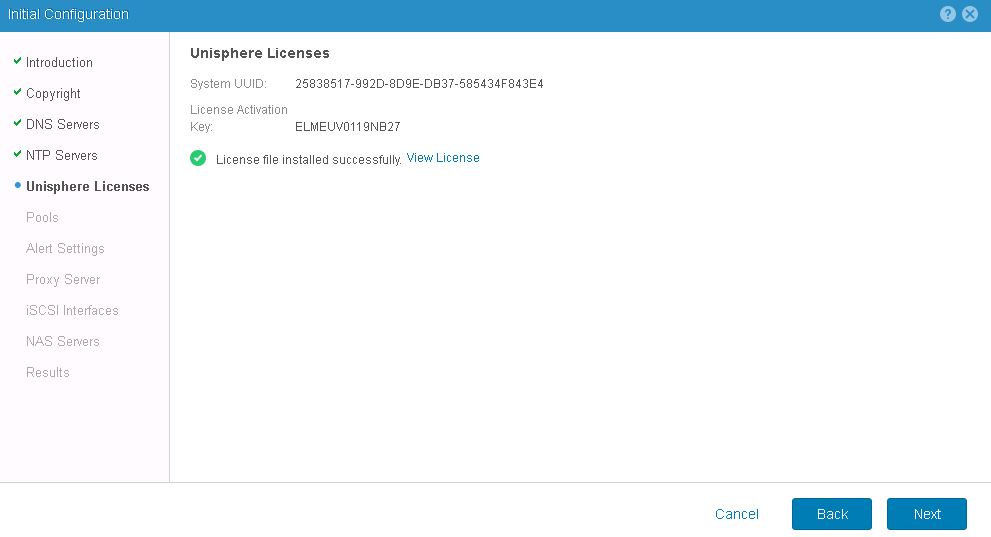
Next is License the VSA by using the System UUID identified
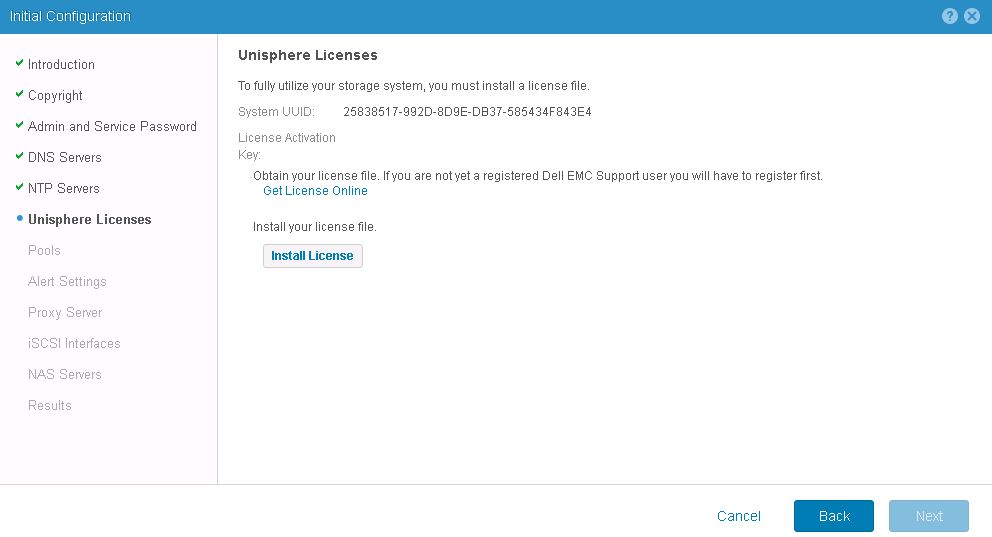
Activate Your Dell EMC UnityVSA: Get Your System License for Full Functionality using the System UUID to create the license

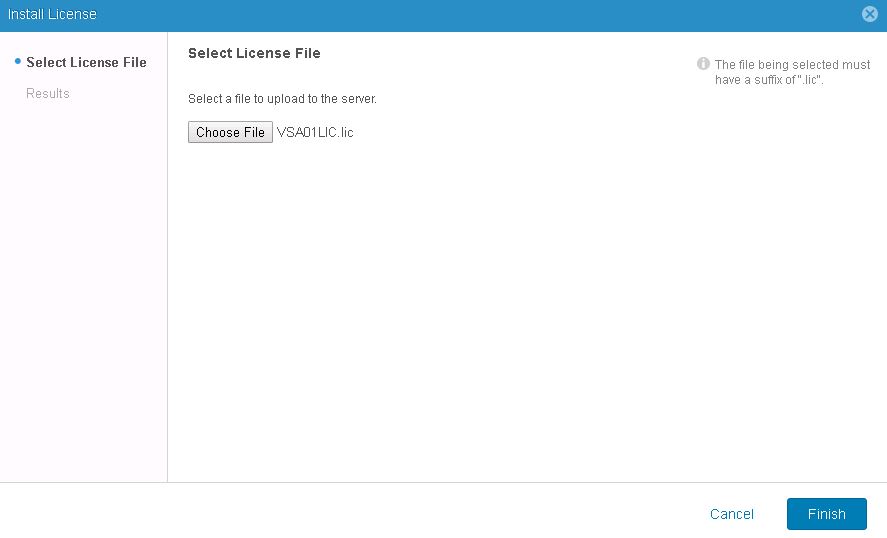
Download the License File
Note if the license file is opening new page you can copy the content to notepad and save it as .lic extension

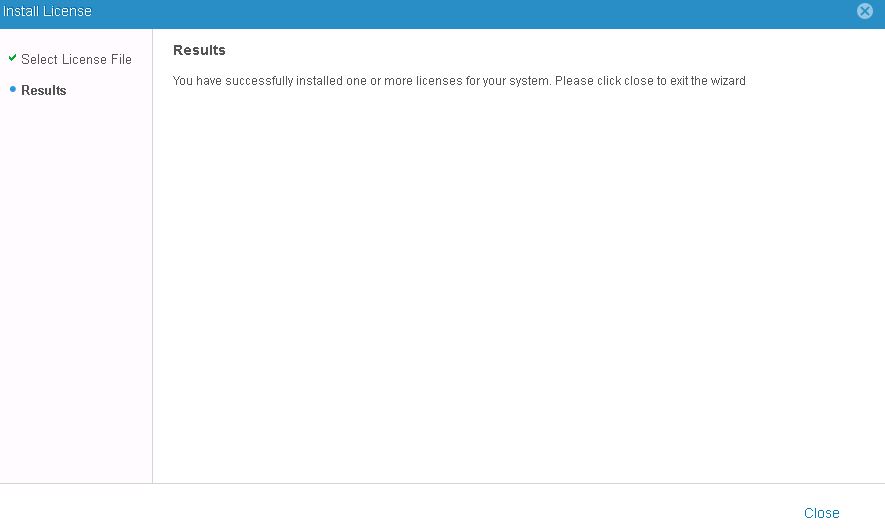
Browse and upload the license file and click Finish
After the successful message you may close the page to proceed other settings
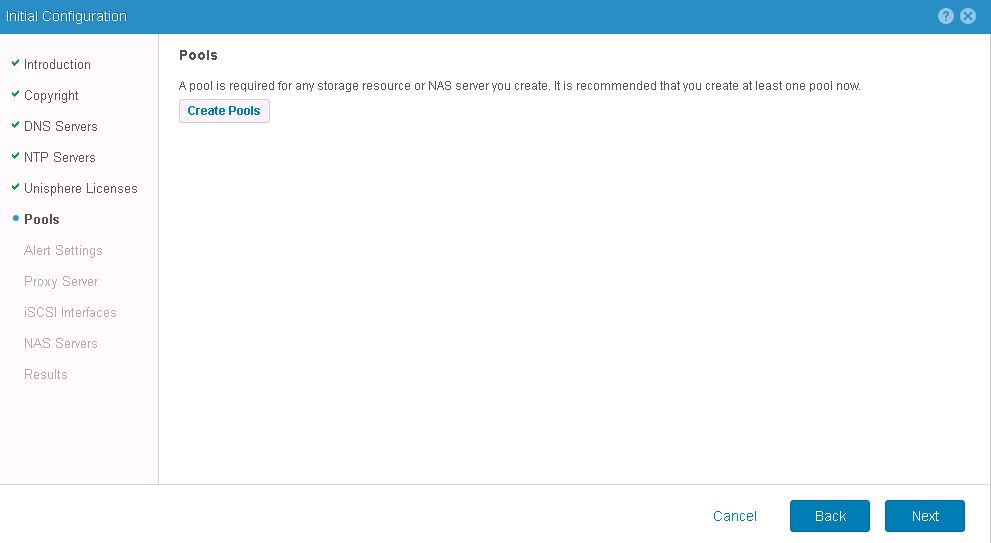
Next option is create pool , you may create for now or create later , we are skipping this now and will publish another post for configuring this .
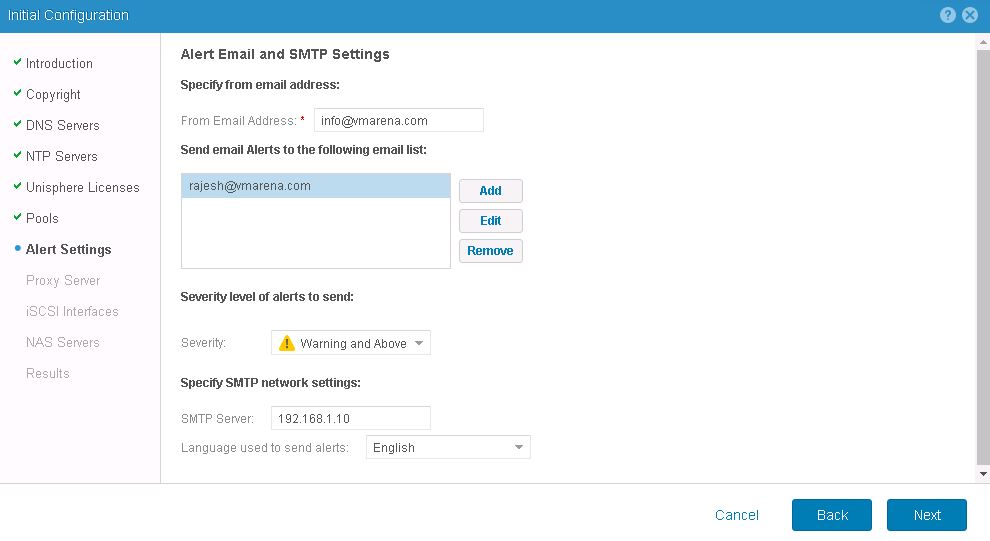
Specify the Email and SMTP and click Next
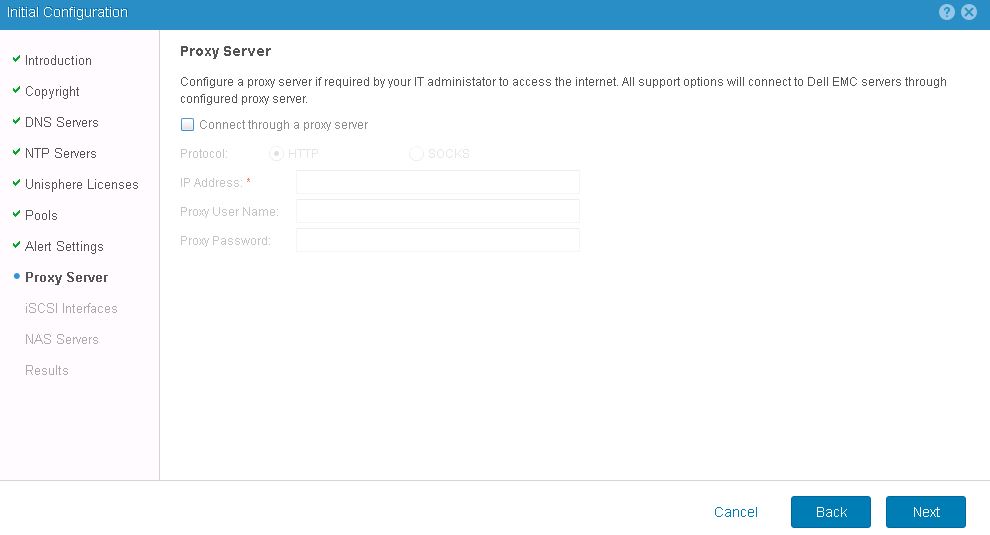
If you have proxy server in your environment , specify them else skip this step
Create any iSCSI Network interfaces now or skip this by click next , we will discussing this later in another post

Create any NAS Servers or configure it later , here skip this since will explain it later .

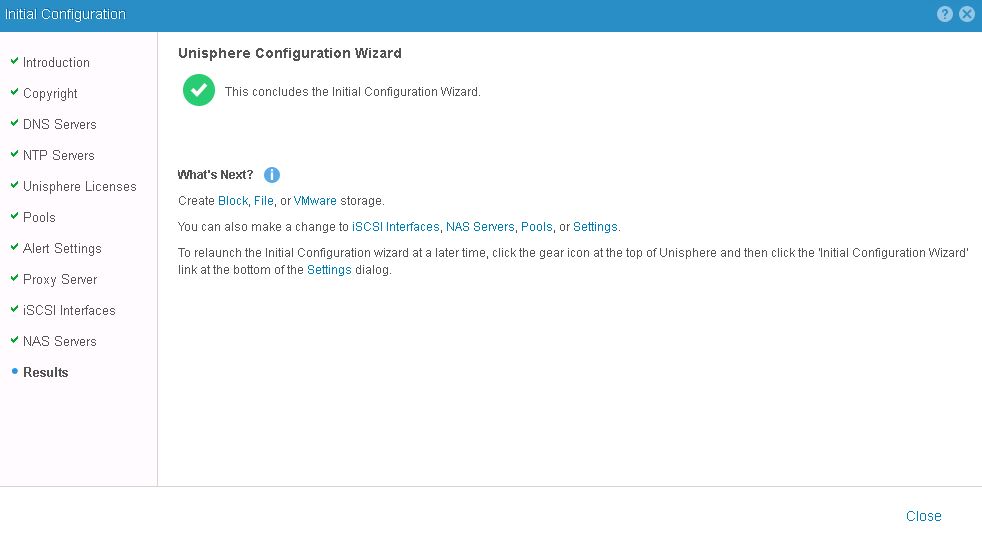
Now the Initial Configuration is complete ad you may close the page
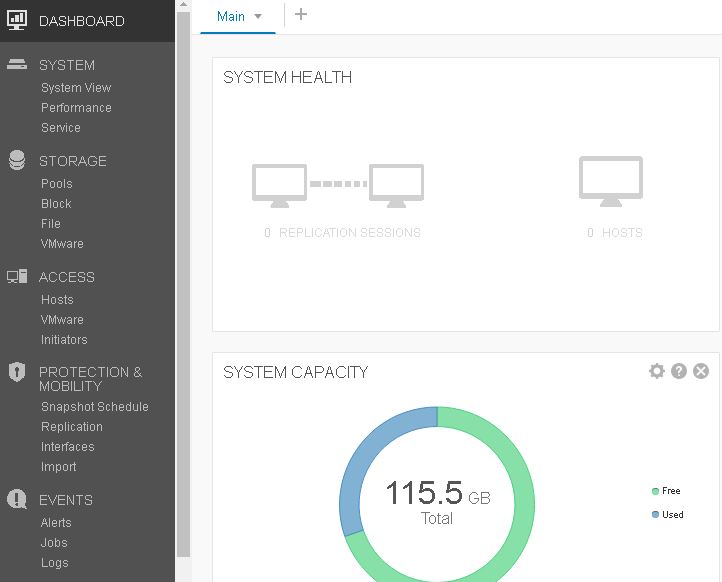
Next you can access the console with capacity of the disk available .
Conclusion
We have shared small overview of EMC Dell UnityVSA and deployment steps and initial configuration also here . We are deployed the current latest version Unity VSA 4.4.0 and it is top of vSphere 6.7 host for VMware SRM testing purpose. We will be sharing more blog posts of other configuration required for ISCSI , NAS , Replication etc .