
I have been testing few backup products on my lab and most of the tests are on VMware Infrastructure , now i though of working on Hyper-v . I decided to create a Hyper-v Server on my VMware infrastructure for testing .In this post I am sharing the step for installing Windows 2016 Server as VM and enabling the Hyper-V on a vSphere 6.7 platform.

Login to ESXi 6.7 host client by using any browser using ” https://<IP address or FQDN of ESXi>/ui “
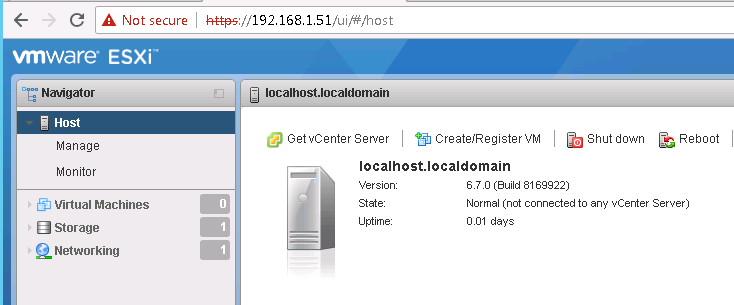
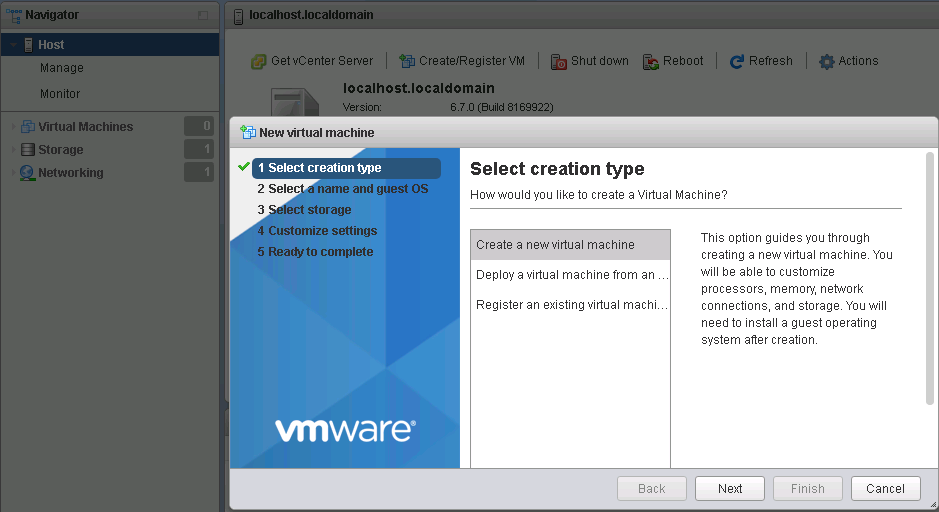
Create a New Virtual Machine by selecting Create /Register VM option
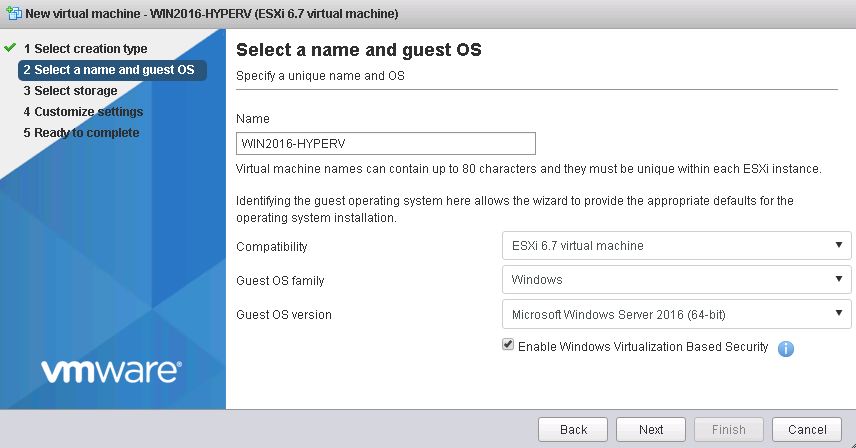
Add the name for the Virtual Machine and select the options
Note :- Enable Windows VBS if required , About VBS check my prevous POST
Click Next.
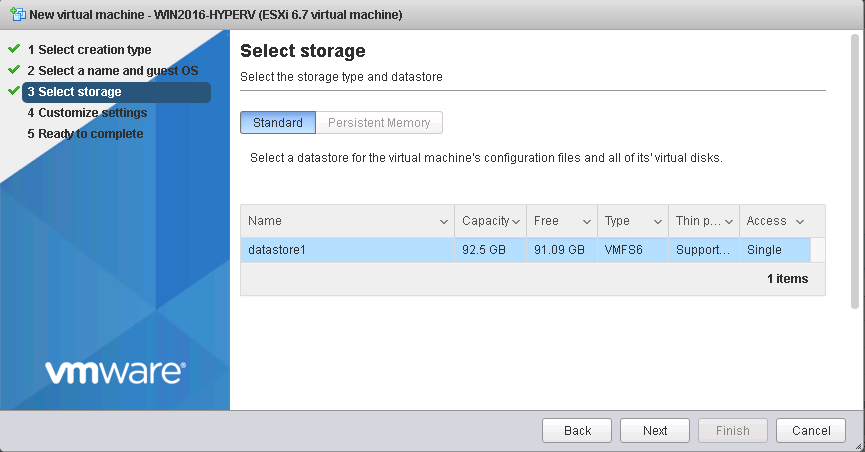
Select the datastore where VM should be stored and click Next
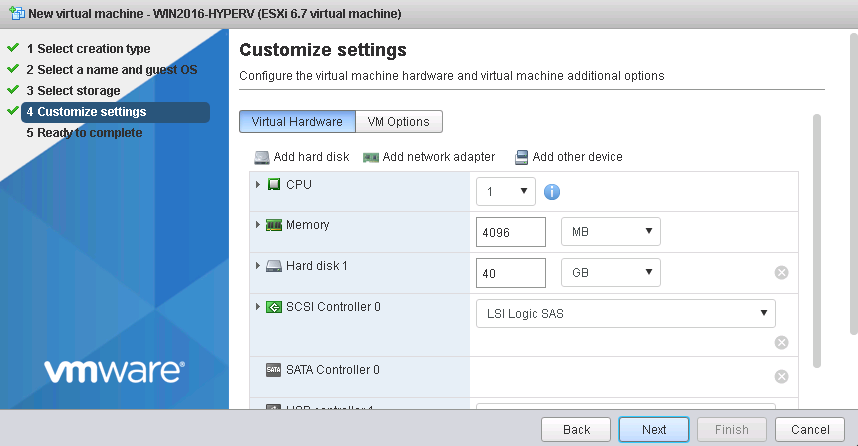
Proceed with default configuration and Continue by Click Next
Note – Change Disk provisioning type if you need to save the space
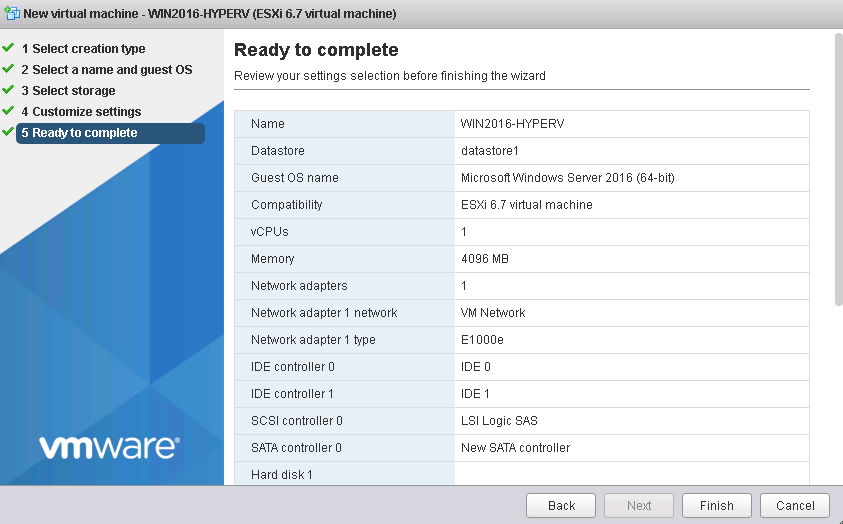
Review the configuration options and click Finish to deploy the VM.
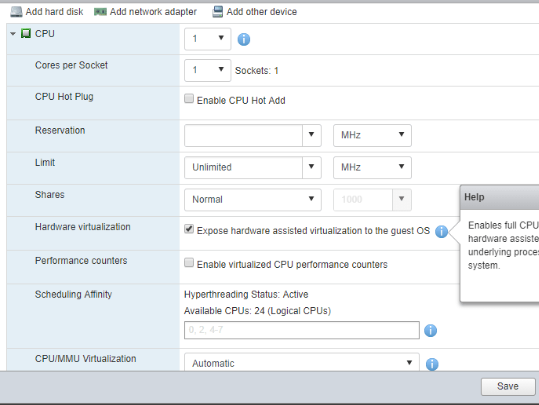
Once the VM is deployed you may increase the resources by editing the settings also Expand the CPU section and Check the box Expose hardware-assisted virtualization to the guest OS.
Next map the windows 2016 ISO from Local location or if you have uploaded the ISO to any datastore , you can map that to virtual machine
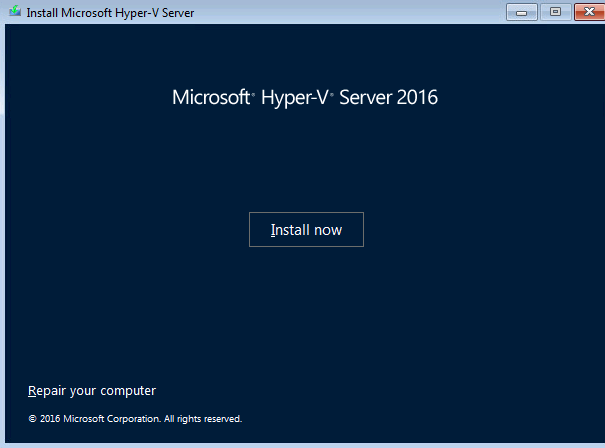
And boot with that ISO -> Select Install now
Select the desired Operating System -> Standard / Datacenter version and Click Next
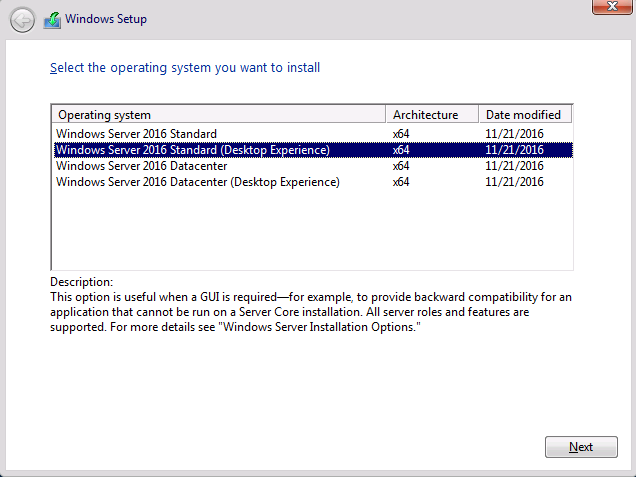
You can follow the standard Windows installation process to complete the installation .
After installation of the Operating system install the VMware Tools -> Asign a static IP address and Join this machine to Domain.
Navigate to Server Manager -> Add Roles and Features
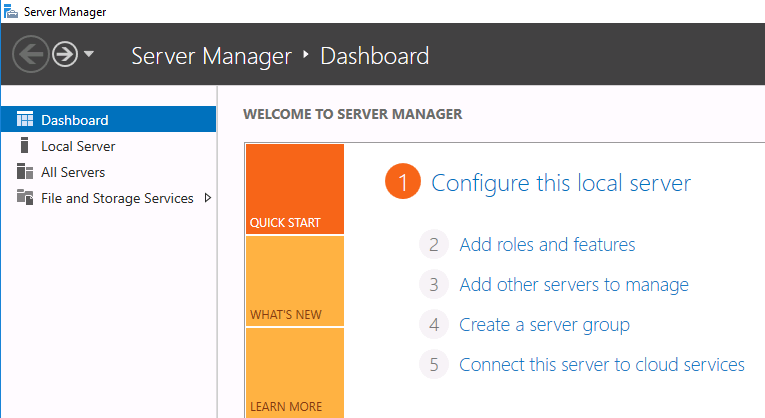
Follow the default steps and Select the Hyper-V role and Include the Add Features option as shown below and continue with default options and click finish
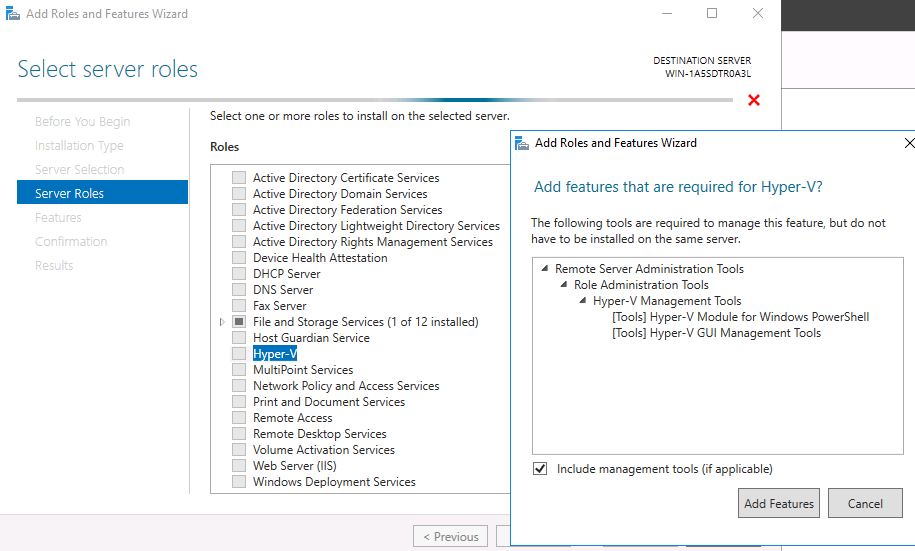
Reboot the Virtual Machine after the role has been installed
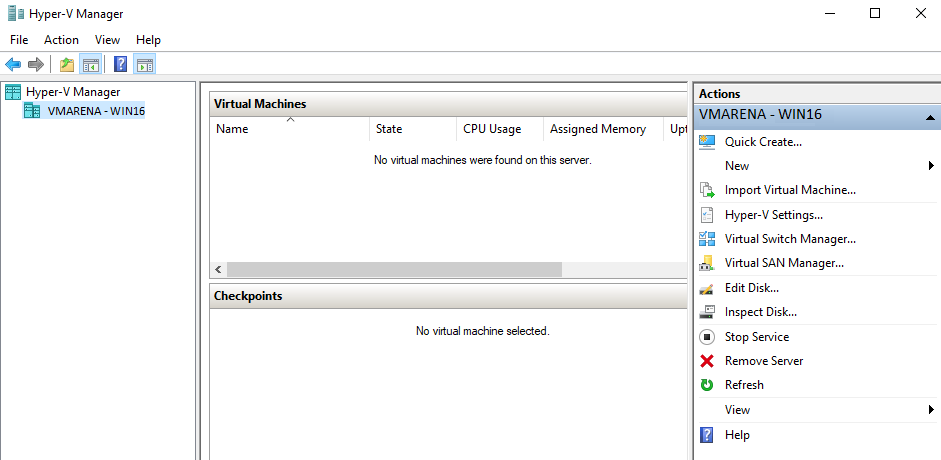
Once the VM is rebooted navigate to Hyper-V Manager from the Tools section of the Server Manager or from Windows Start
Now you will be able to deploy VM inside the Hyper-V
Thank you for reading this post , Share the knowledge if you feel worth sharing it.