
Latest Version of vSphere 7.0 was released recently and many VMware engineers, administrators, vExpert’s are started exploring all the new features. With this new release, there are new features available also some changes to the requirement to install have been changed compared to the previous versions. Based on the new prerequisites to setup ESXi 7.0 in the nested environment you may face compatibility issues and it will stop your testing.
In this article, we will share the steps to resolve the CPU_SUPPORT_ERROR which may come while installing nested ESXi 7.0 on your unsupported hardware. Most of the time this issue comes when we try to install nested ESXi 7.0 on top of the old hardware.
About My Nested Lab and Issue Faced
I am running my nested Lab on HP 380 G7 servers with vSphere 6.0 Update3 and I got an error while installing ESXi 7.0 CPU_SUPPORT_ERROR: The CPU in this host is not supported 7.0.0.
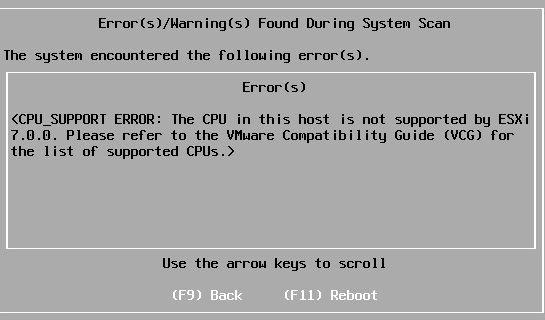
Workaround to Install the ESXi 7.0 on Unsupported CPU
If you get the CPU_SUPPORT_ERROR, you can follow below workaround to install the ESXi 7.0
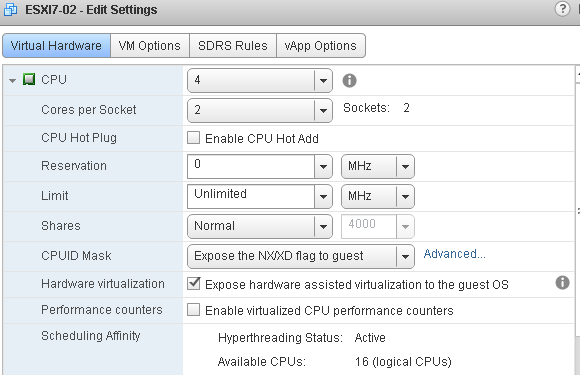
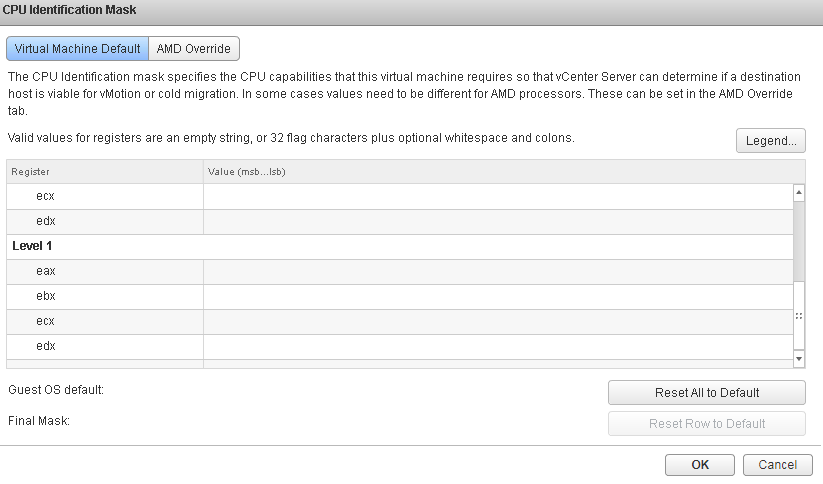
On the Level 1 field use the following into the EAX field based on the base hardware
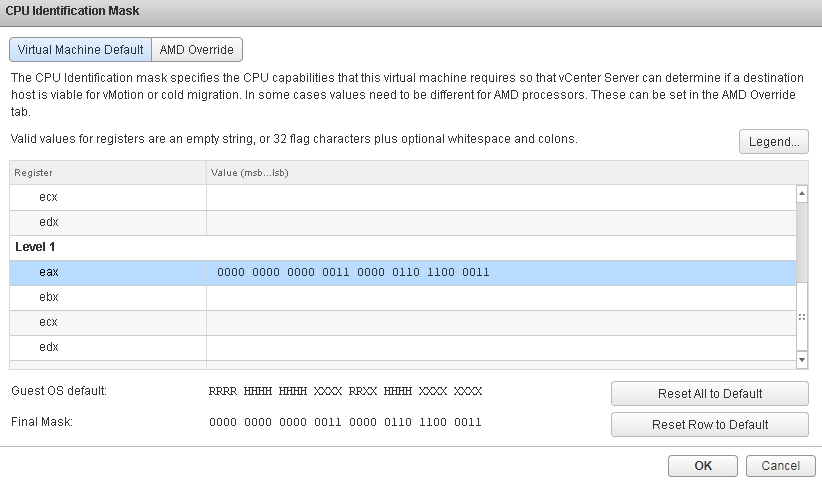
Intel CPUs: 0000:0000:0000:0011:0000:0110:1100:0011
AMD CPUs: 0000:0000:0110:0000:0000:1111:0001:0000
In our scenario, we use Intel CPU code, paste the code the Clik ok
Now boot your nested ESXi 7.0 virtual machine and start the installation and it succeeded

Finally, Nested ESXi 7.0 VM is booted
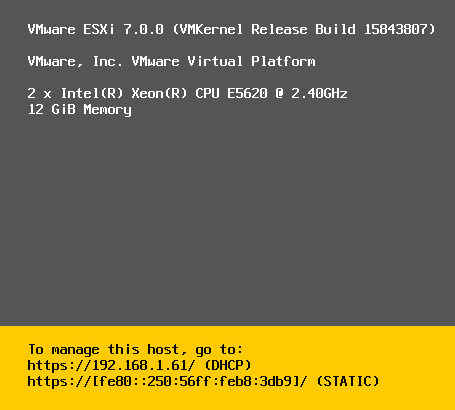
Next, we have to remove the CPU ID set for the nested ESXi 7.0 virtual machine.
From Level 1, click Reset Row to Default and click OK
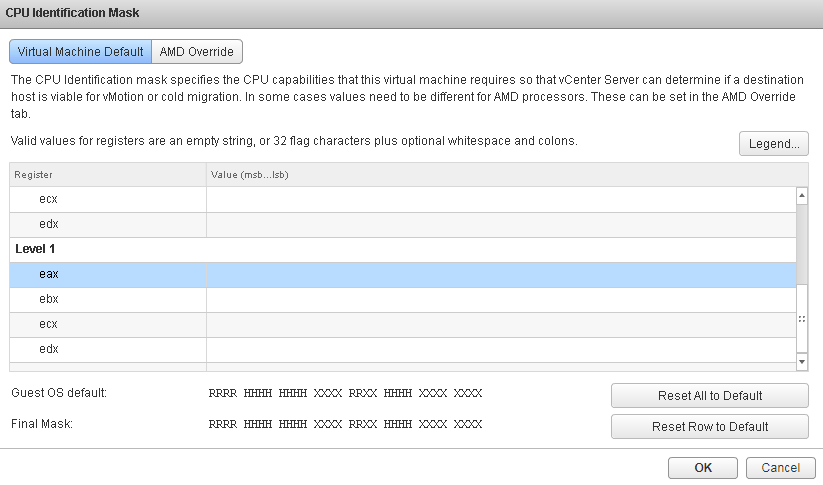
Now the CPU ID returned to normal, time to explore on the new features
Conclusion
vSphere latest release version 7.0 has many new features and enhancements, to test all those features you can use nested ESXi 7.0 lab. The workaround explained in this article is only for testing and learning only, don’t use on the production. For production envirionments check the VMware Compatibility first and install the vSphere 7.0.