
NAKIVO has a great feature to store backups on Amazon S3 for protection and the integrity of the data in case of a disaster. In this post, we will explain about creating an offsite VM backup repository and configure backup job to Amazon S3 .This feature is working by using Amazon storage services -Storage Gateway.
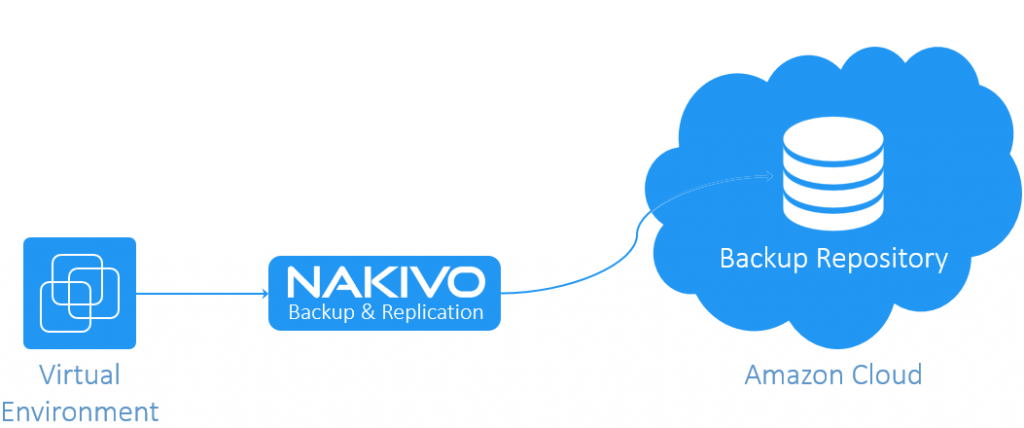
AWS Storage Gateway
AWS Storage Gateway is a hybrid storage service that enables your on-premises applications to seamlessly use AWS cloud storage. You can use the service for backup and archiving, disaster recovery, cloud data processing, storage tiering, and migration. The service helps you reduce and simplify your datacenter and branch or remote office storage infrastructure. Your applications connect to the service through a virtual machine or hardware gateway appliance using standard storage protocols, such as NFS, SMB and iSCSI.
File Gateway
File gateway is a type of AWS Storage Gateway which offers a seamless way to connect to the cloud in order to store application data files and backup images as durable objects on Amazon S3 cloud storage. File gateway offers SMB or NFS-based access to data in Amazon S3 with local caching. It can be used for on-premises applications, and for Amazon EC2-resident applications that need file storage in S3 for object based workloads.The virtual software appliance (gateway) is deployed in your onsite environment as a virtual machine (VM), enables you to store your data in Amazon S3 via NFS file share, and provides you access to objects in the S3 storage as files.
About our Environment
Requirements
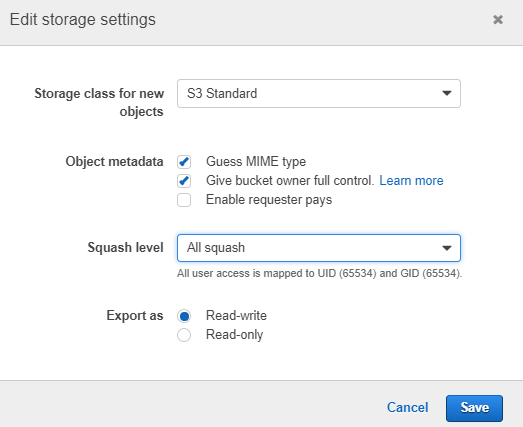
Set the Share Permission to All Squash
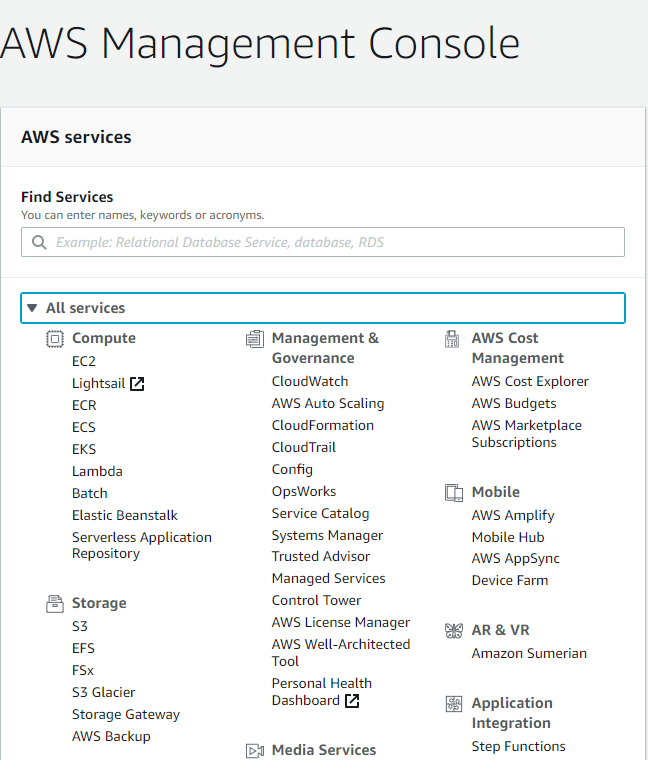
Login to AWS Management Console using your account credentials
From AWS services section select Storage Gateway option under Storage area
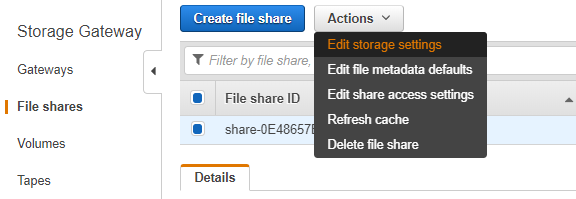
Select the File shares ->Select the share and from Actions button and click on Edit file share settings option.
Set the Squash level field as All squash from the drop-down menu and click Save.
Create an Amazon S3 Repository in NAKIVO
Login to Nakivo Backup & Replication by entering the credentials
From the Dashboard click on Settings ( gear icon) and Select Repositories Option

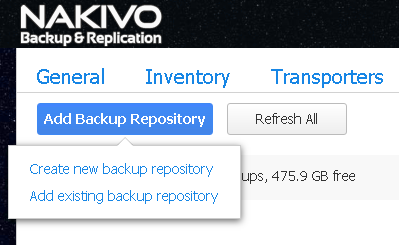
Click Add Backup Repository and select Create new backup repository option.
Enter the requested parameters to connect the NFS share on AWS click Add( You have advanced options if required you can choose , here we use default options)
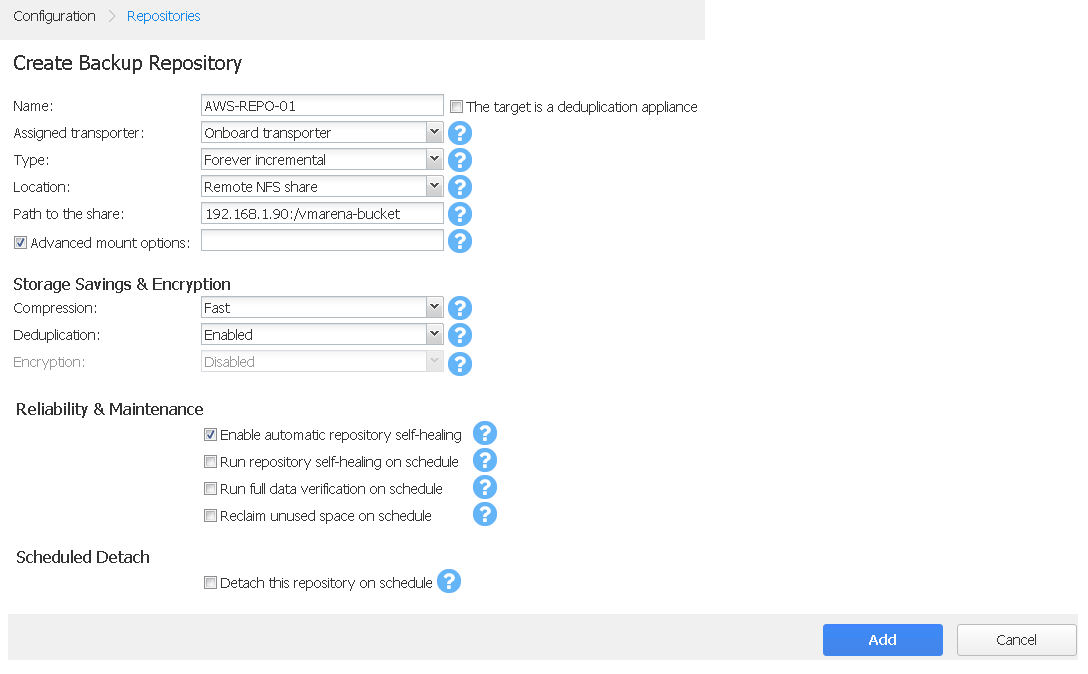
Note :- To access the NFS share on AWS, enter the path in the format: IP_address_AWS_gateway:/aws_s3_nfs_share
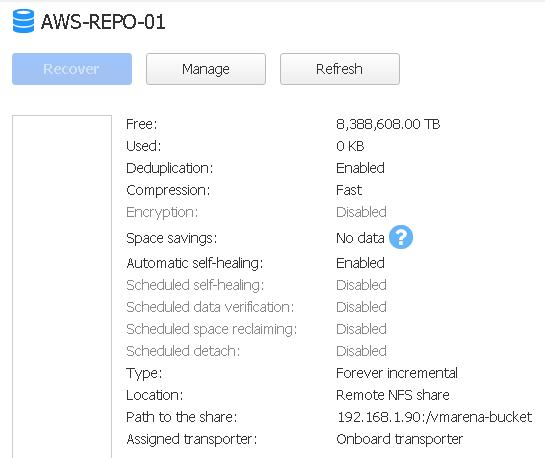
The AWS S3 repository has been created successfully.

Click on the AWS Repository and you can see the details .
Configure backup Jobs on Amazon S3
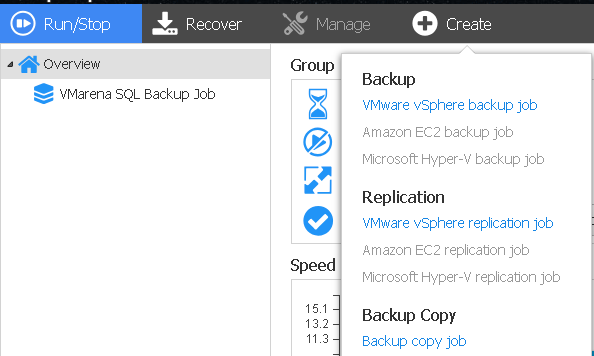
From Dashboard click on Create menu and select Backup copy job option.
Select the virtual machine to copy to AWS and click Next.
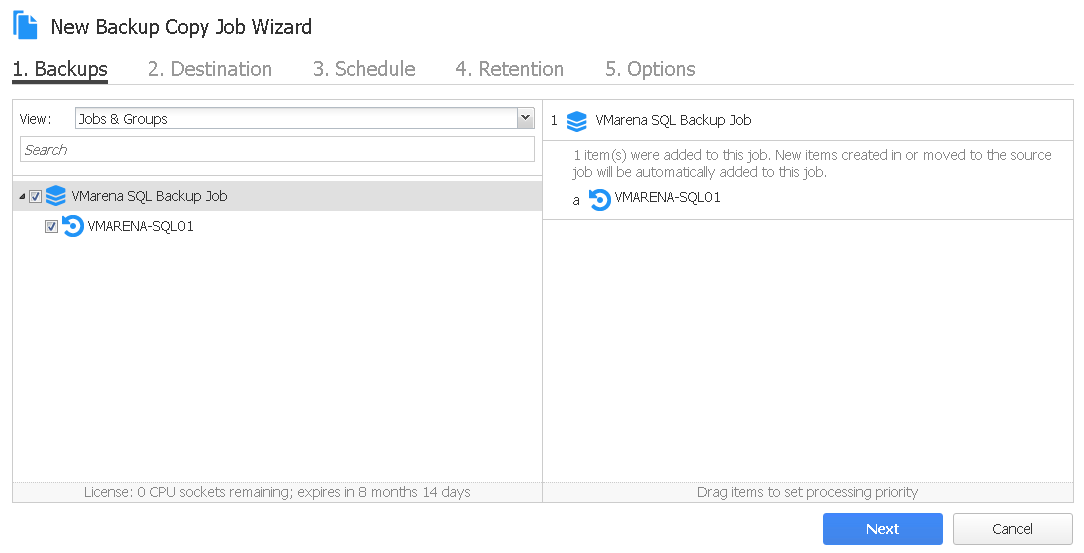
From Backup Repository drop-down menu select the created AWS repository and click Next.

Note:- from Advanced option you can select the existing backups on the system , if not required ignore this option and Click Next
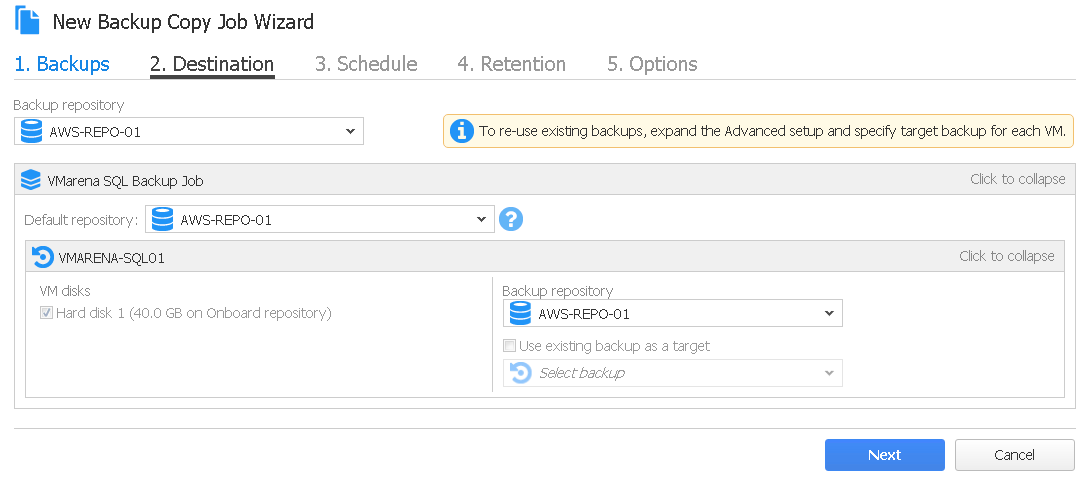
Next Specify a backup Schedule and Click Next , or choose run on demand
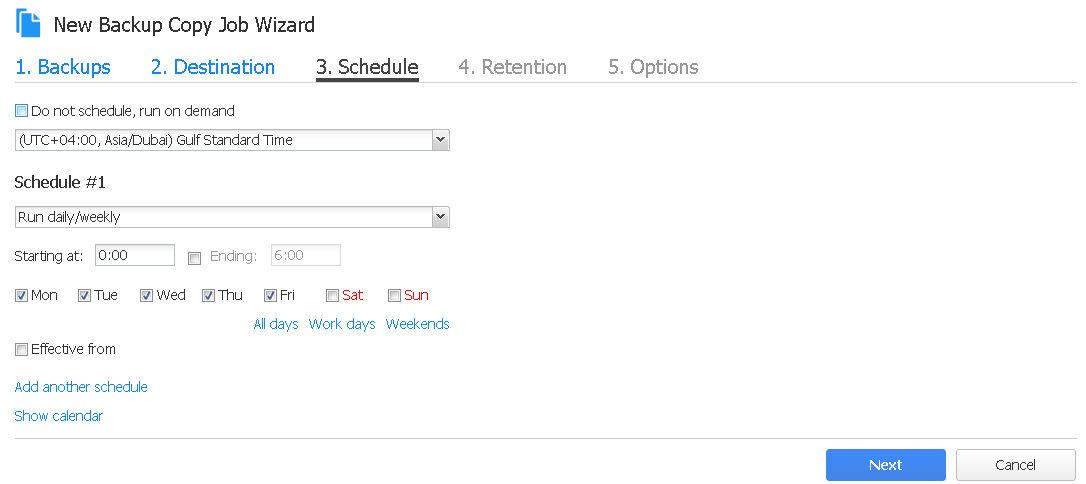
Specify the required Retention and click Next.
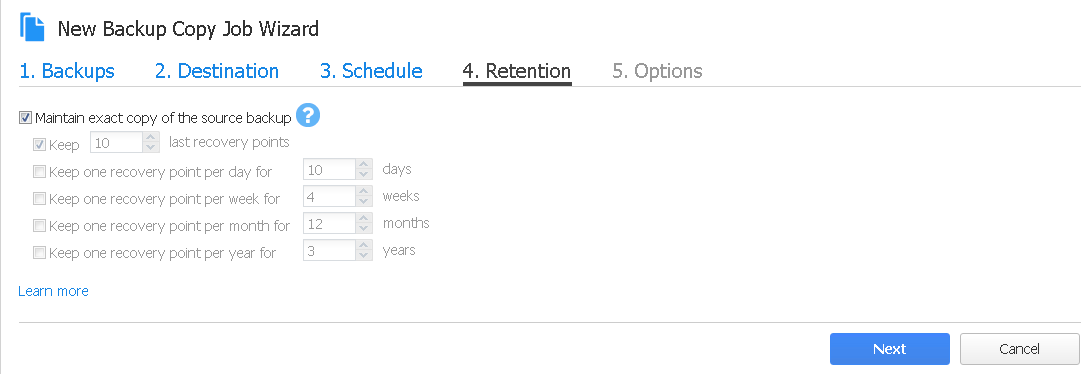
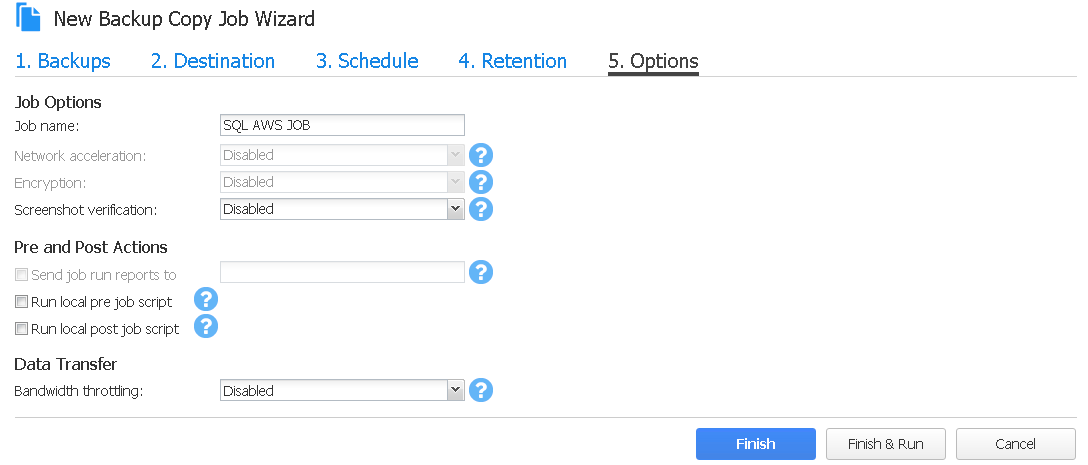
Enter a Job name and click Finish to save the configuration , if required you may choose other options available there
Note:- Finish and RUN option will start the job once the creation of Job Finishes
From the Dash board you can view the newly created Job and you can run the copy job by right click the job and select Run Job.

Conclusion
We have successfully created a AWS repository for backing up your data . This is great features allows you to copy VM backups offsite for disaster recovery purposes .